3 Interior Styling Secrets

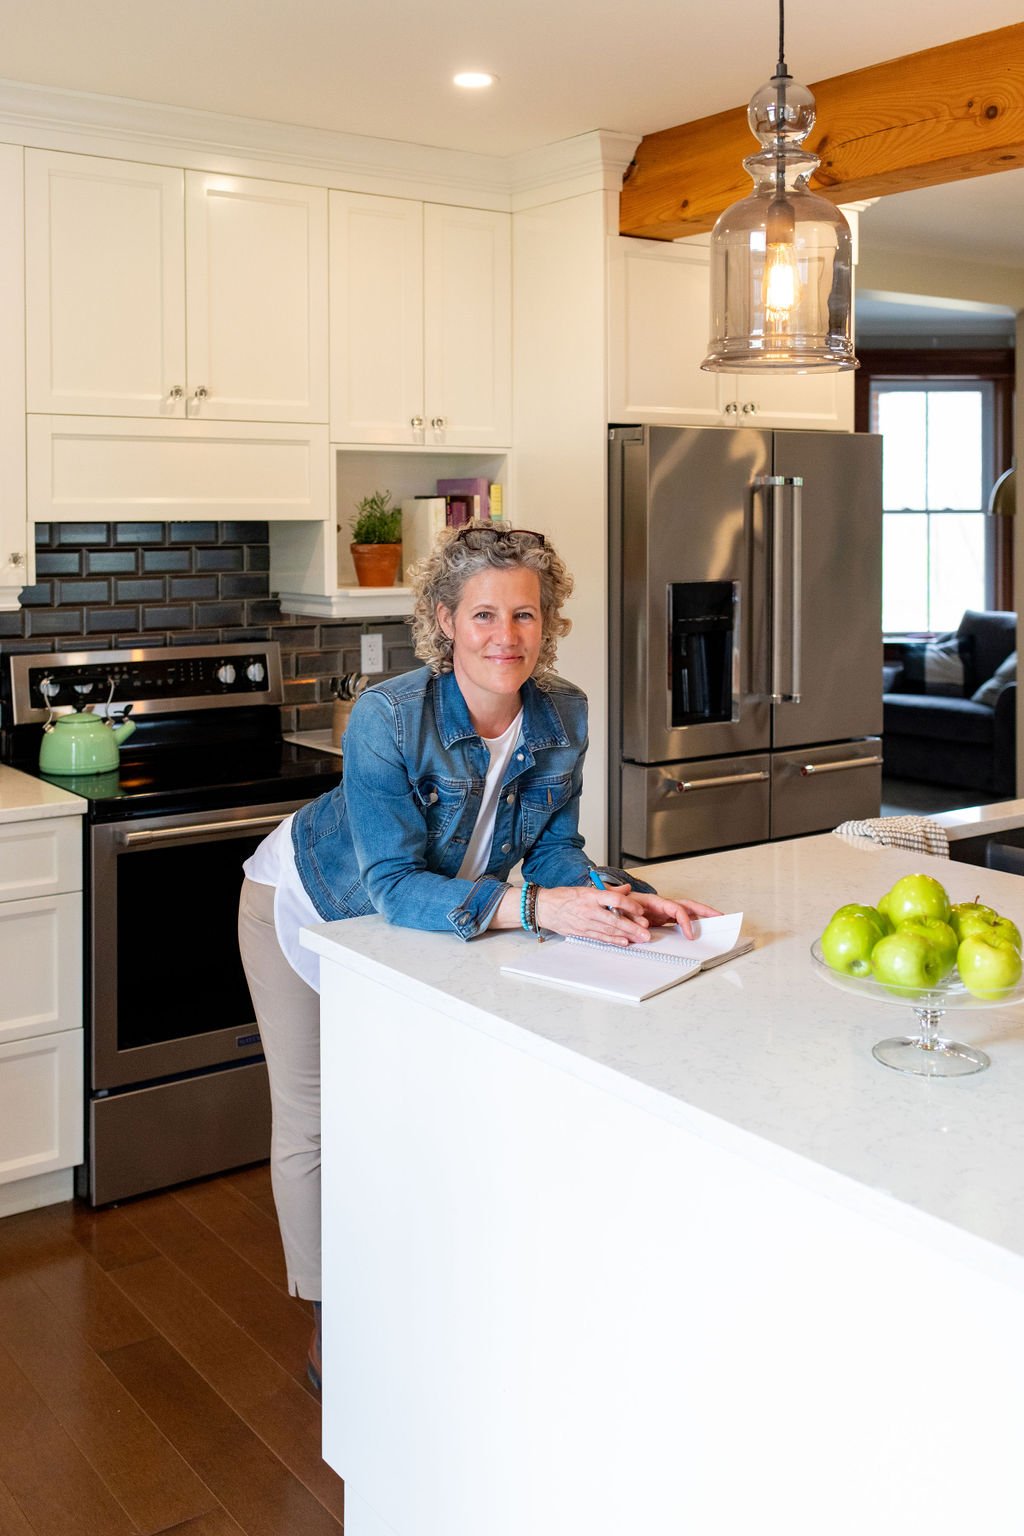
Turn your home into an extension of your personal style and create interiors that feel like you.

When you truly understand yourself and your personal style you can create your best spaces and it won't matter where you bought decor and how much you spent. You will feel at home, enjoy your space and make updates to decor and furniture with so much ease.

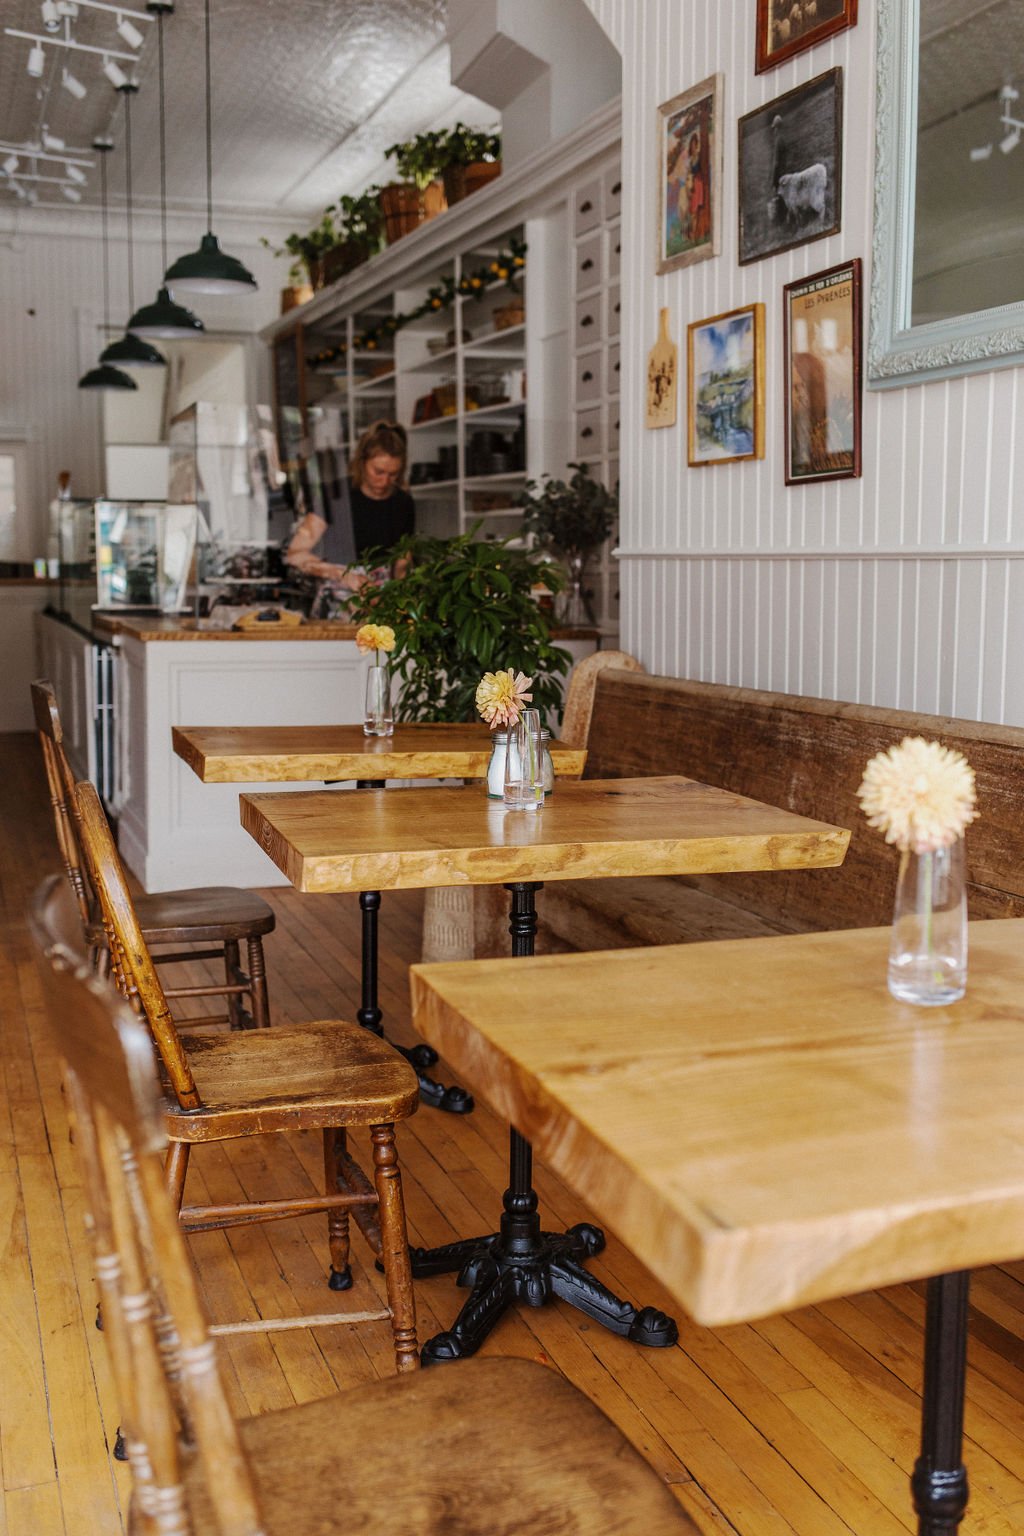
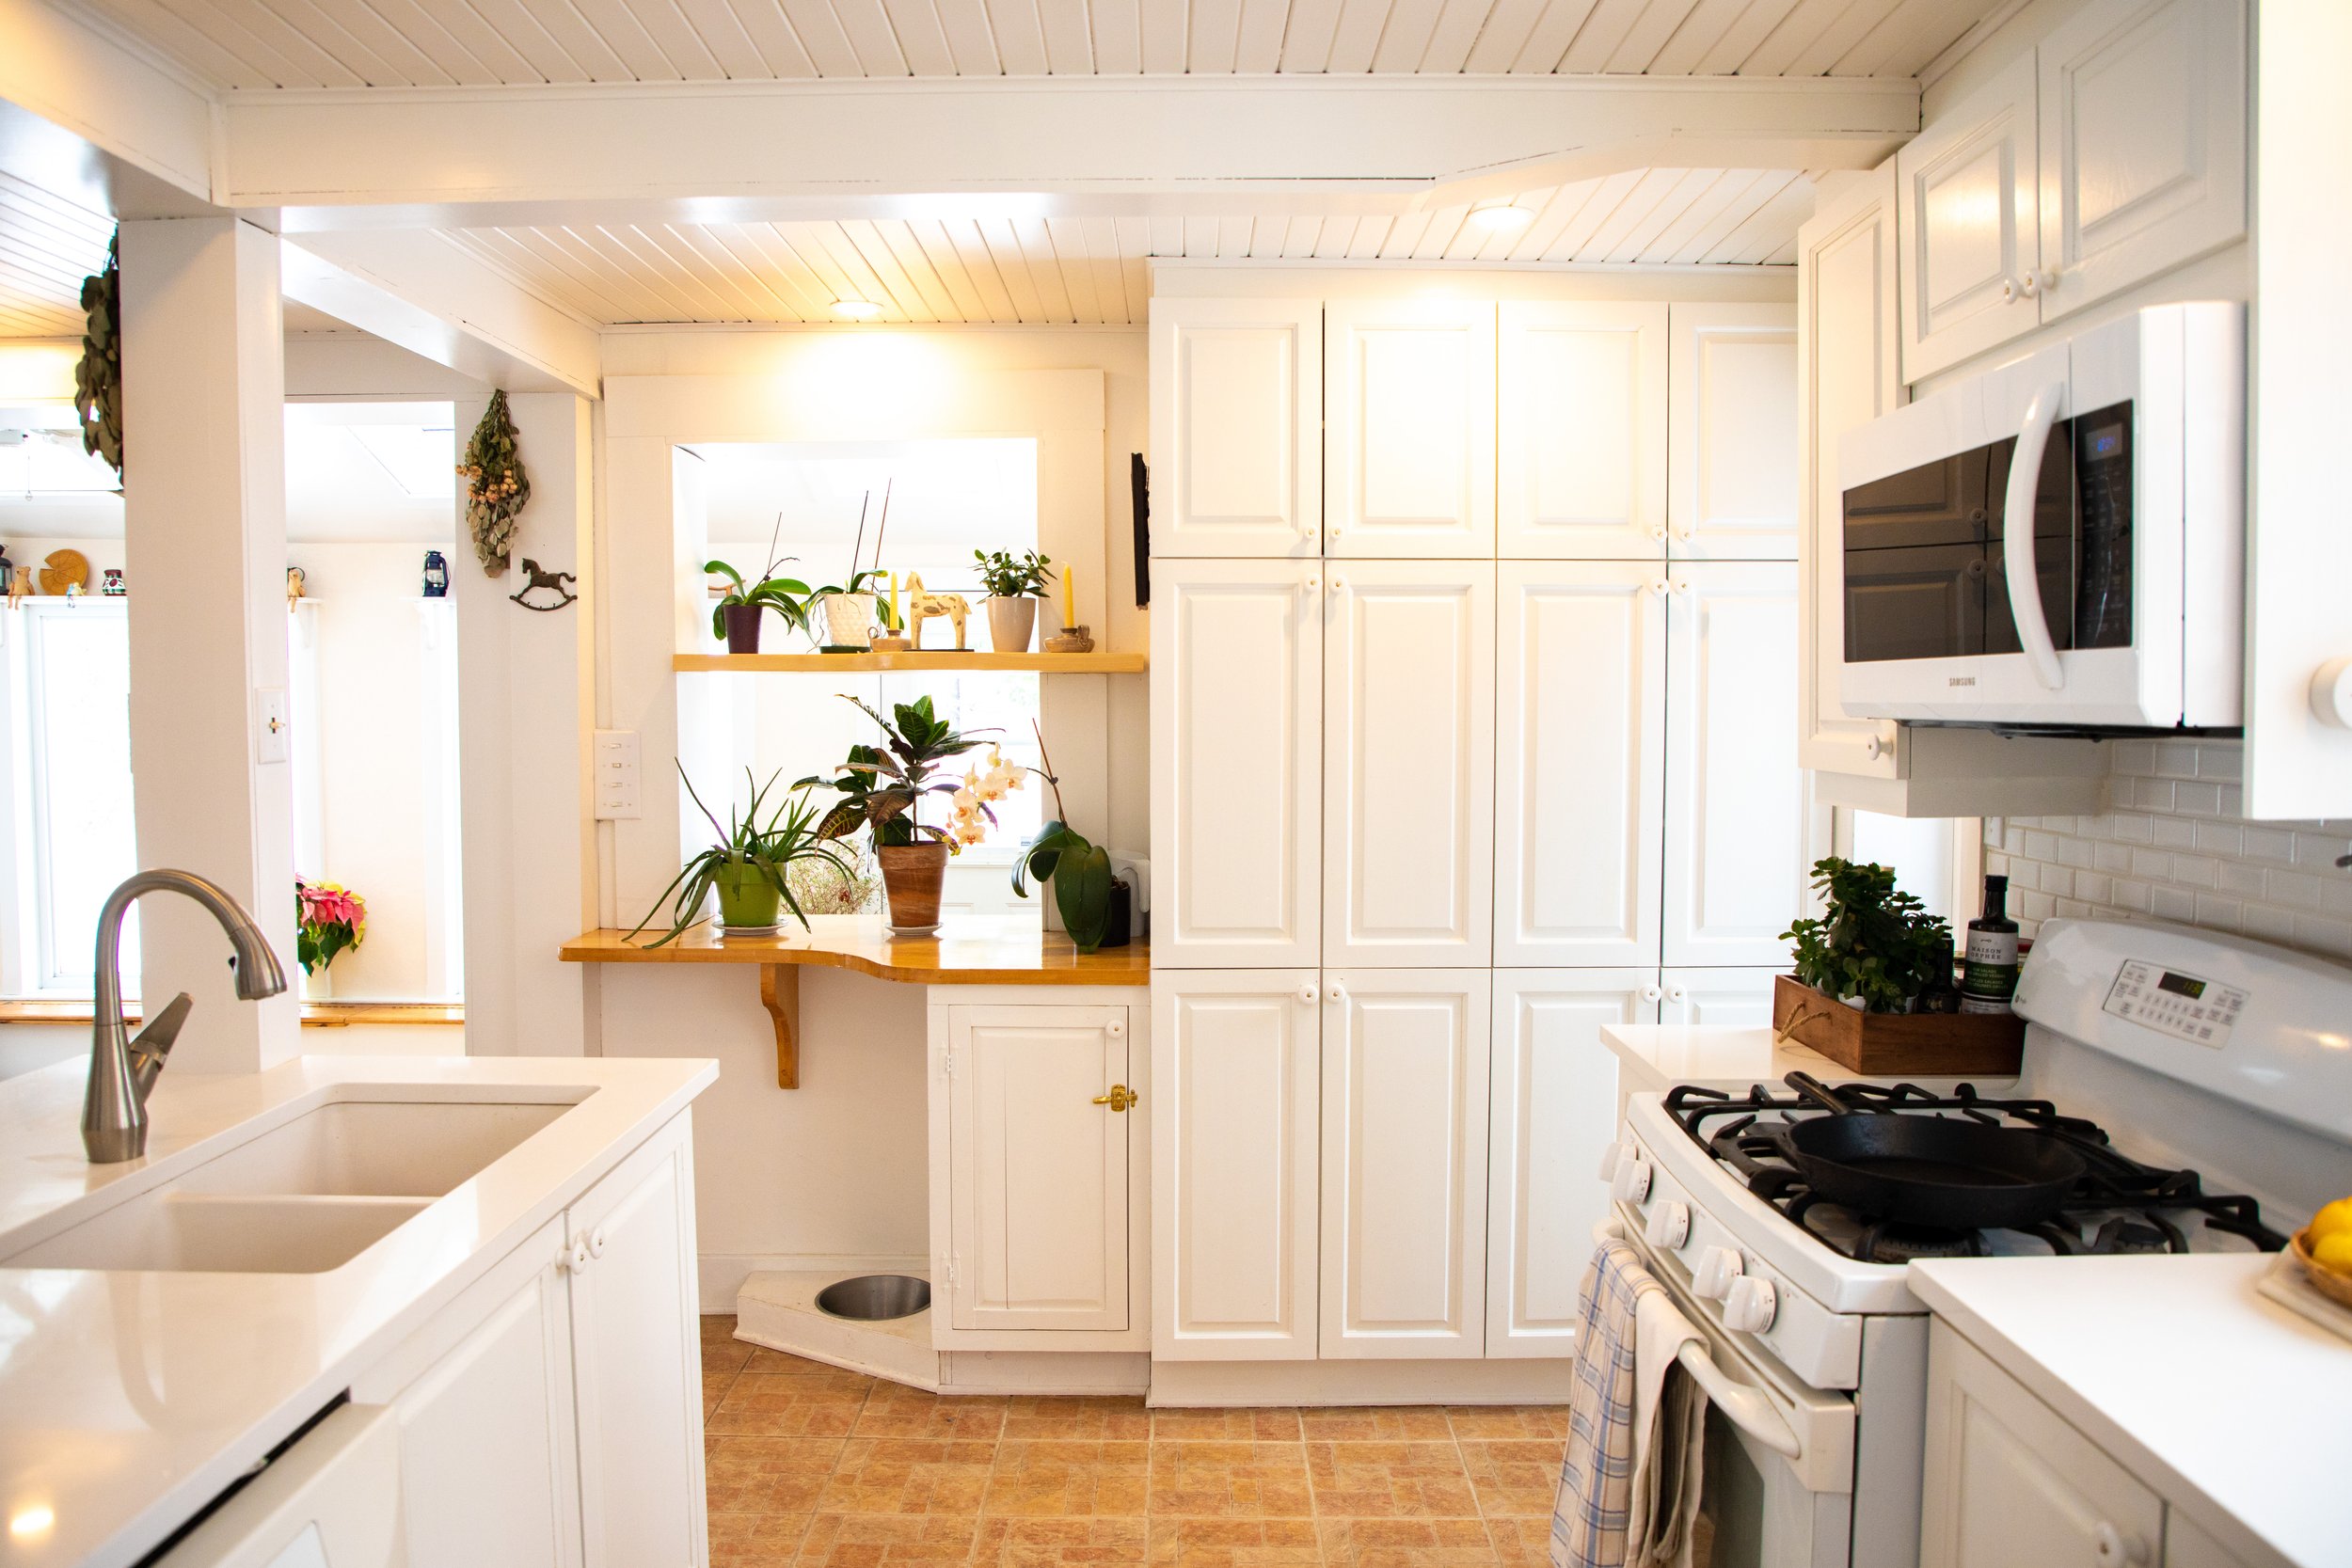
The best homes have something special about them. They feel relaxed, effortlessly styled and a true representation of the person living there.

Styling is the finishing touch that takes a space to the next level. It’s the at of arranging objects to elevate any space. I think that it’s how we can create meaningful interiors and bring more beauty into our everyday lives.

Below are three secrets to creating your best spaces at home.

01 Embrace your personal style

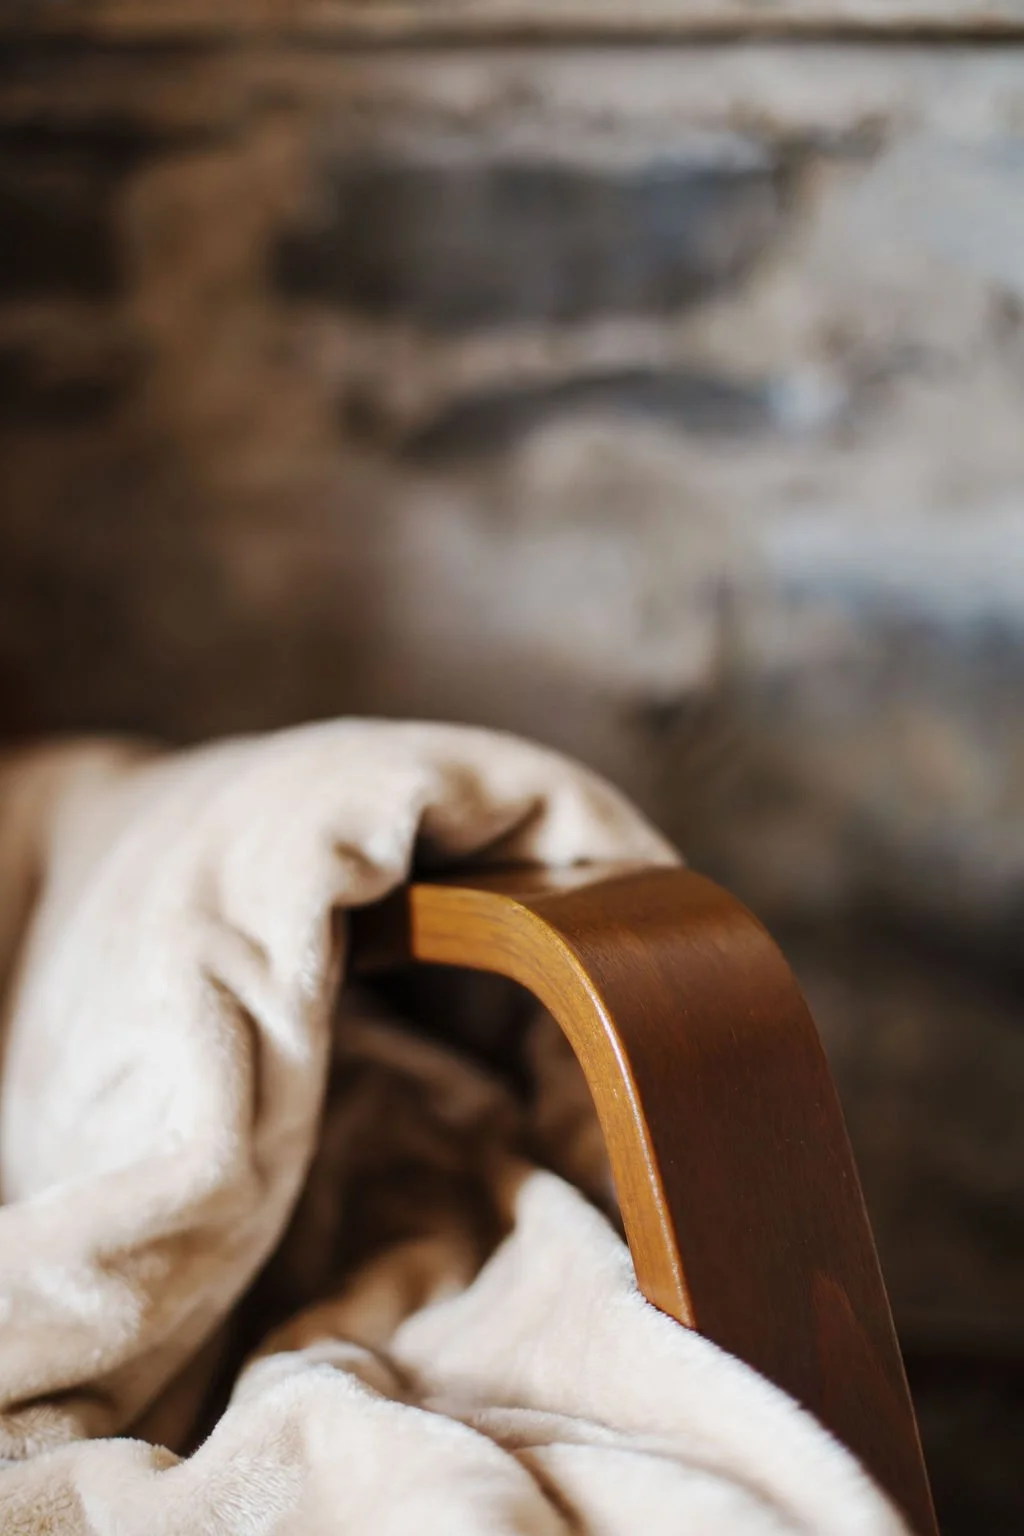
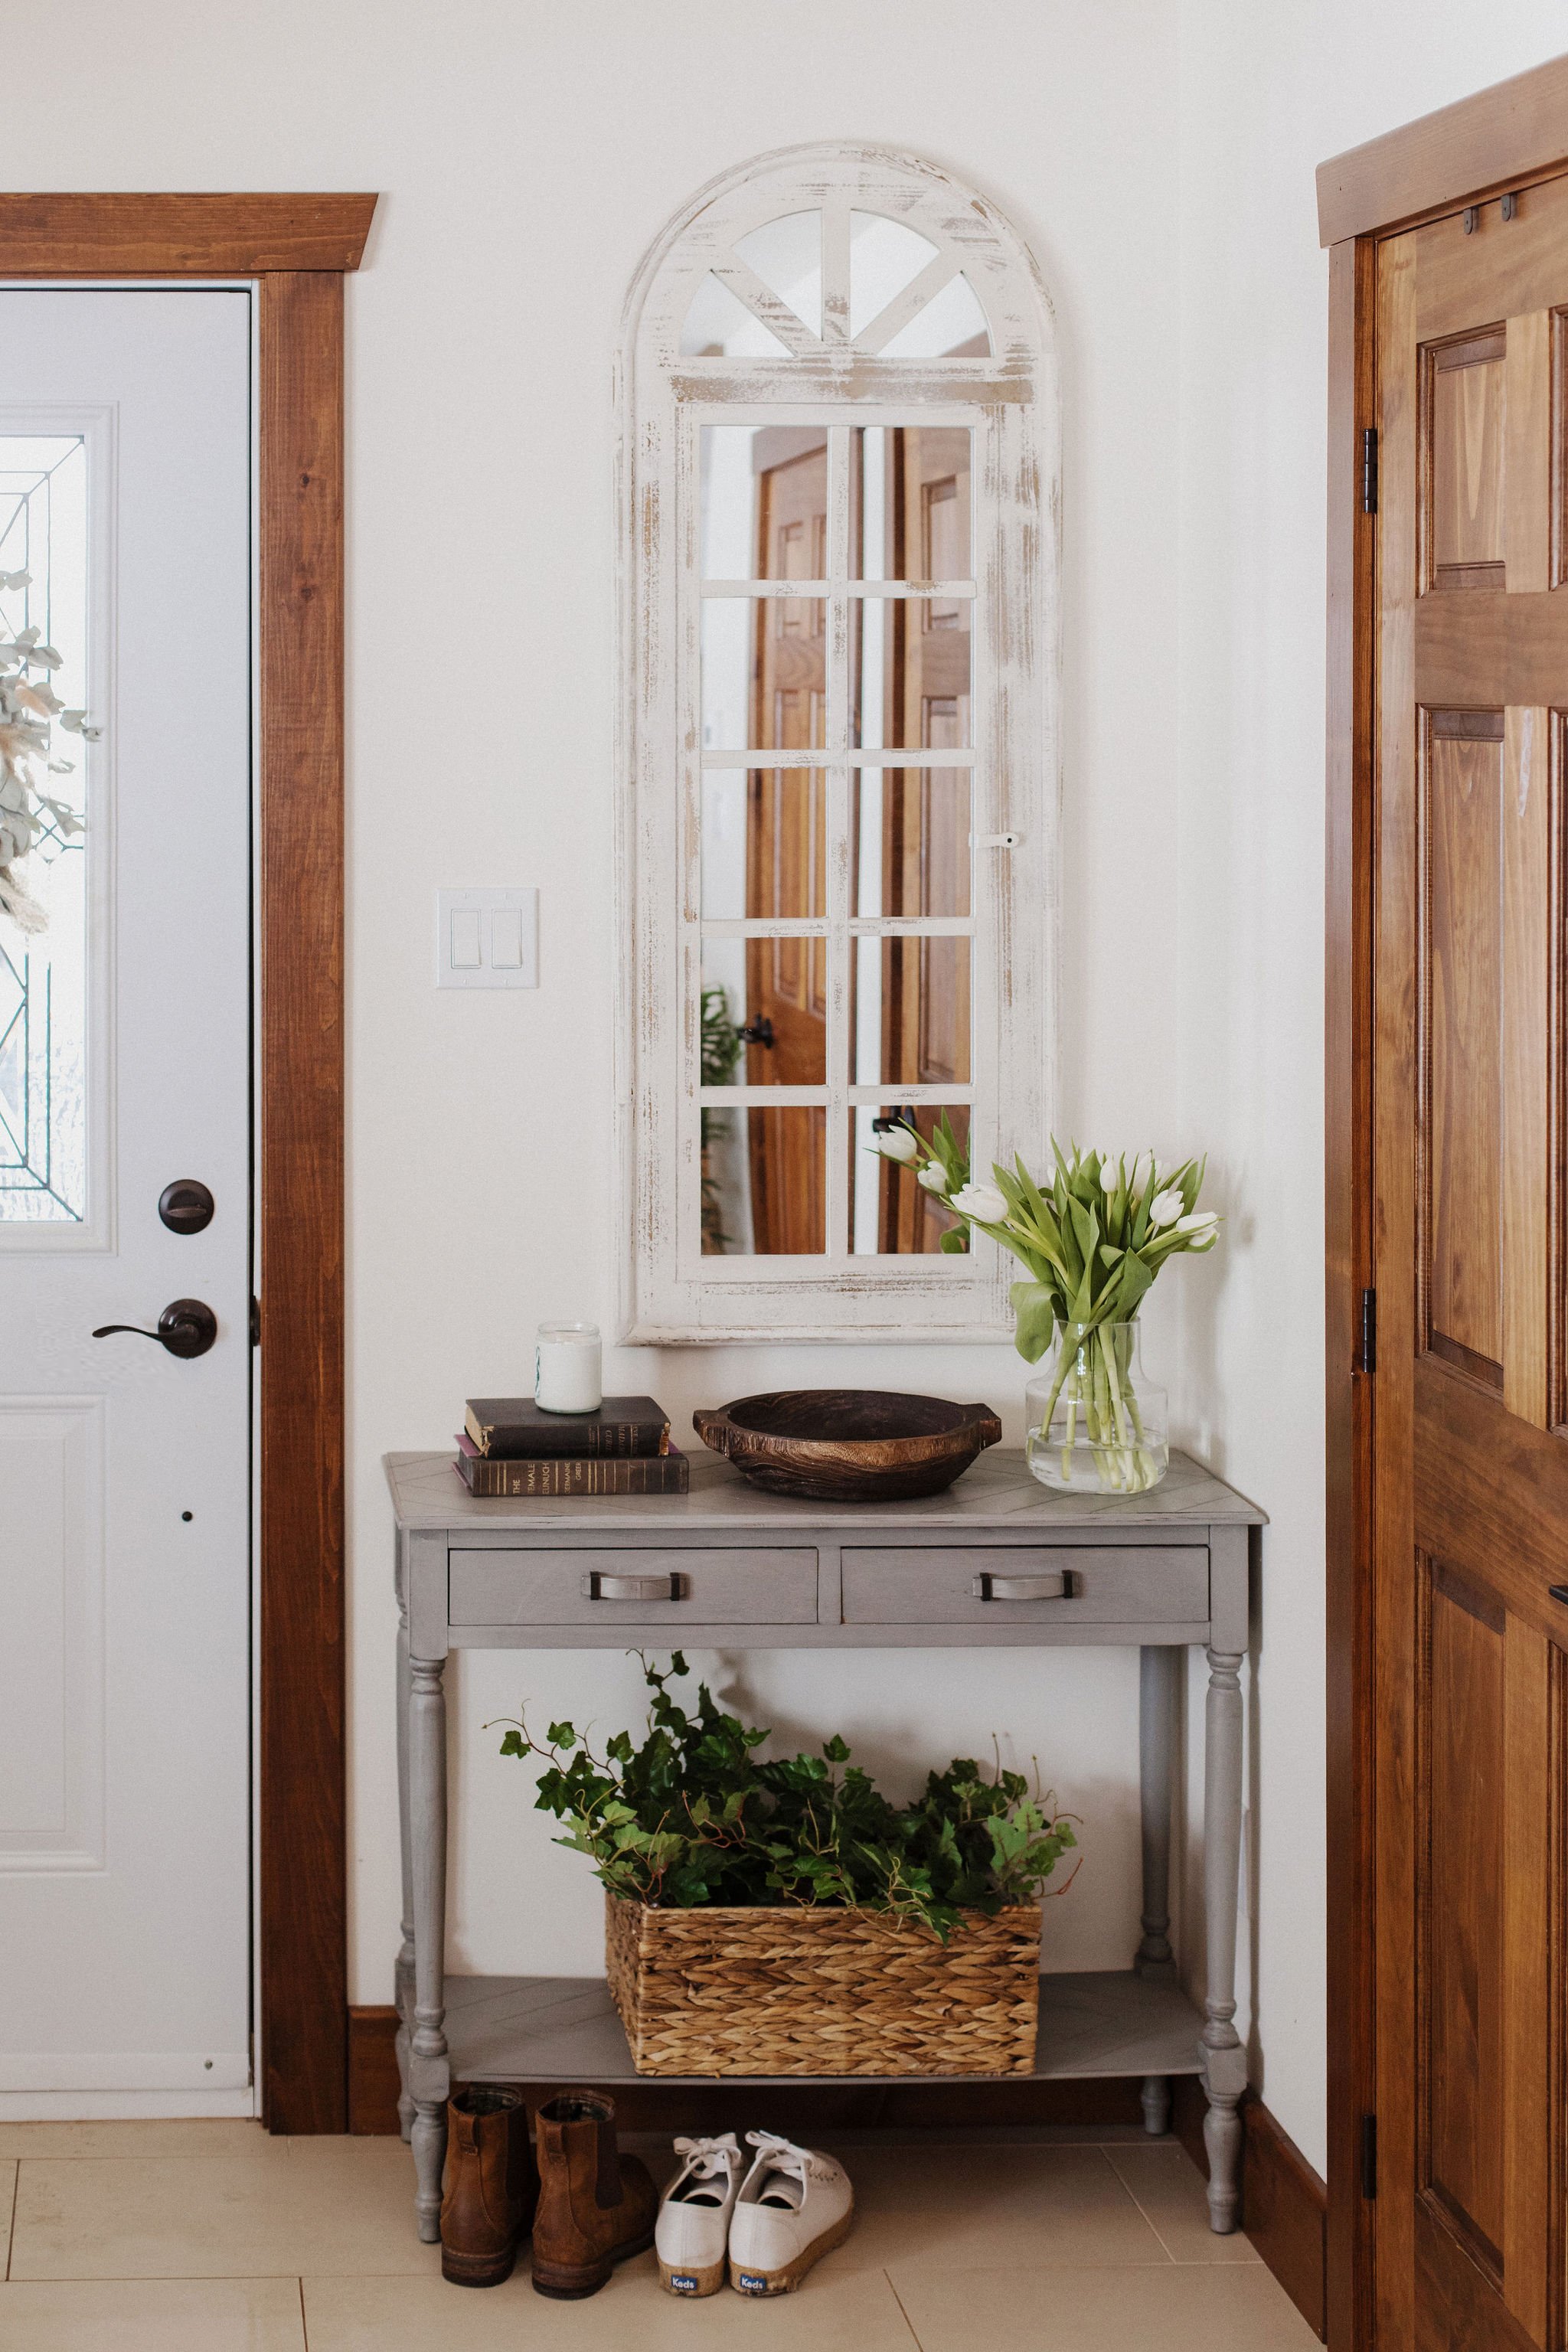
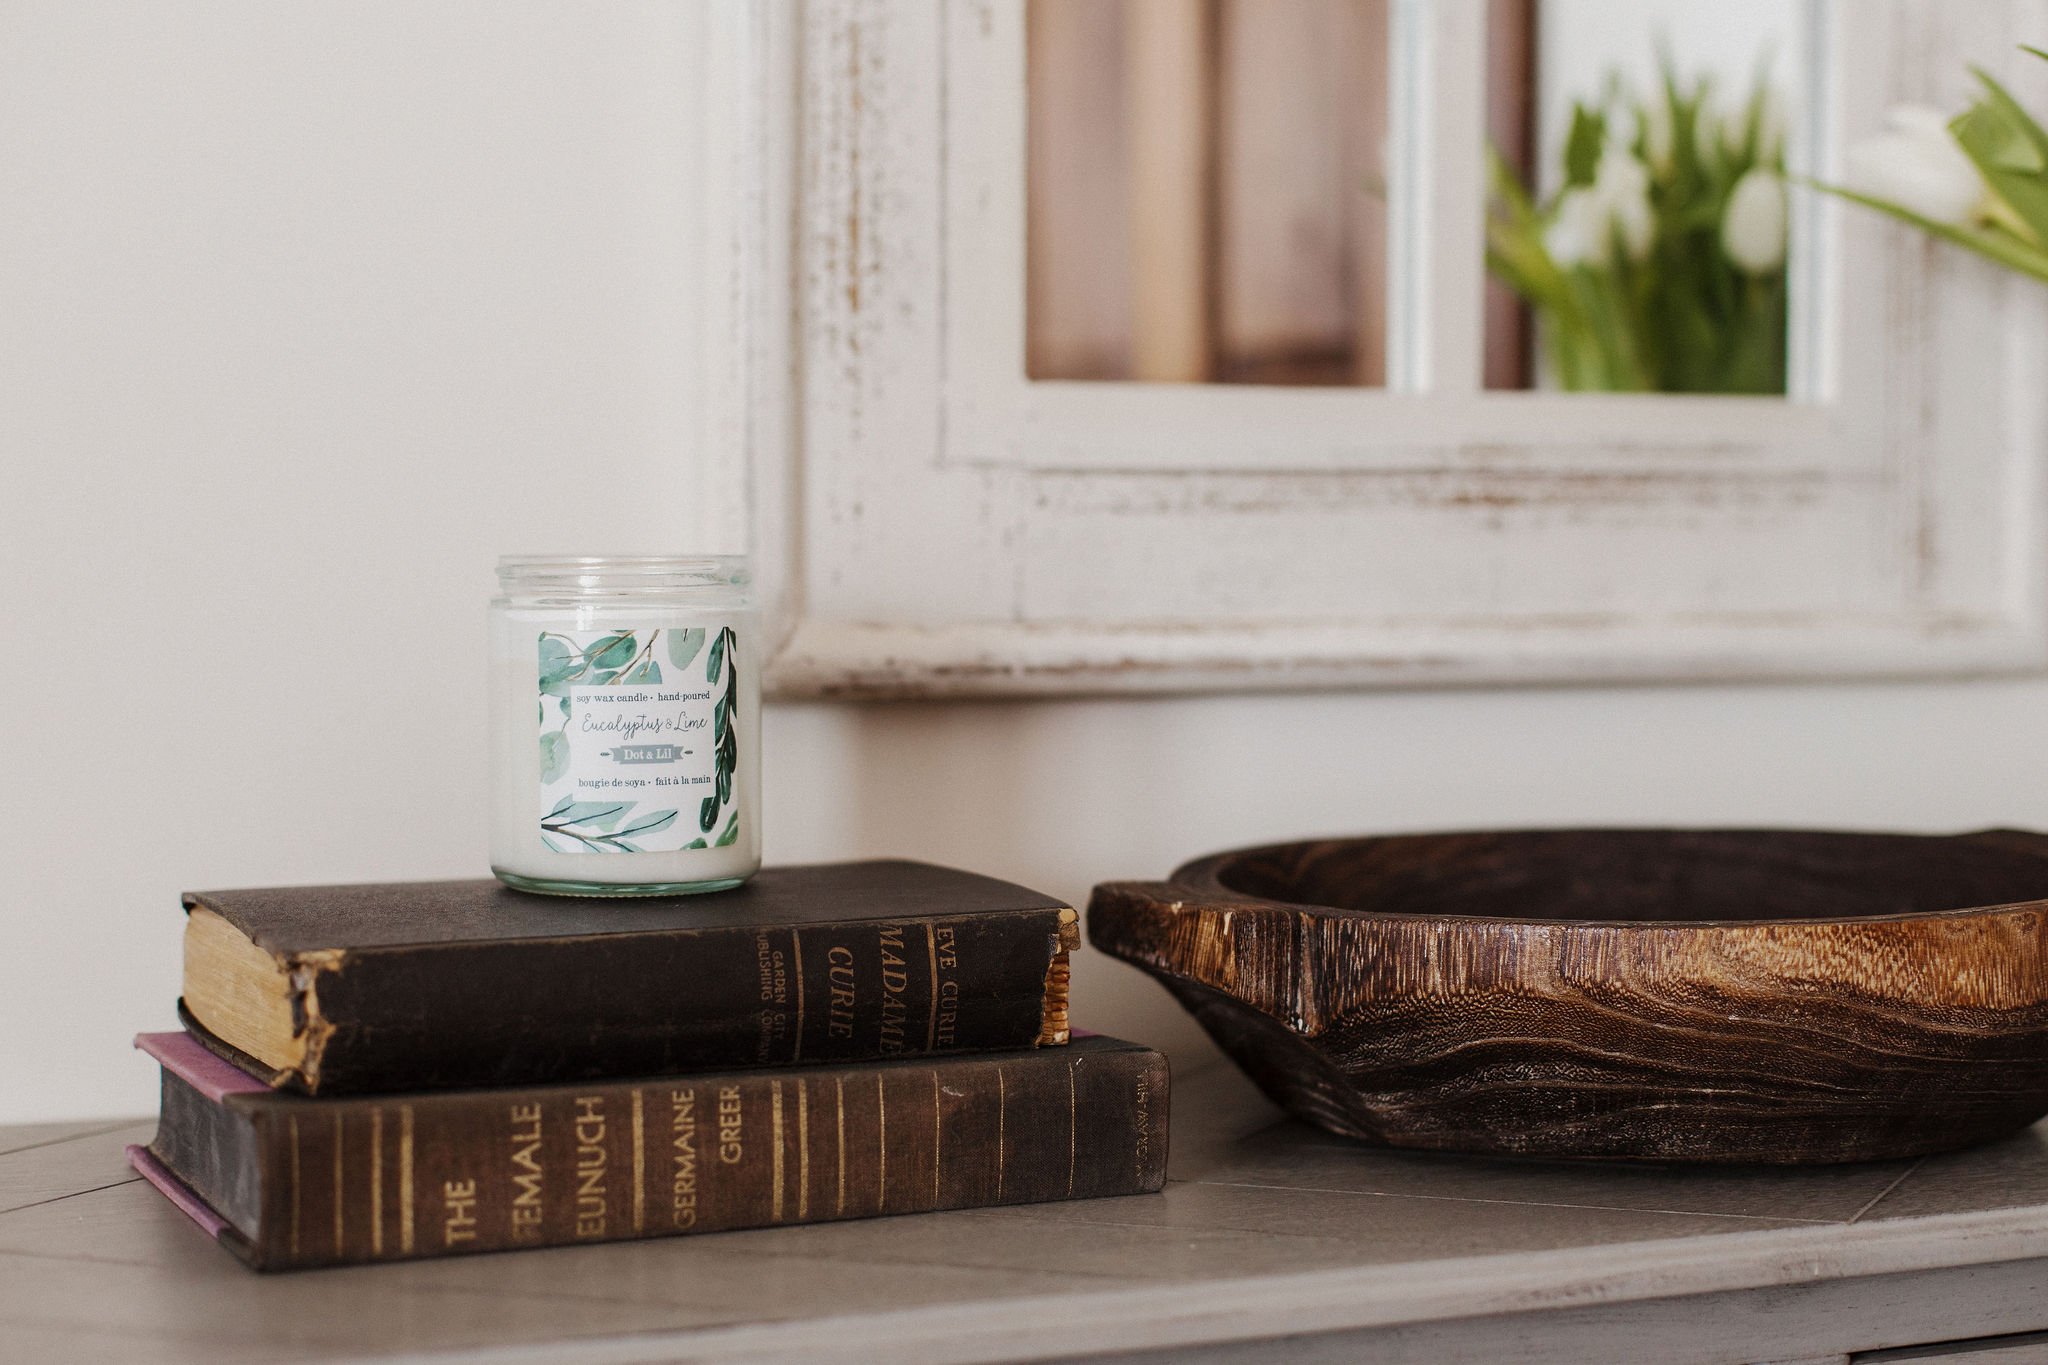
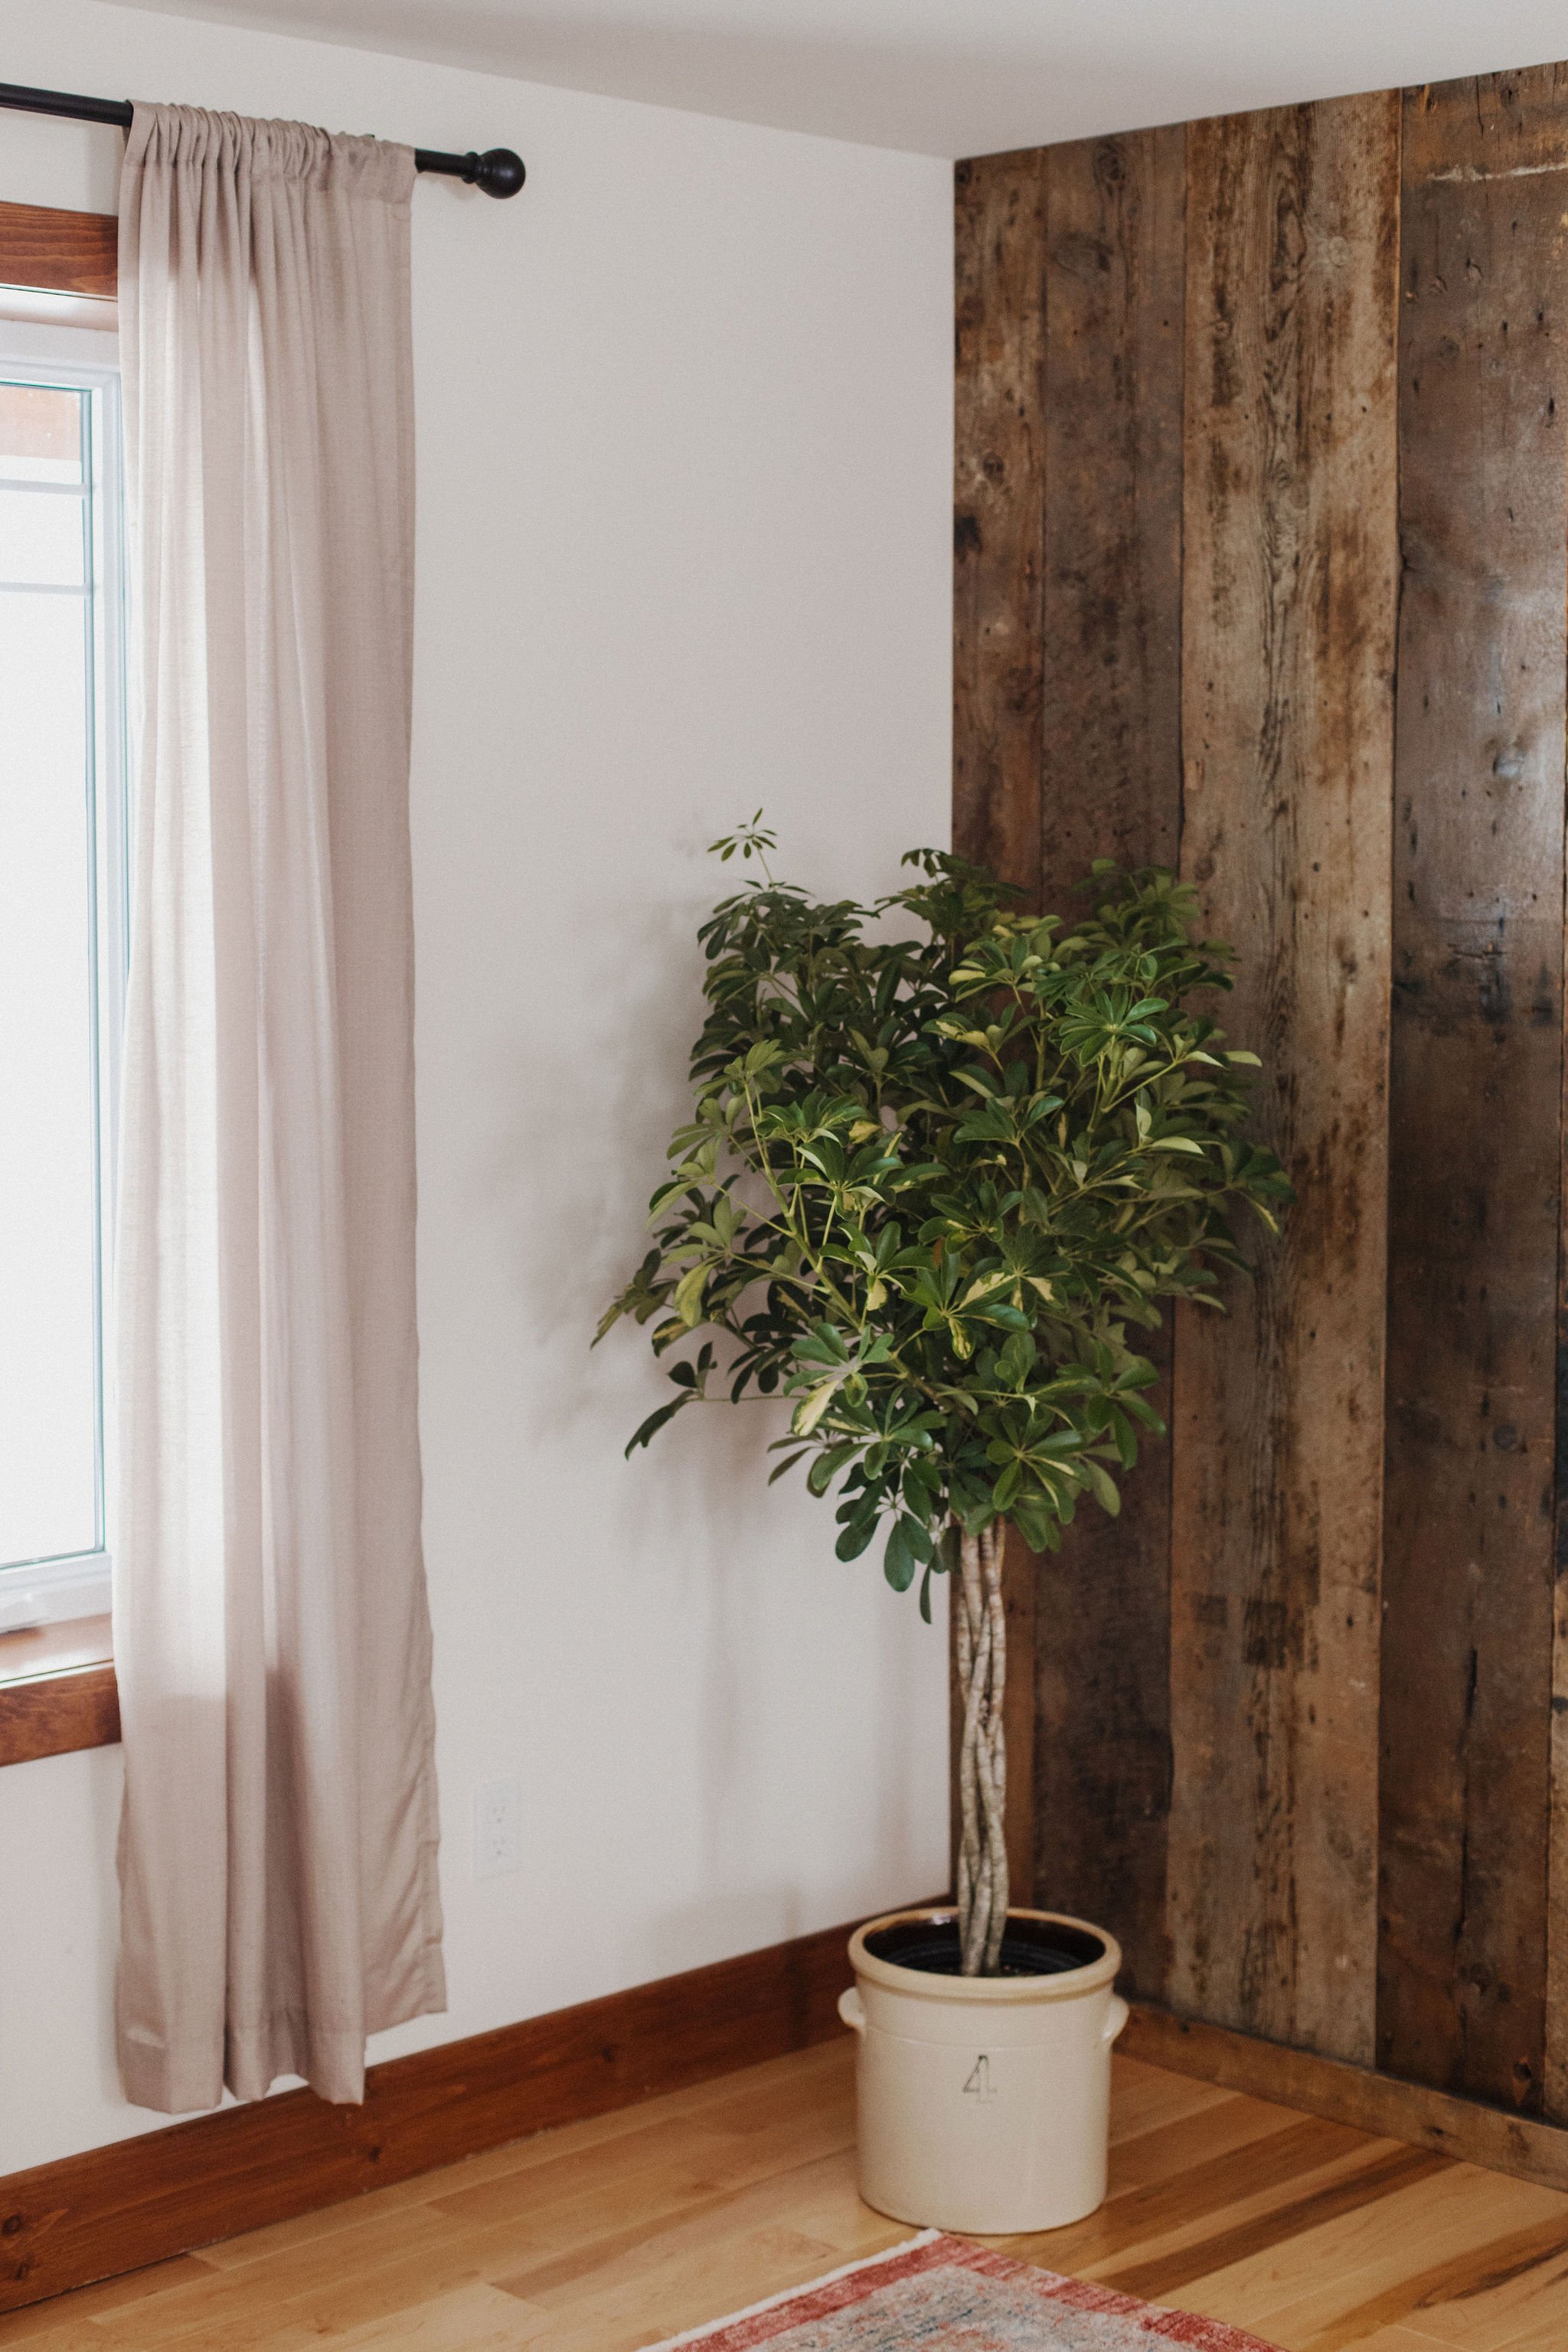
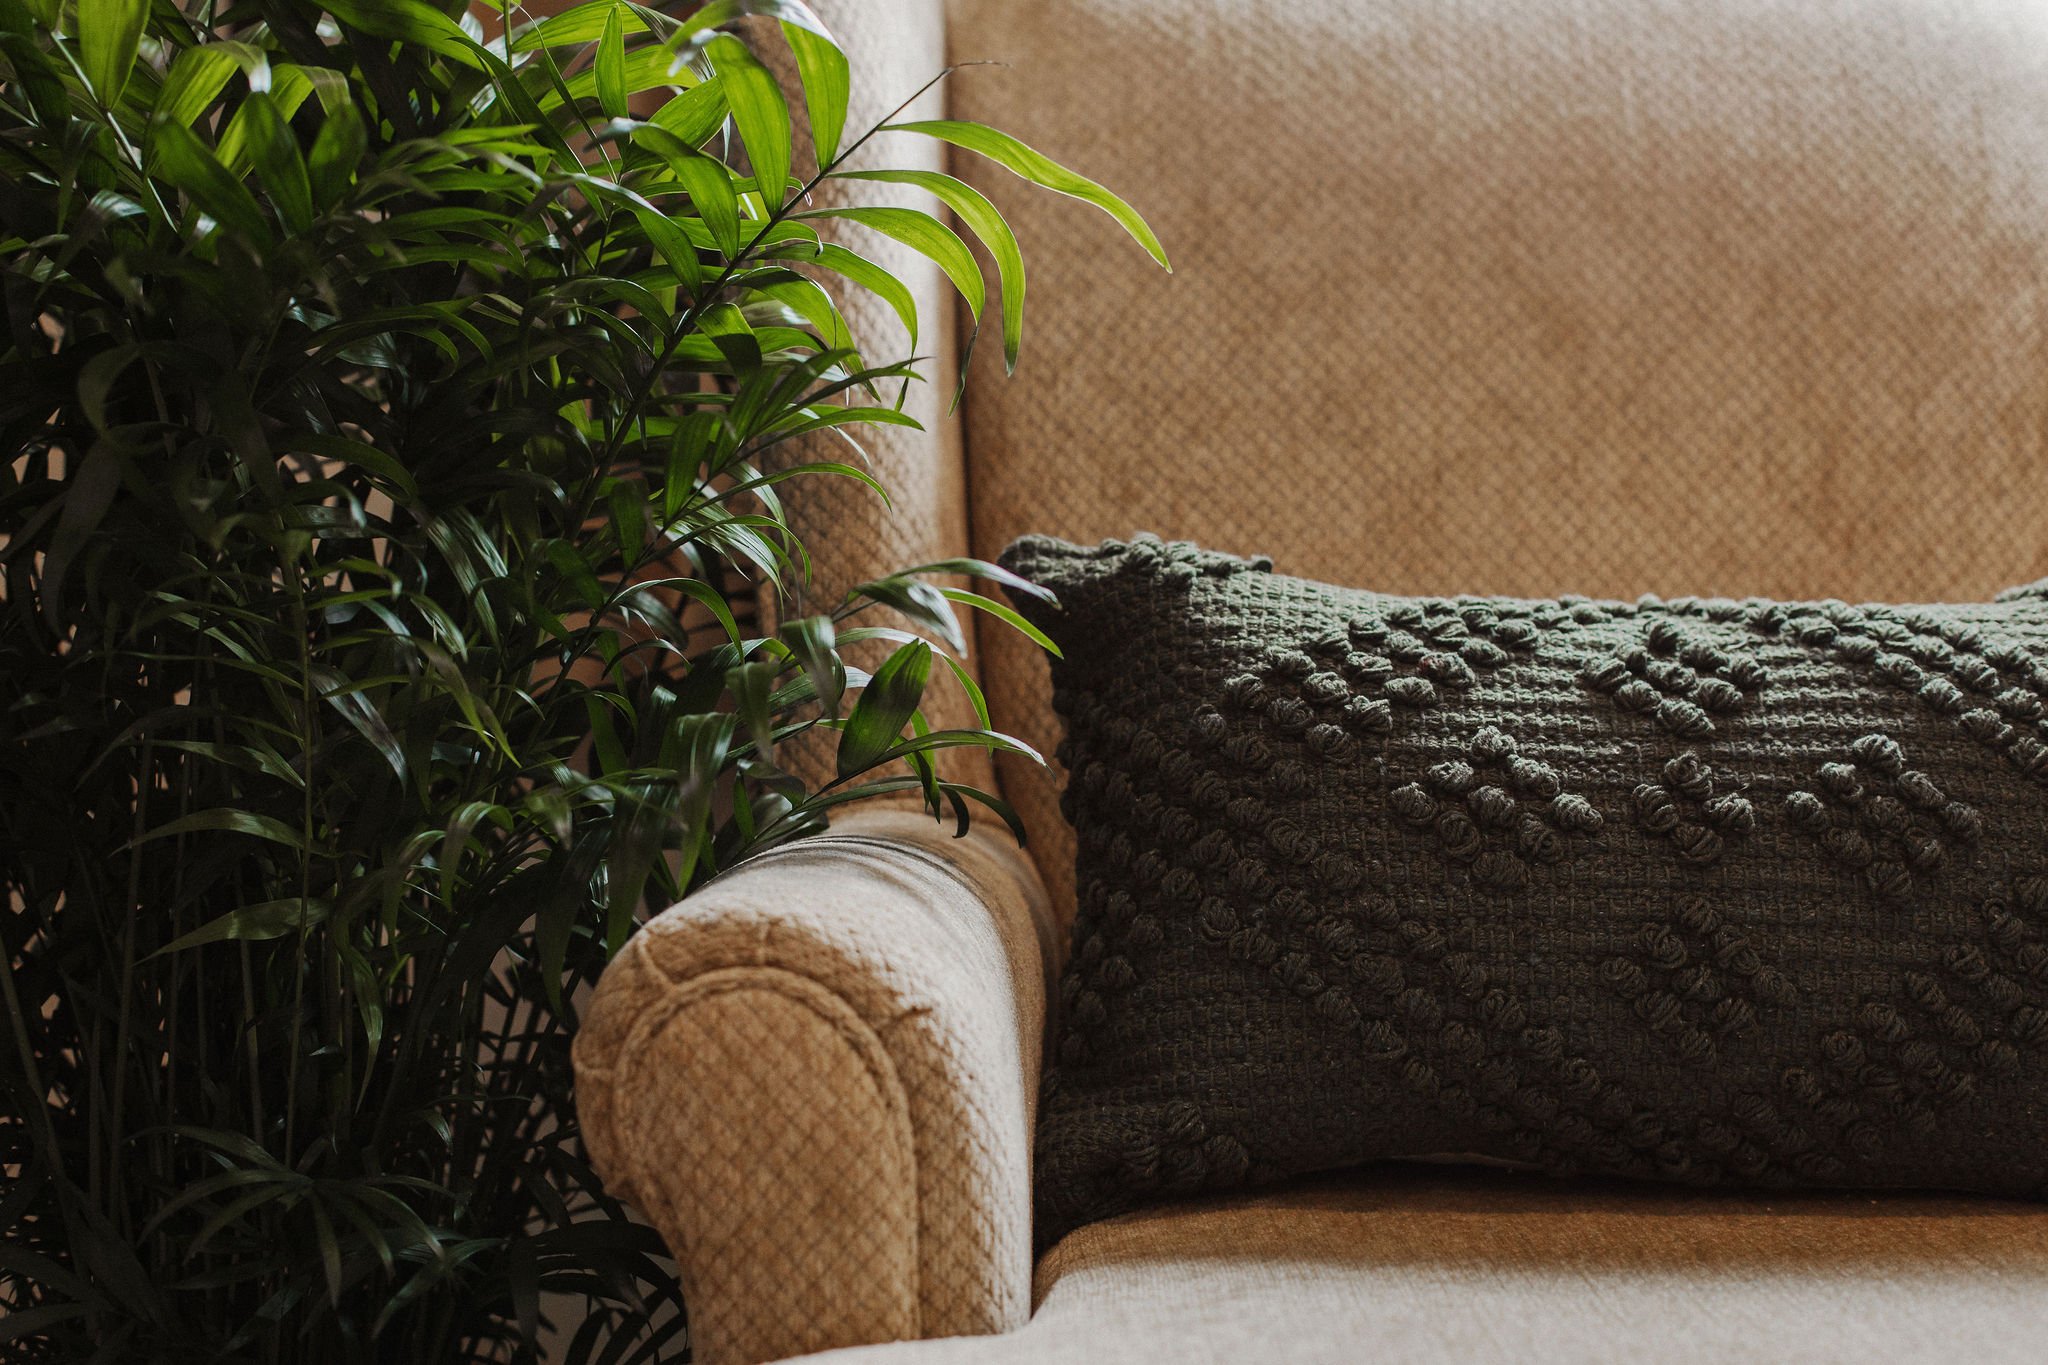
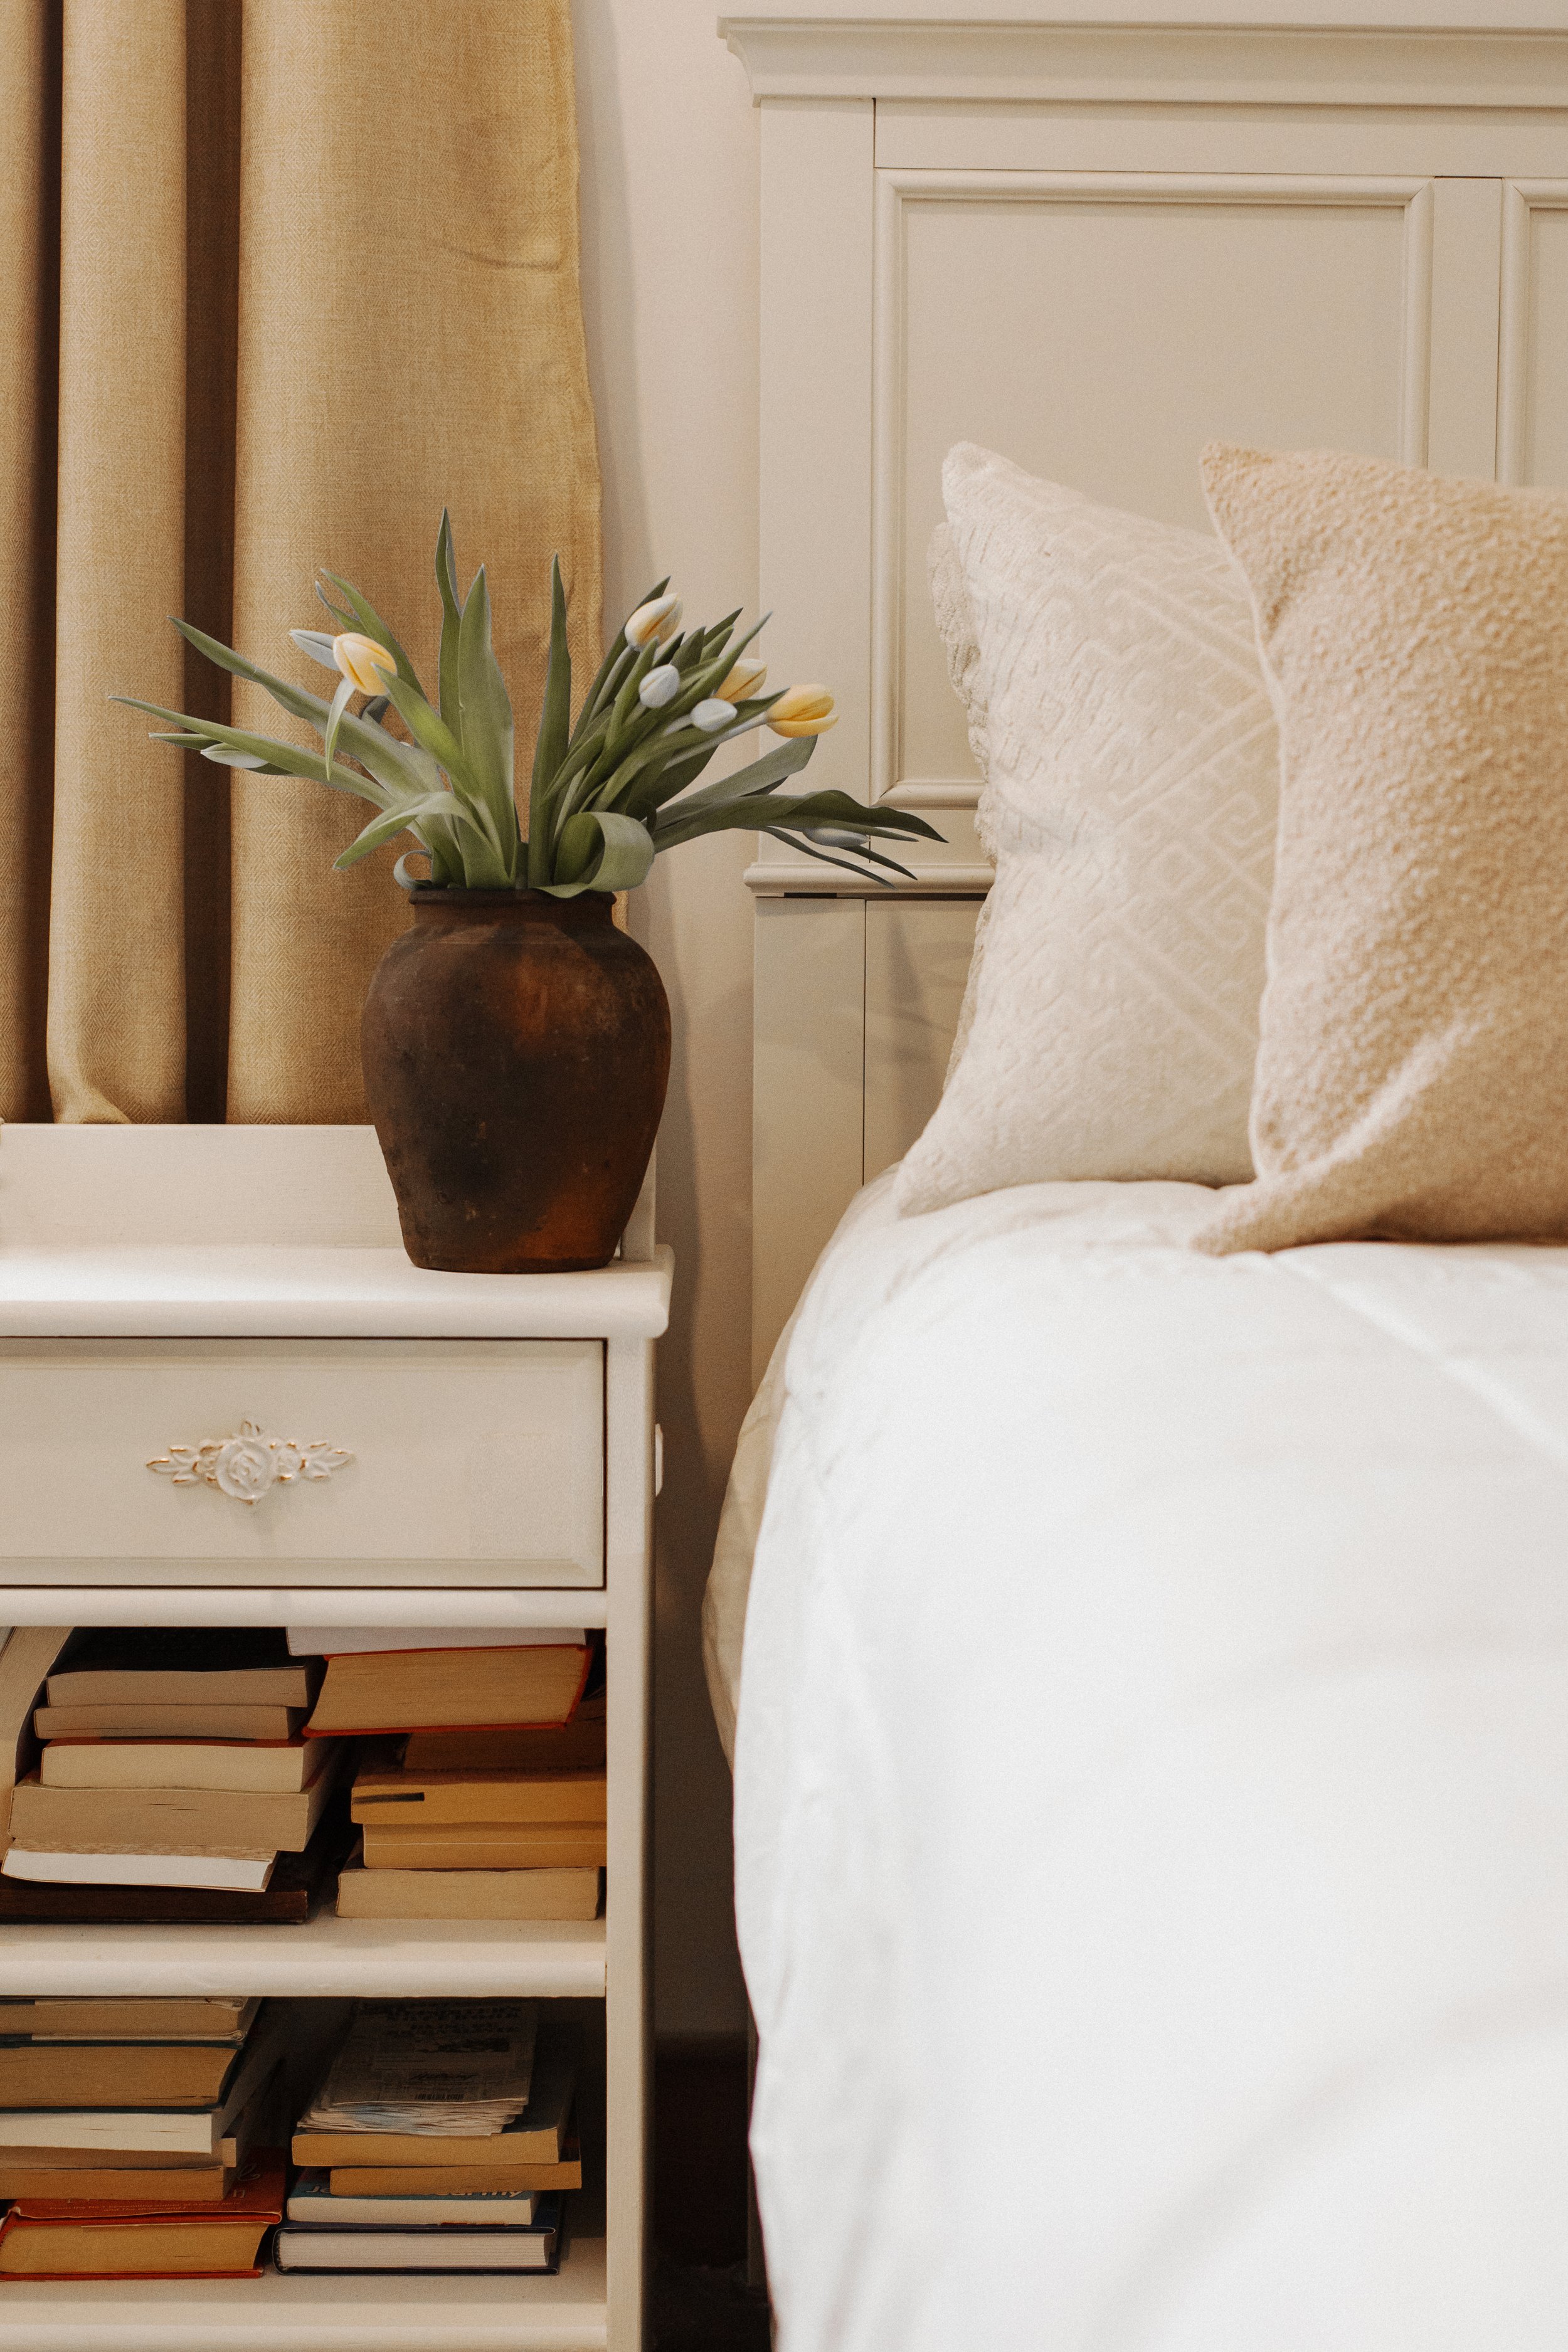
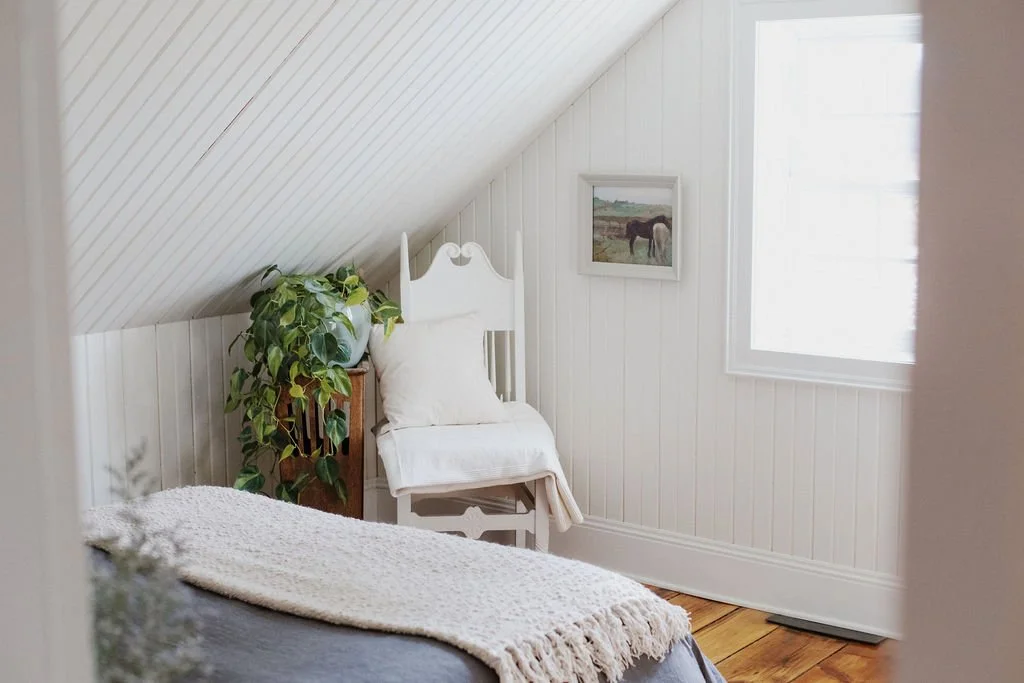
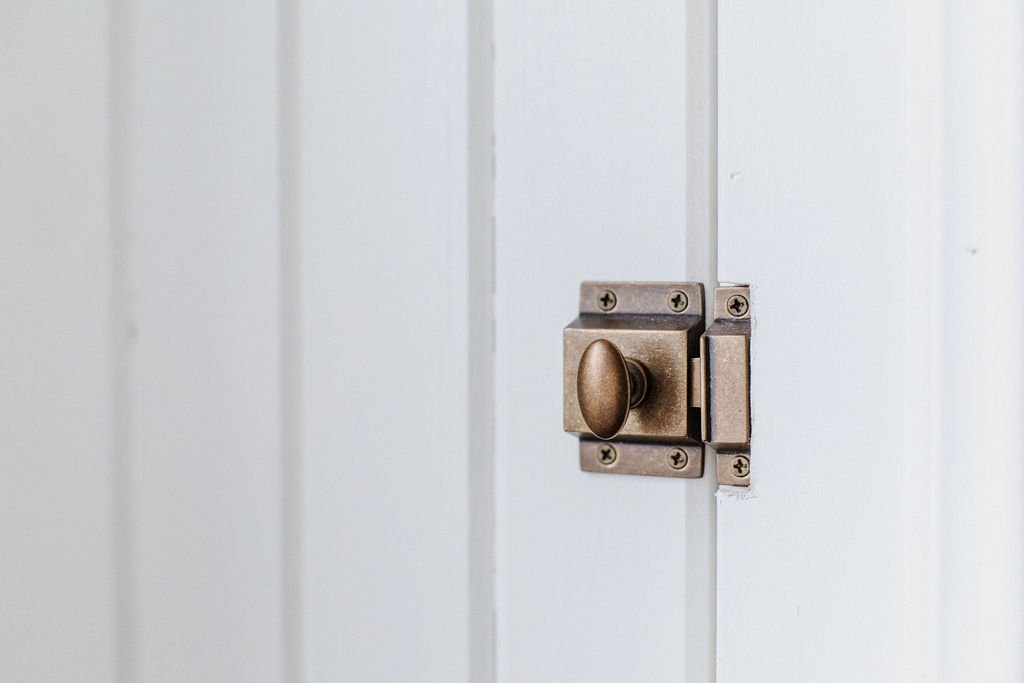
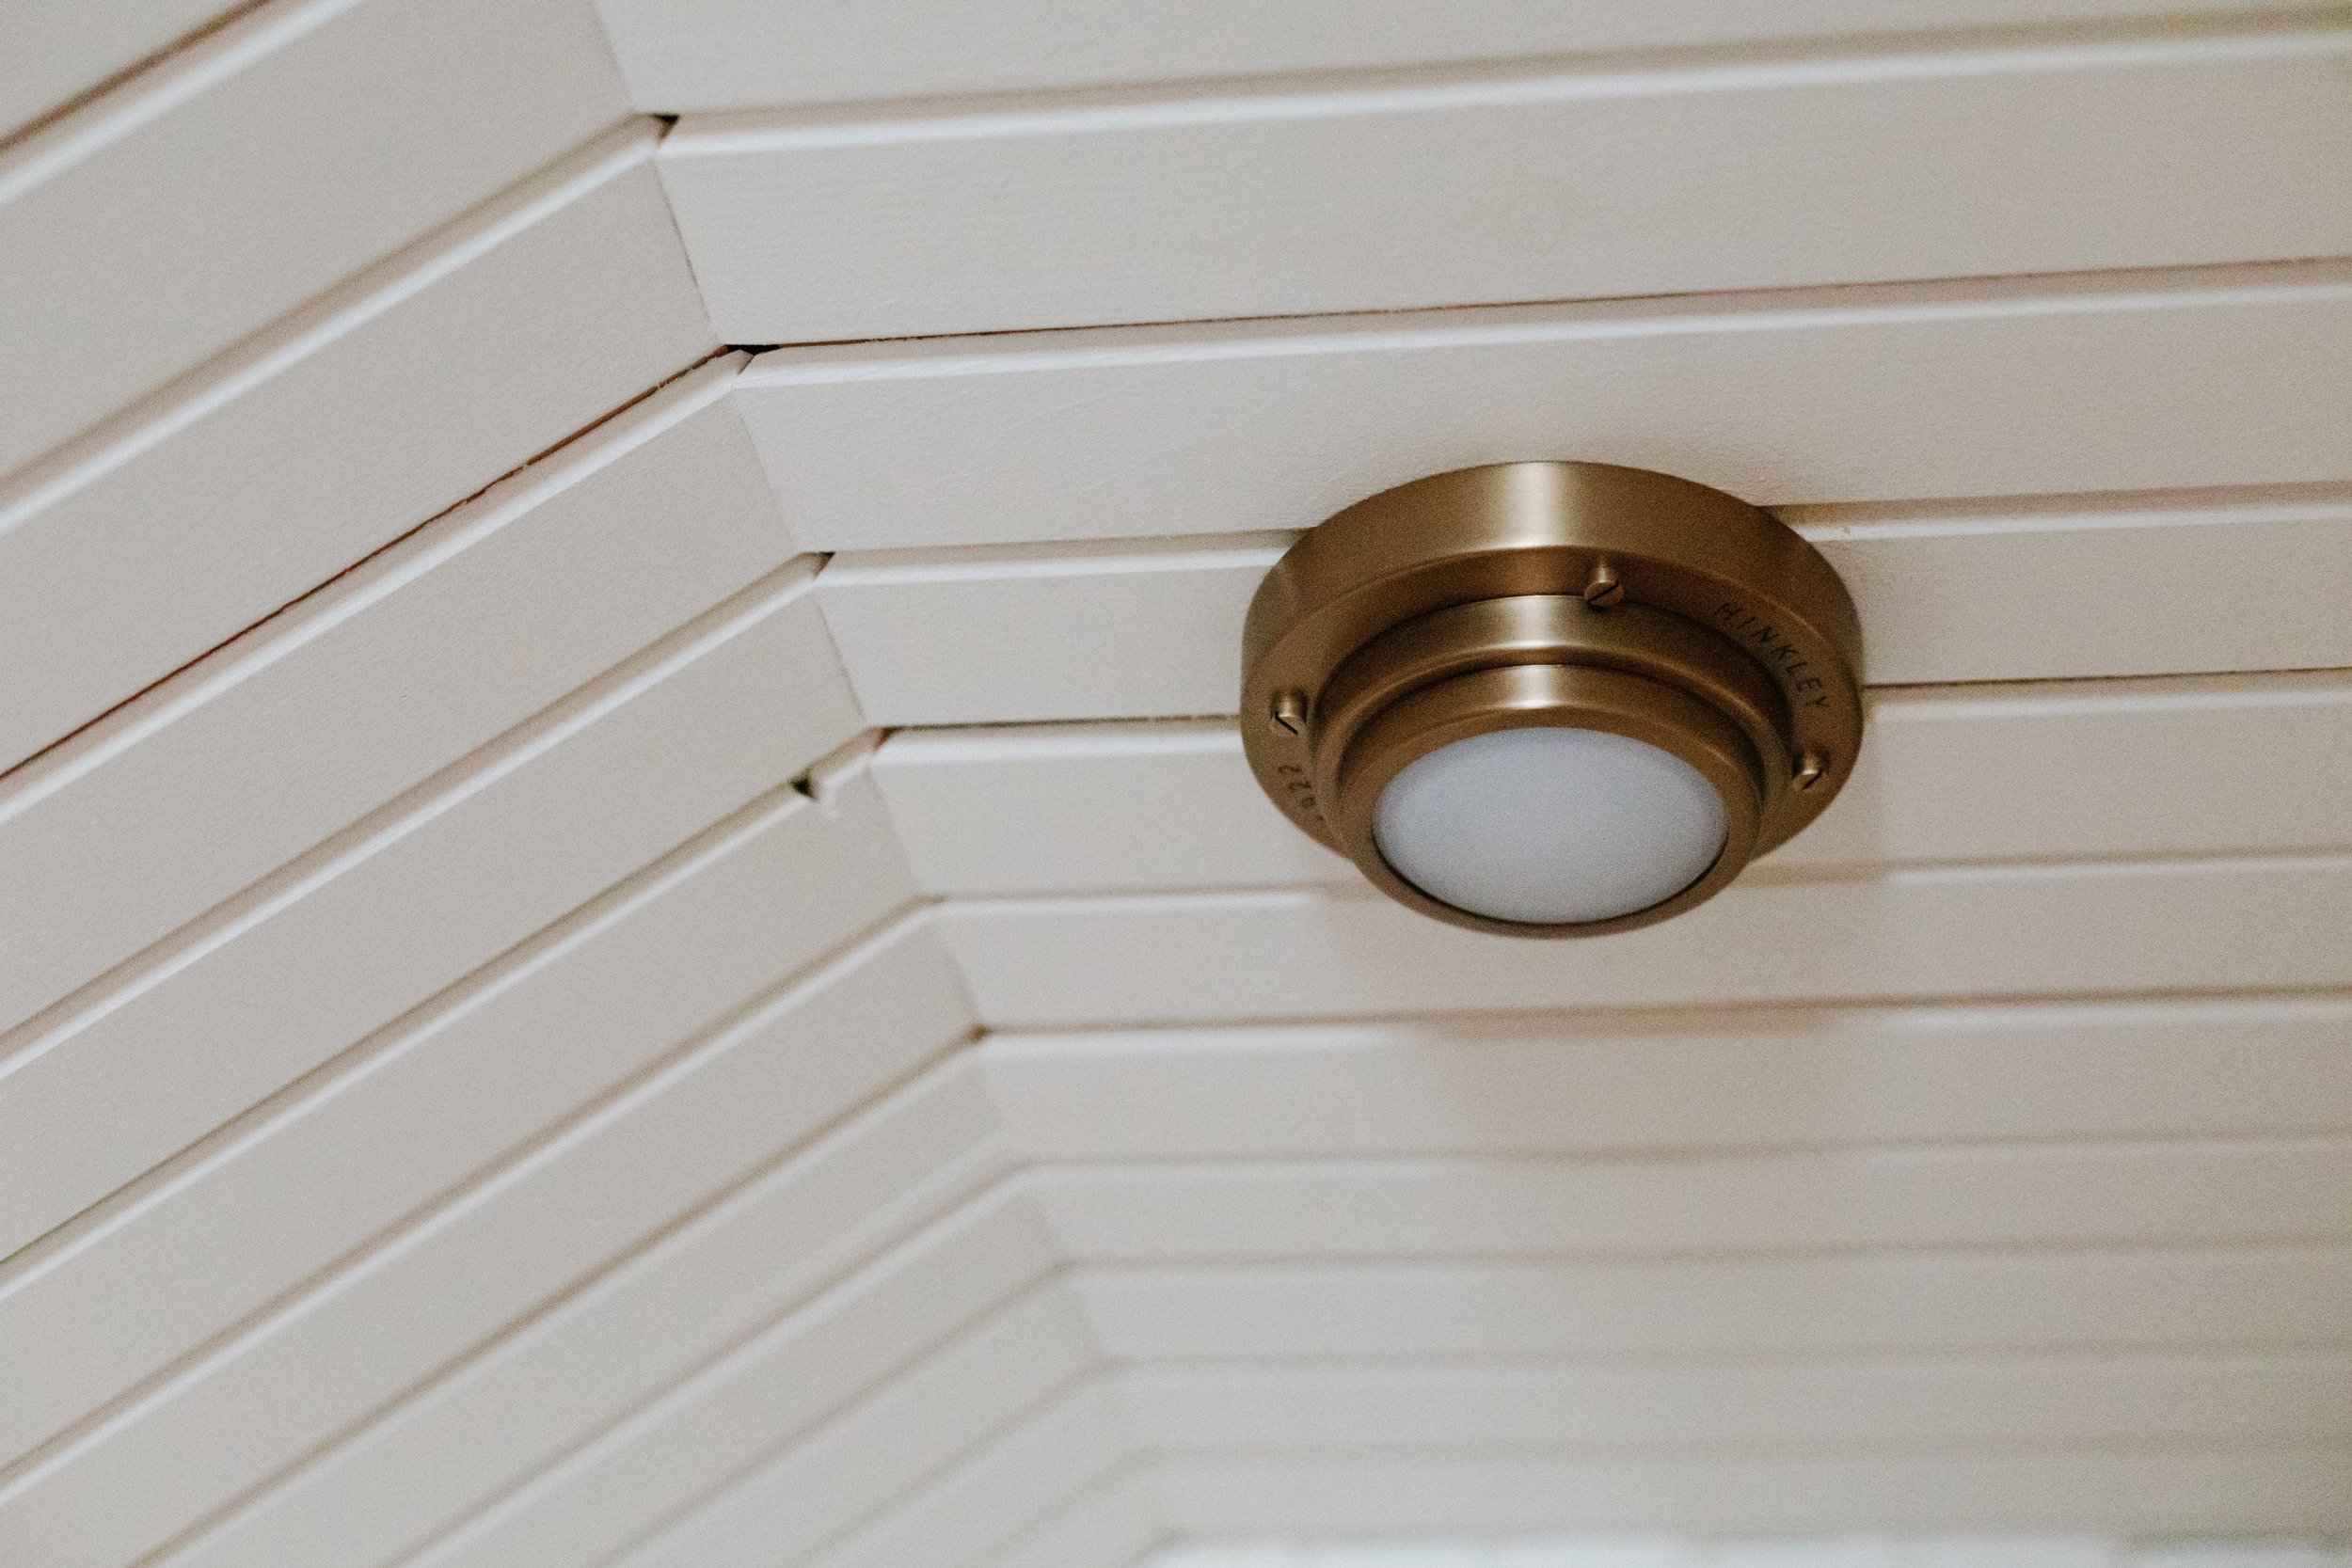
Make your interiors feel just like you. Your story, background and uniqueness. Connect with your creativity, what you love and what lights you up. Tell a story within a space by displaying unique pieces and pieces that hold meaning. Family heirlooms, vintage finds and souvenirs from your travels.

Stop gathering inspiration. Yes, it’s a good starting point to watch what others are doing, and how they are doing it. But there comes a time when you need to create from within.

When you understand your personal style you begin to elevate your home with ease. Your home will feel good to be in too.

Click HERE for a list of the top 10 decor staples you need to create your best spaces
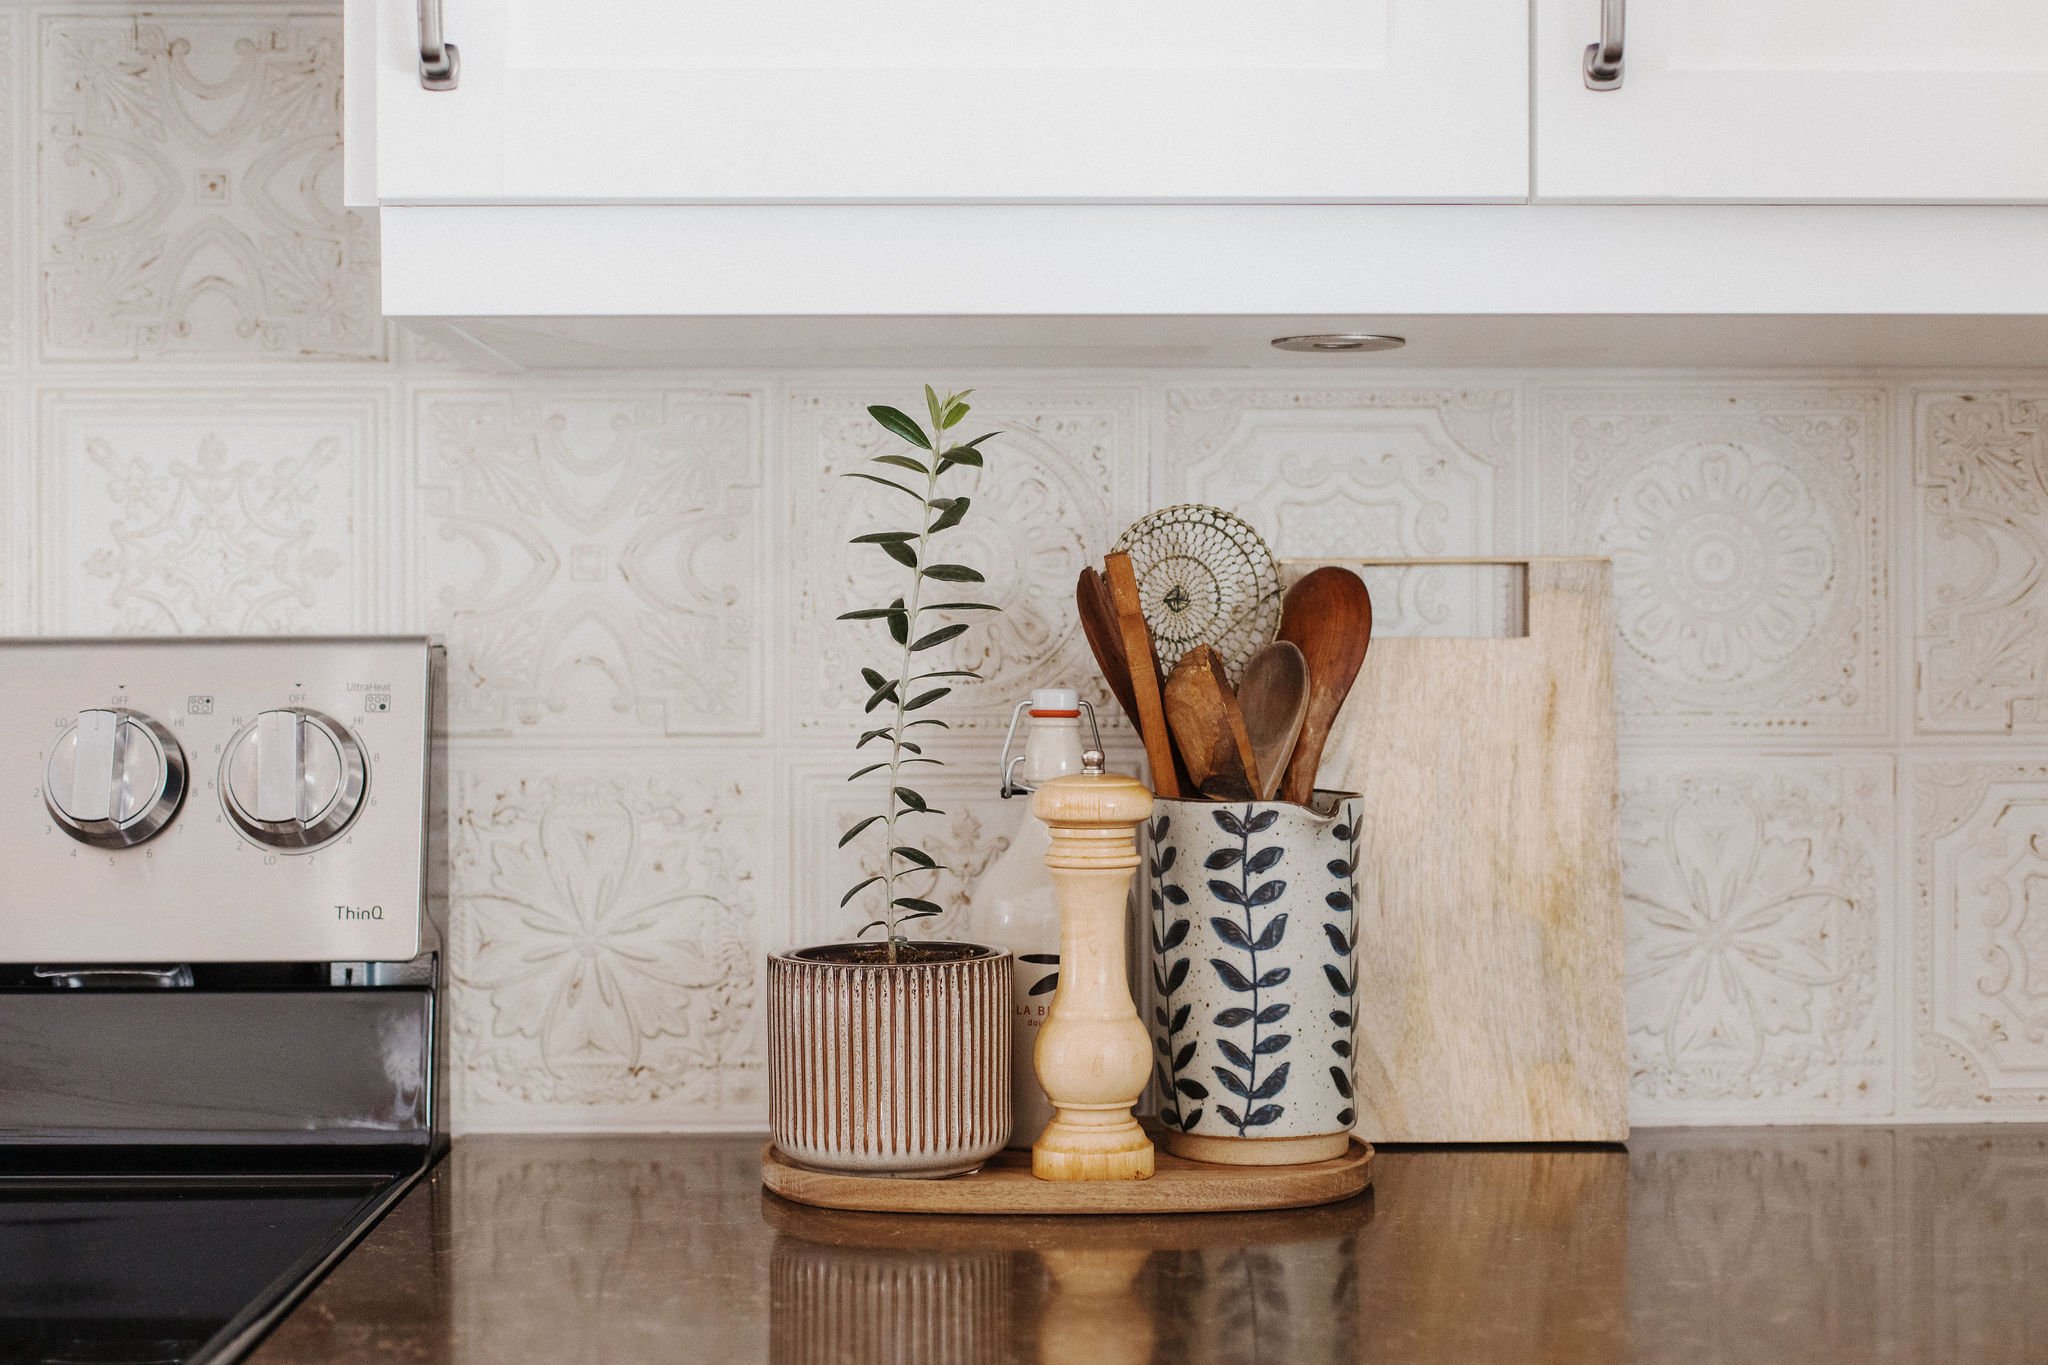
02 Select objects

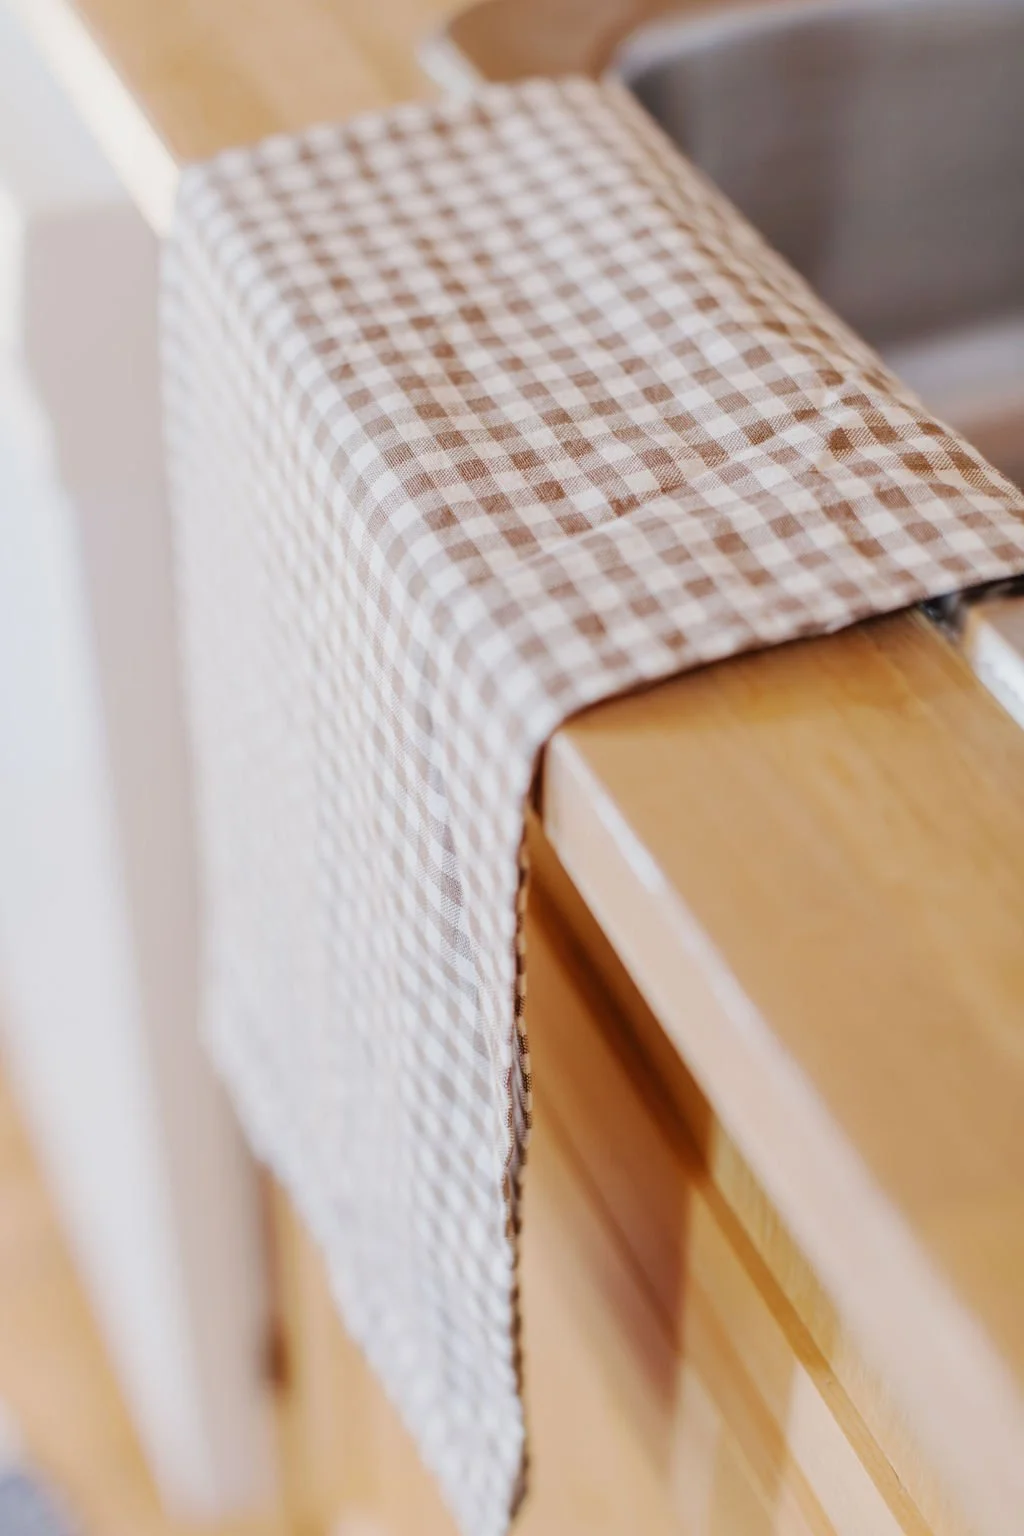
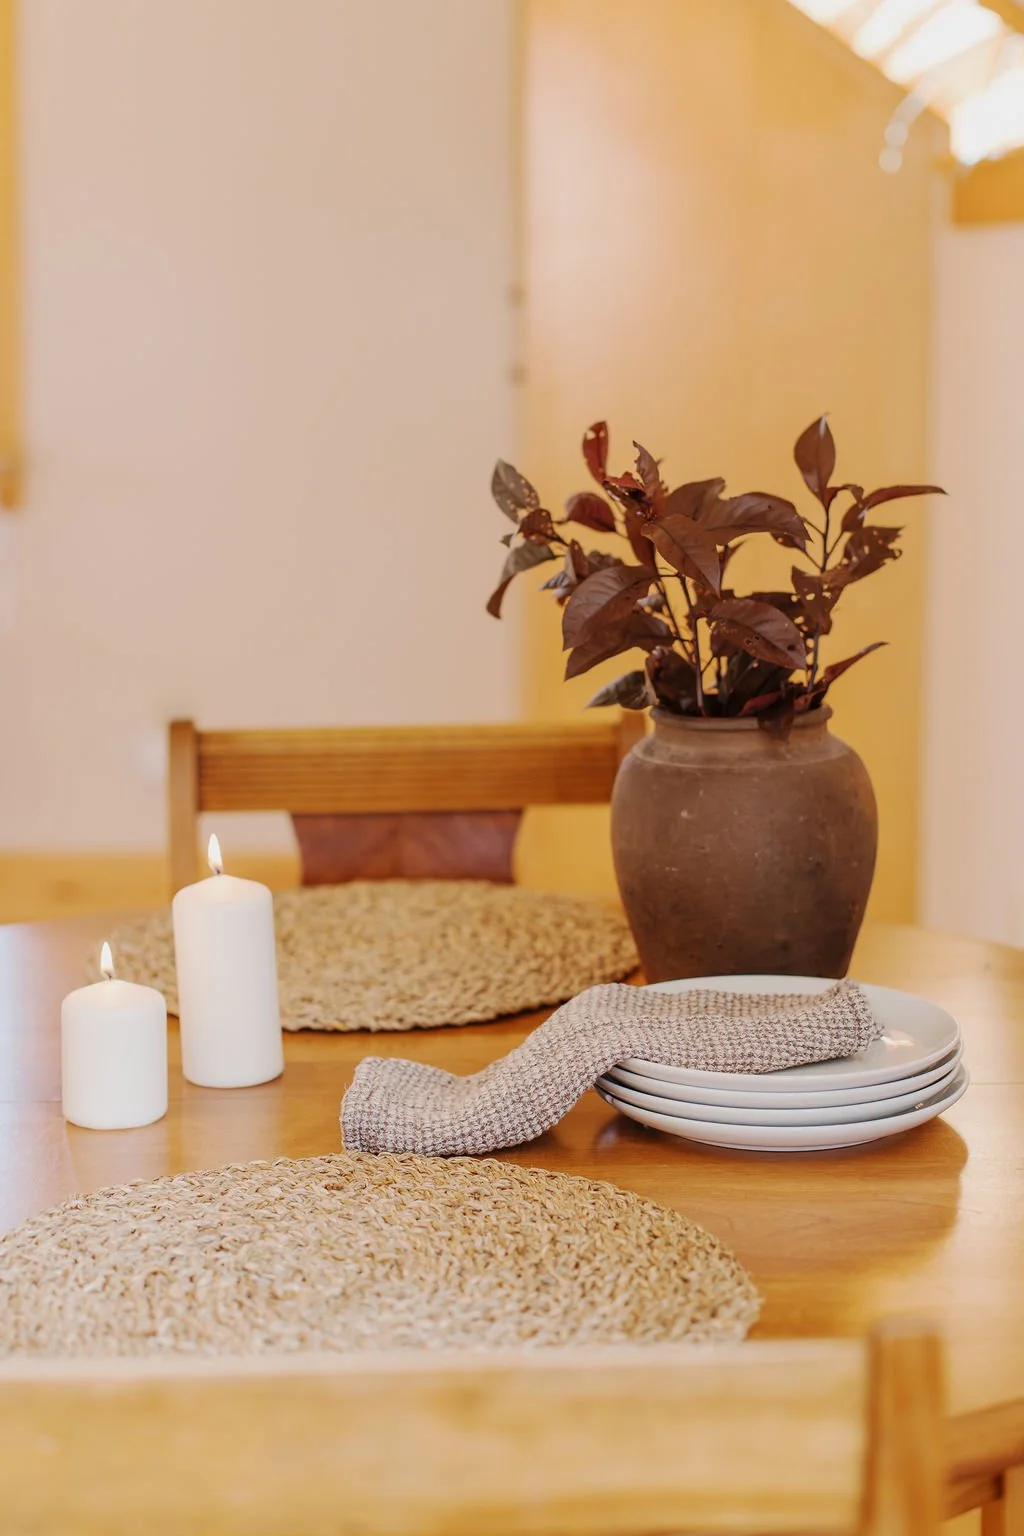
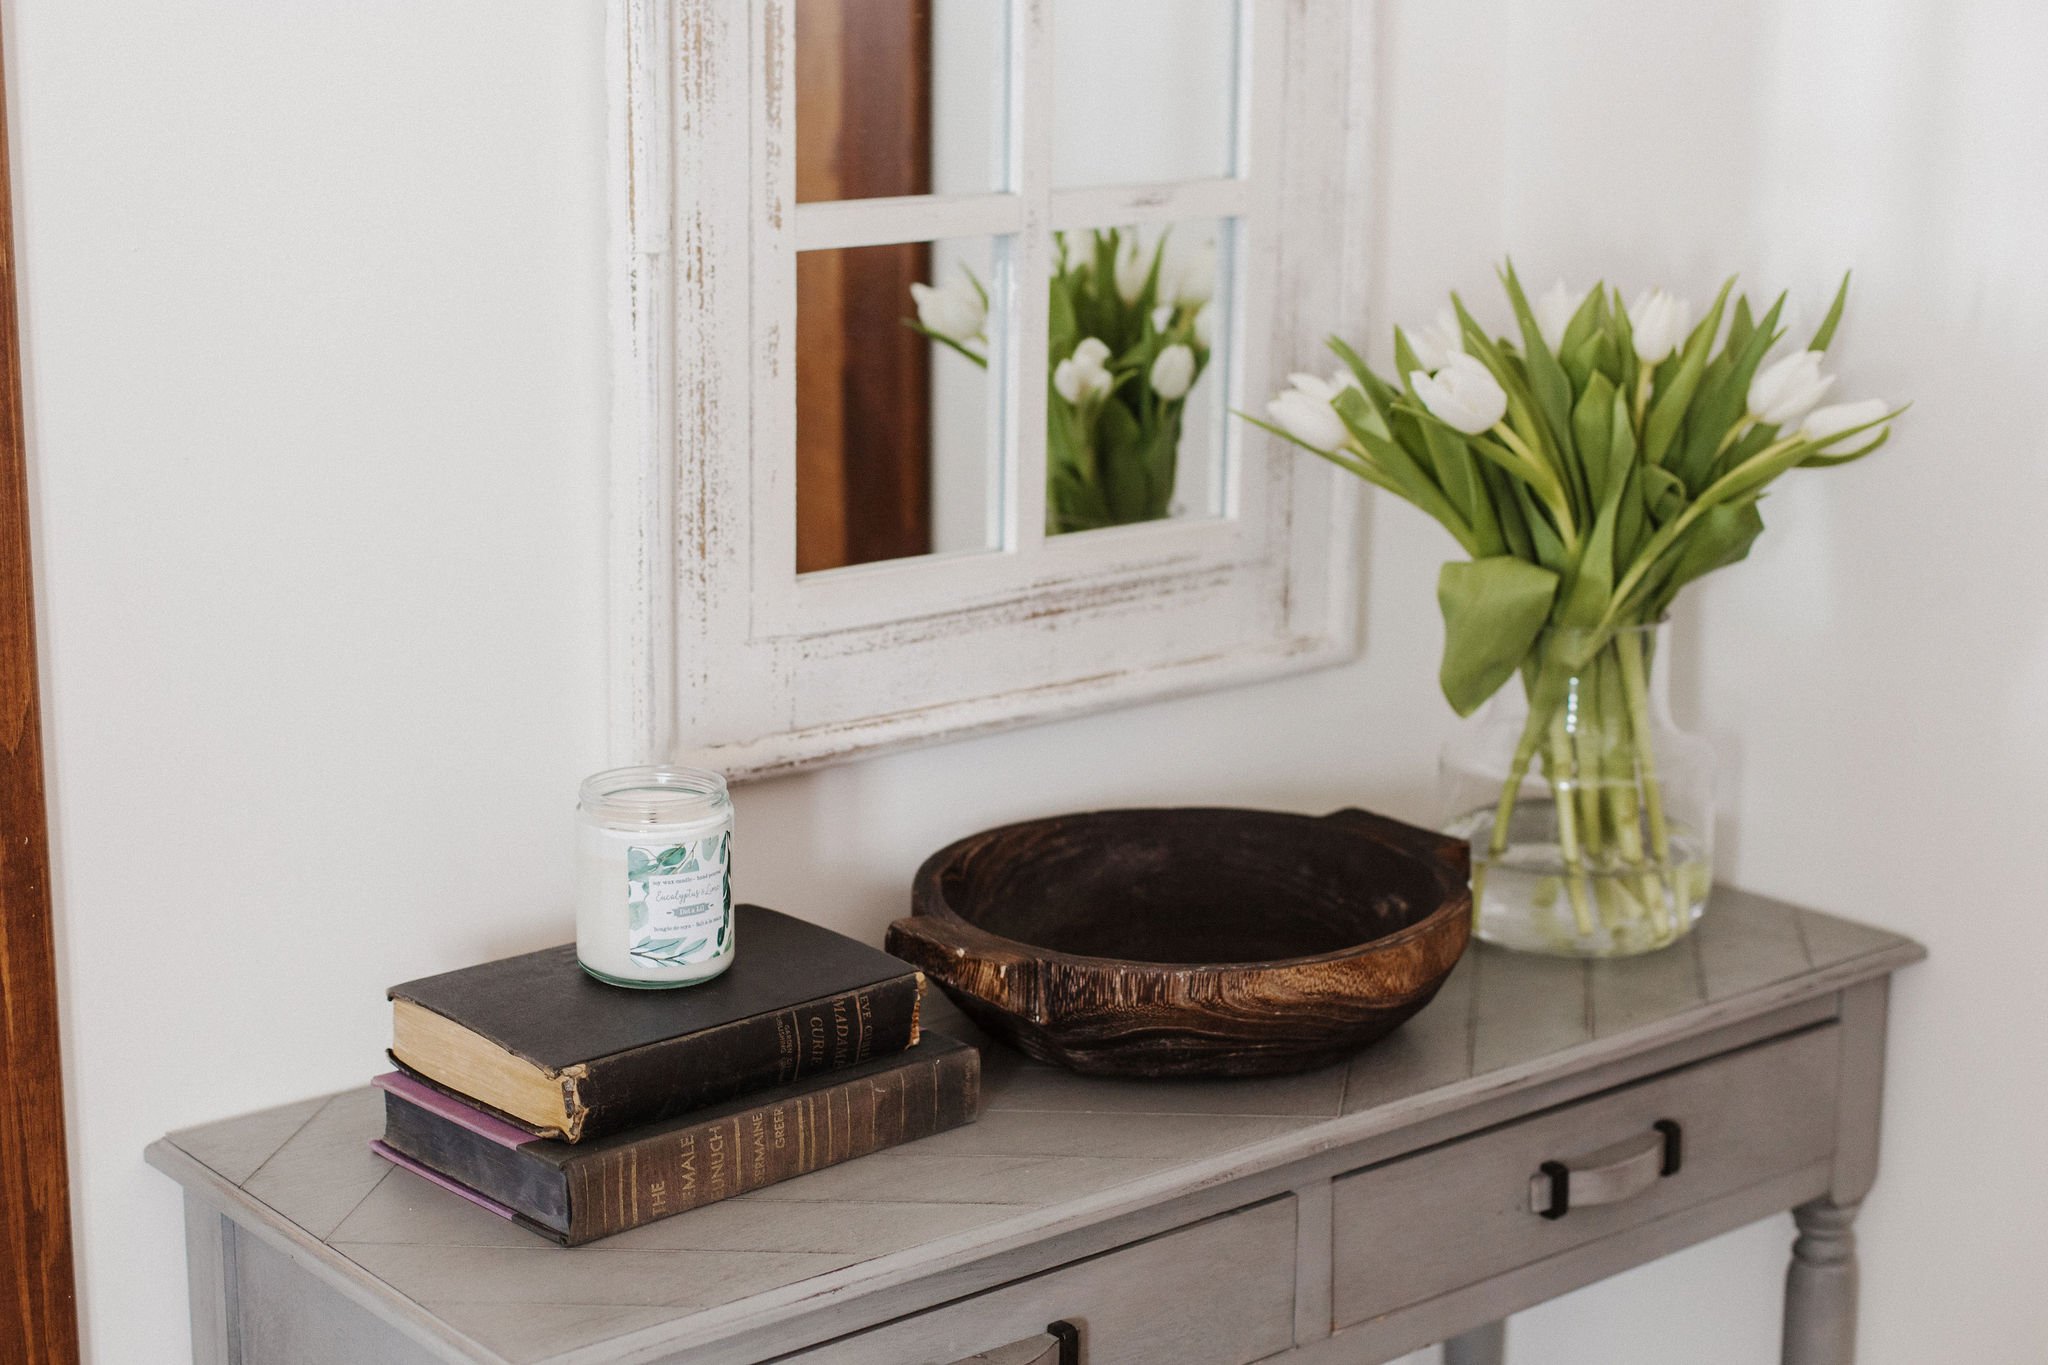
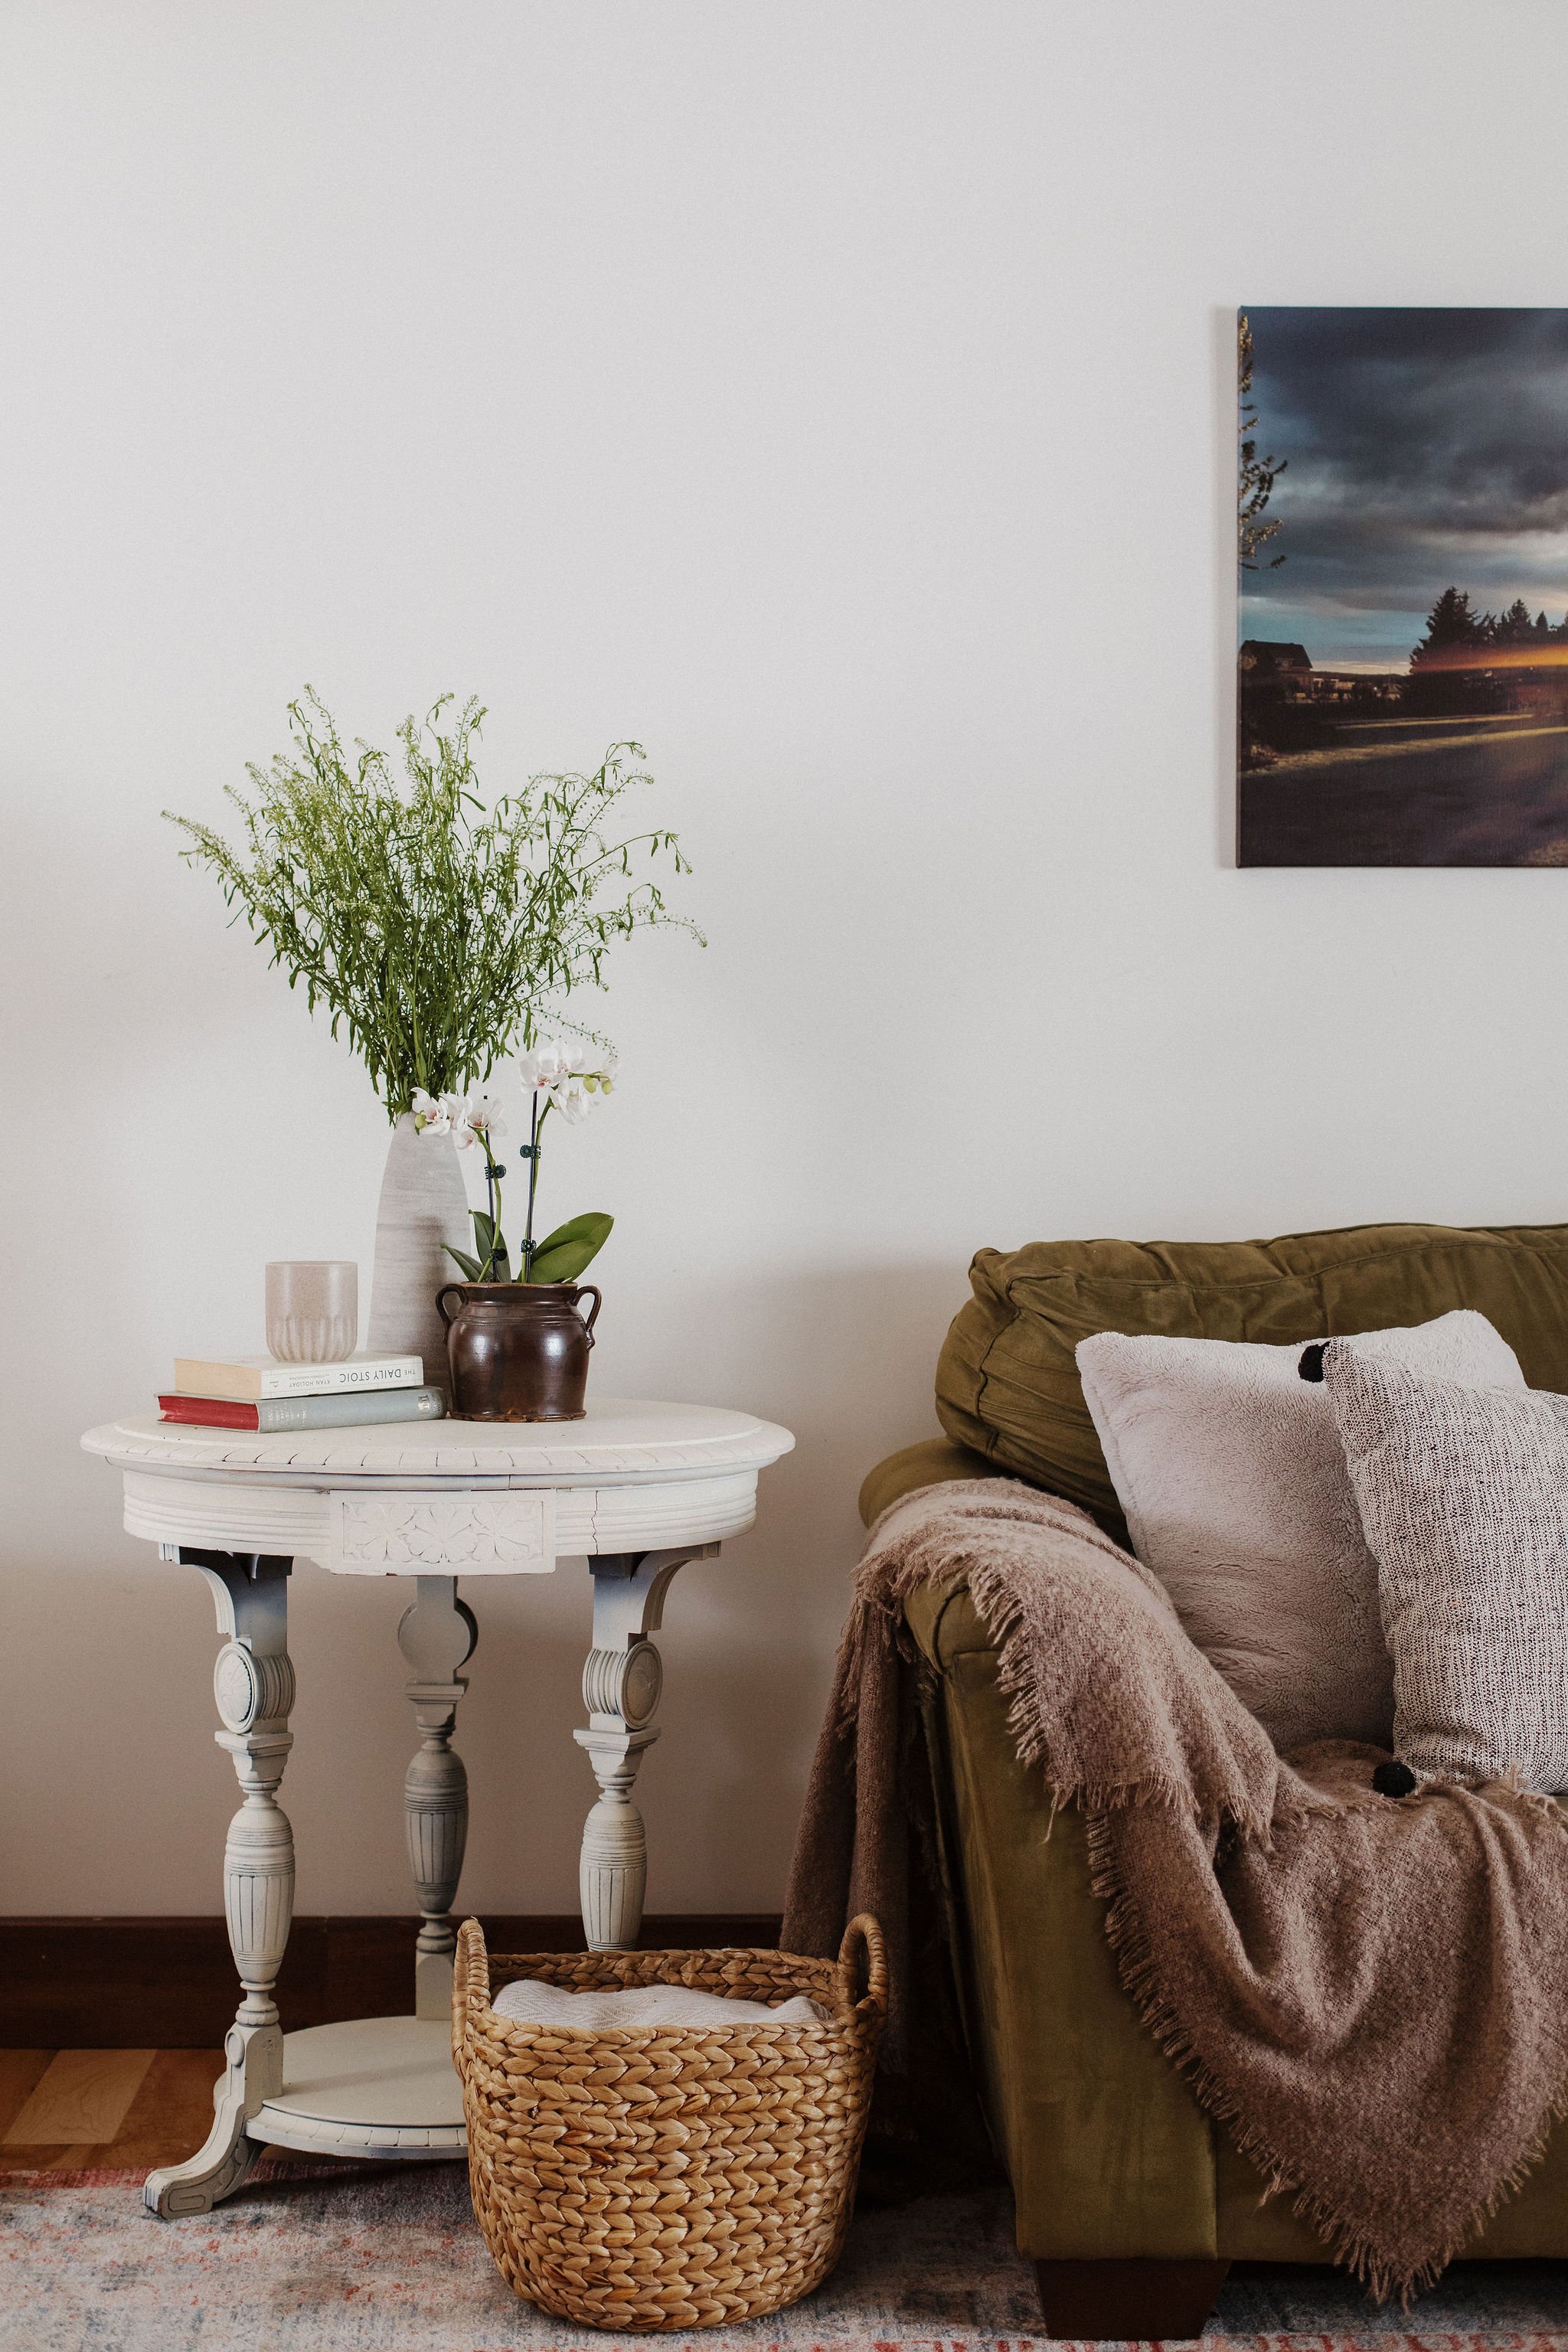
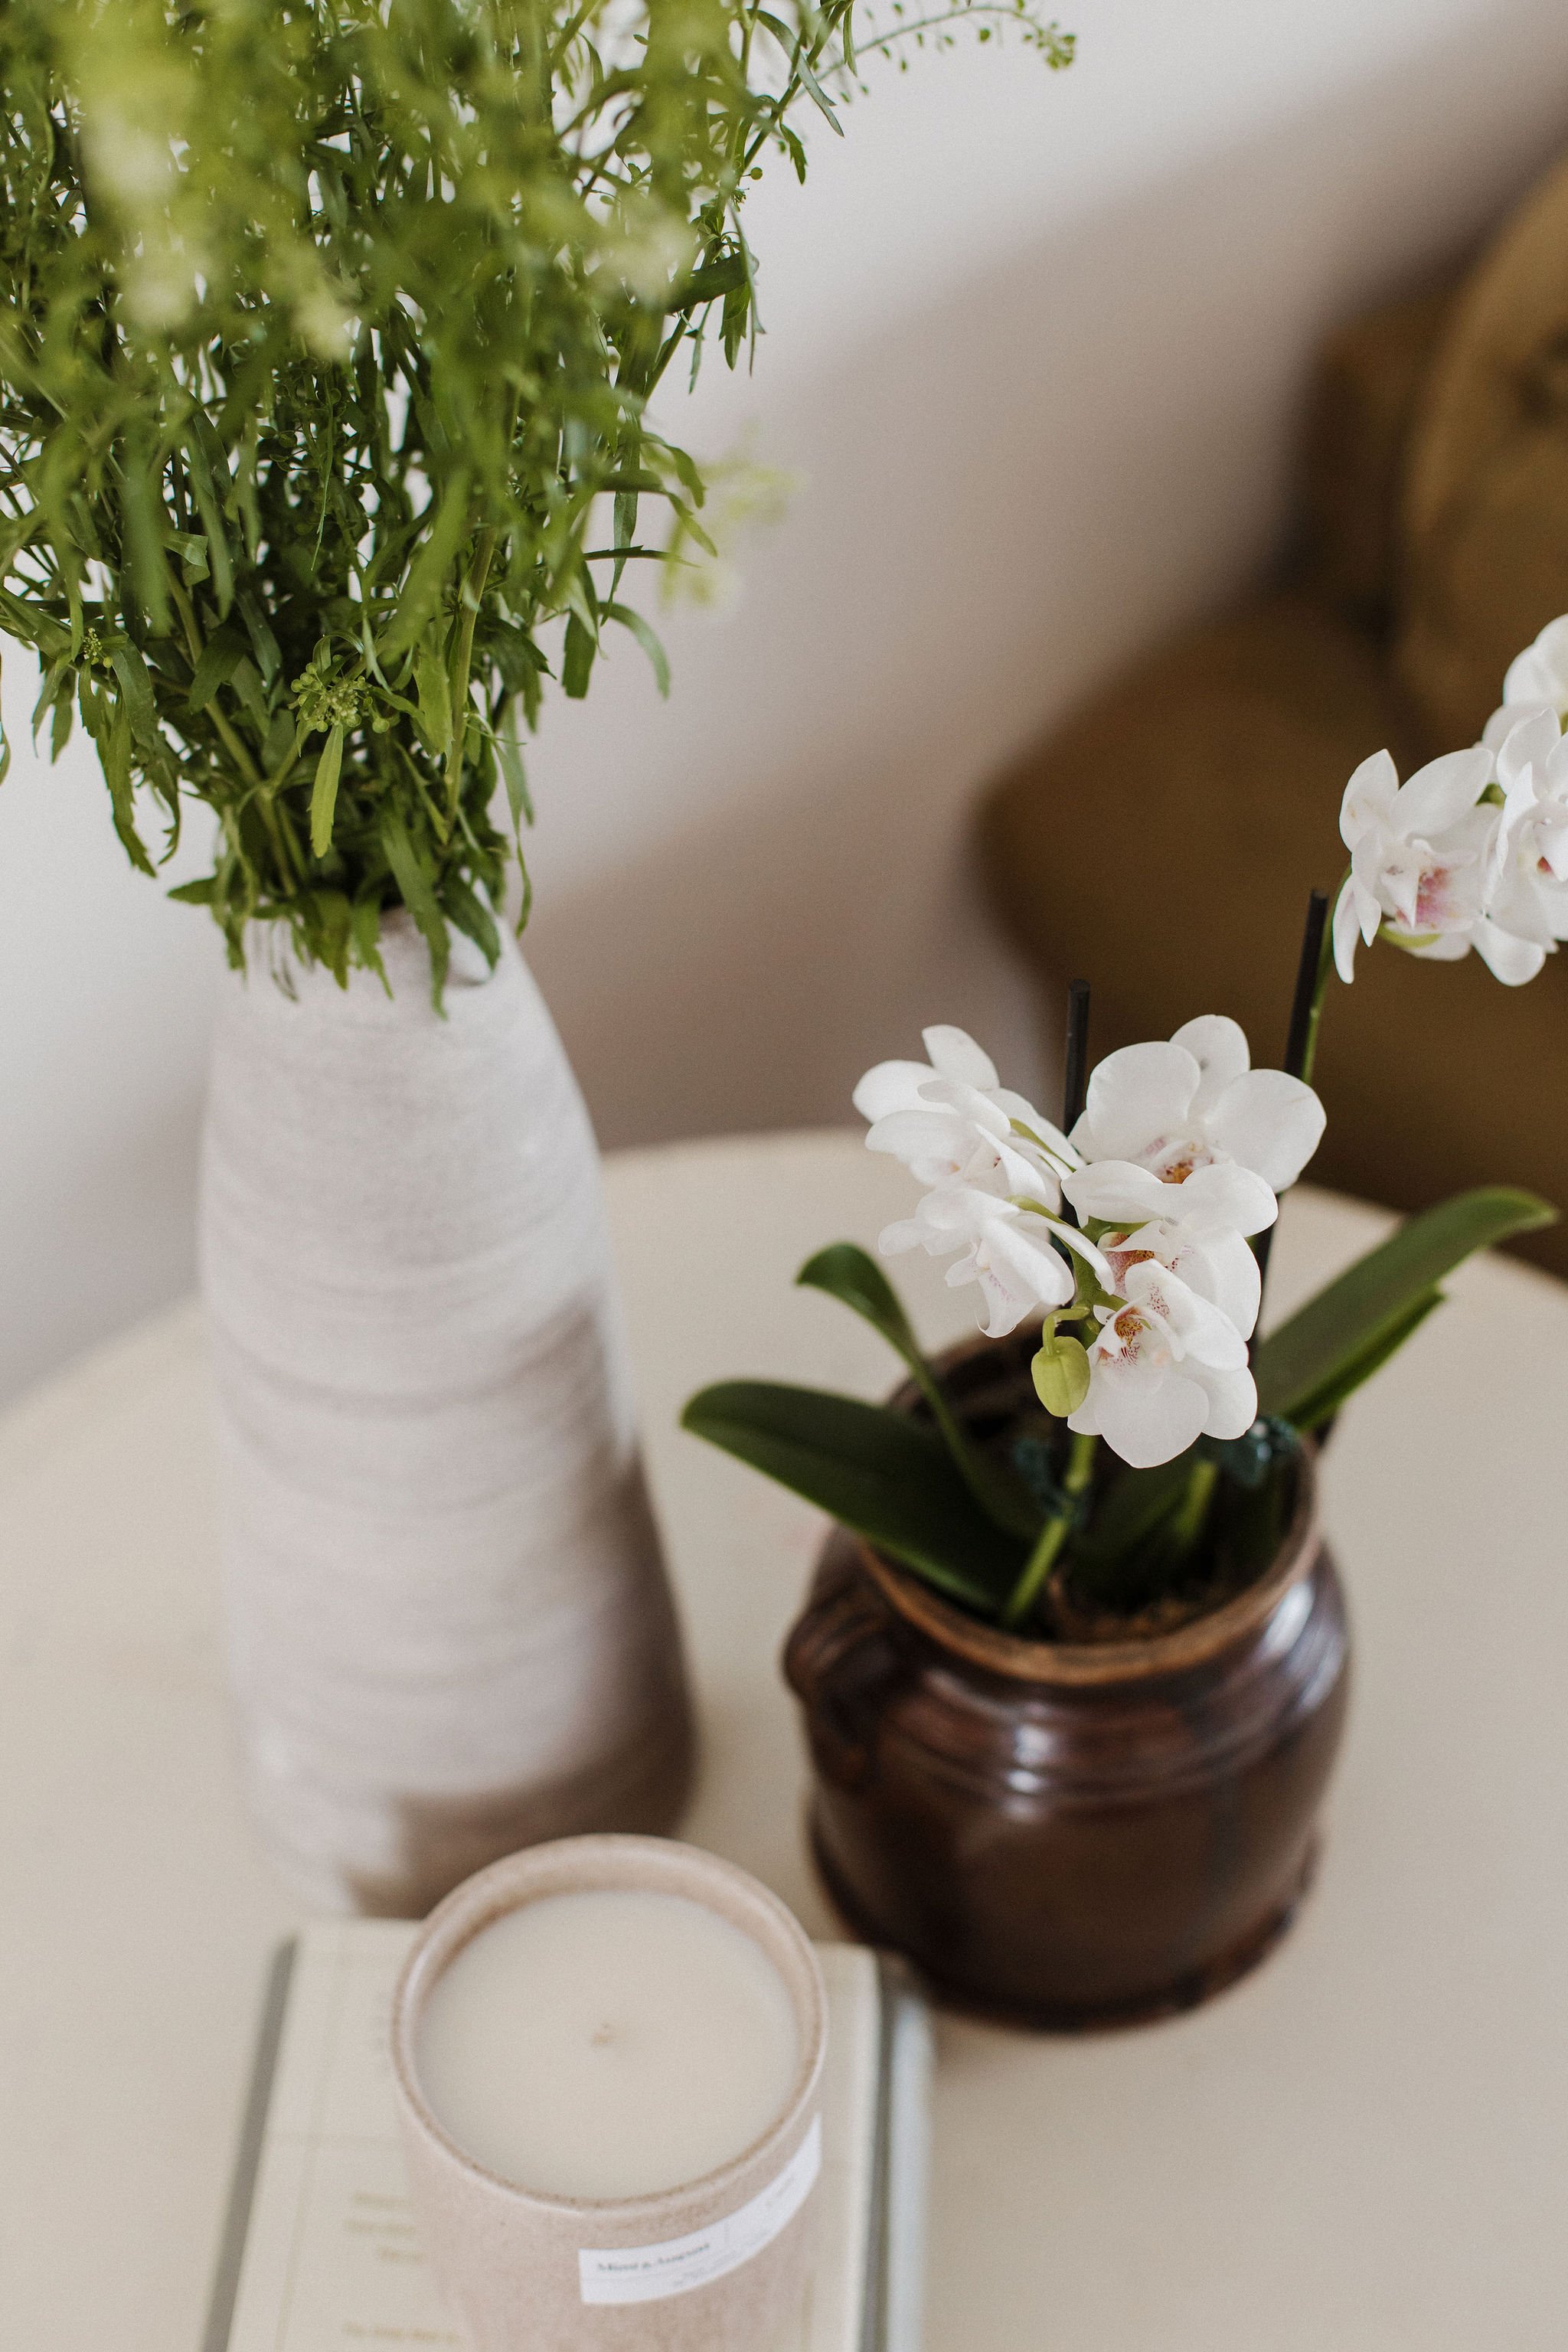
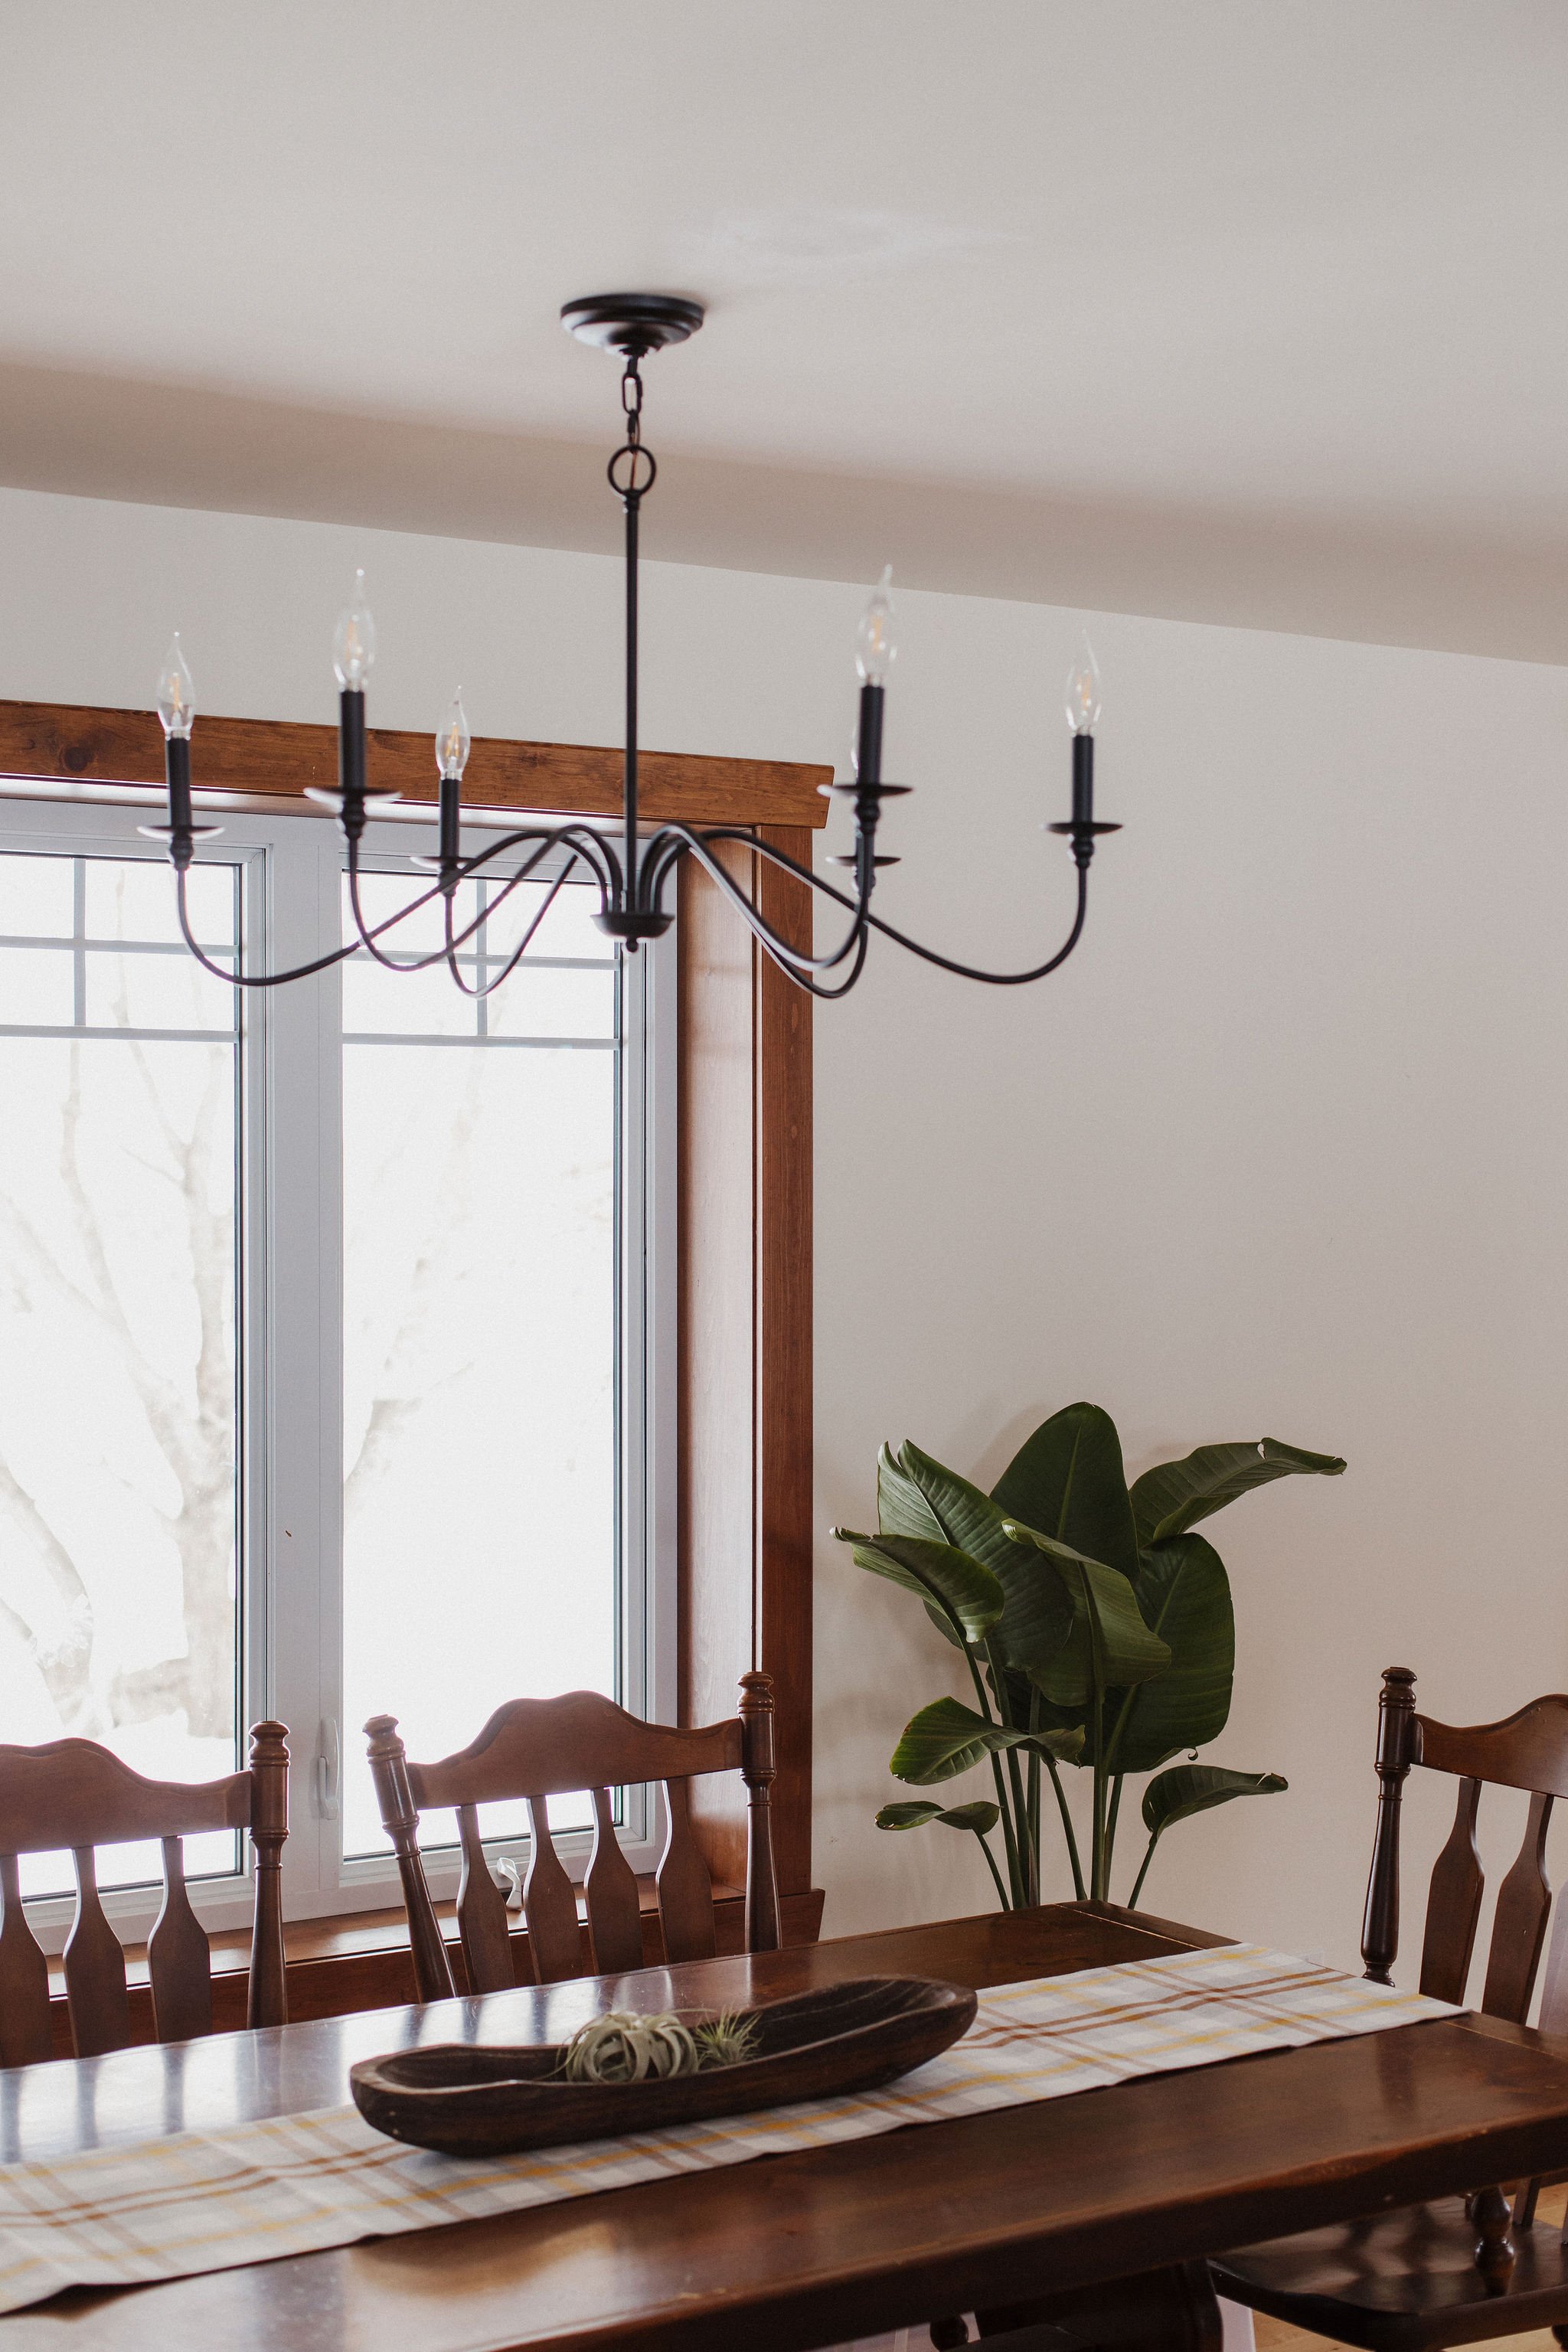
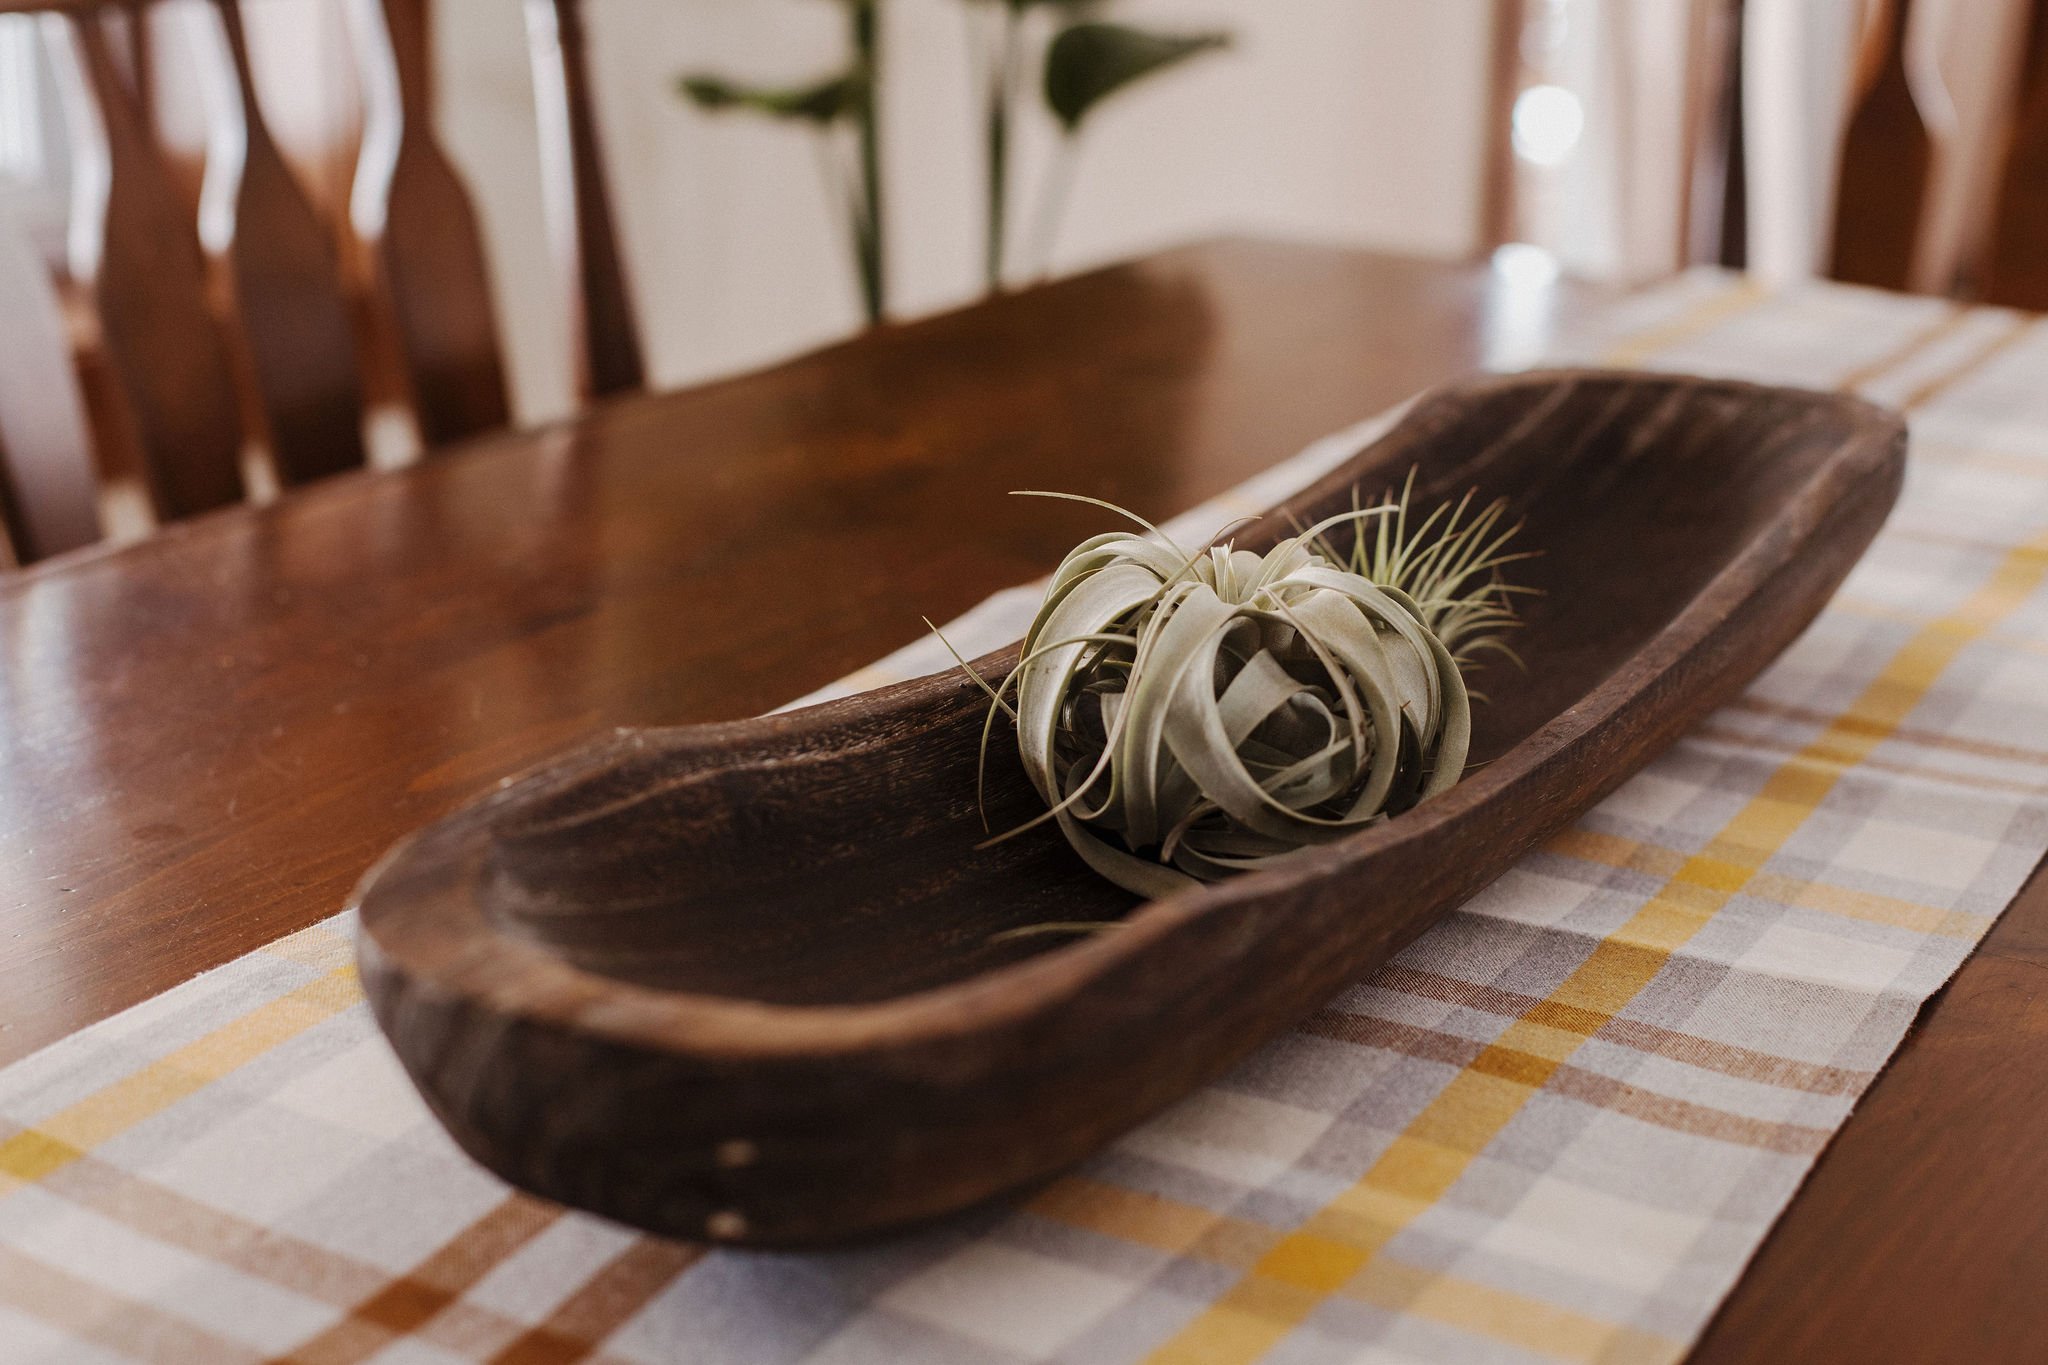
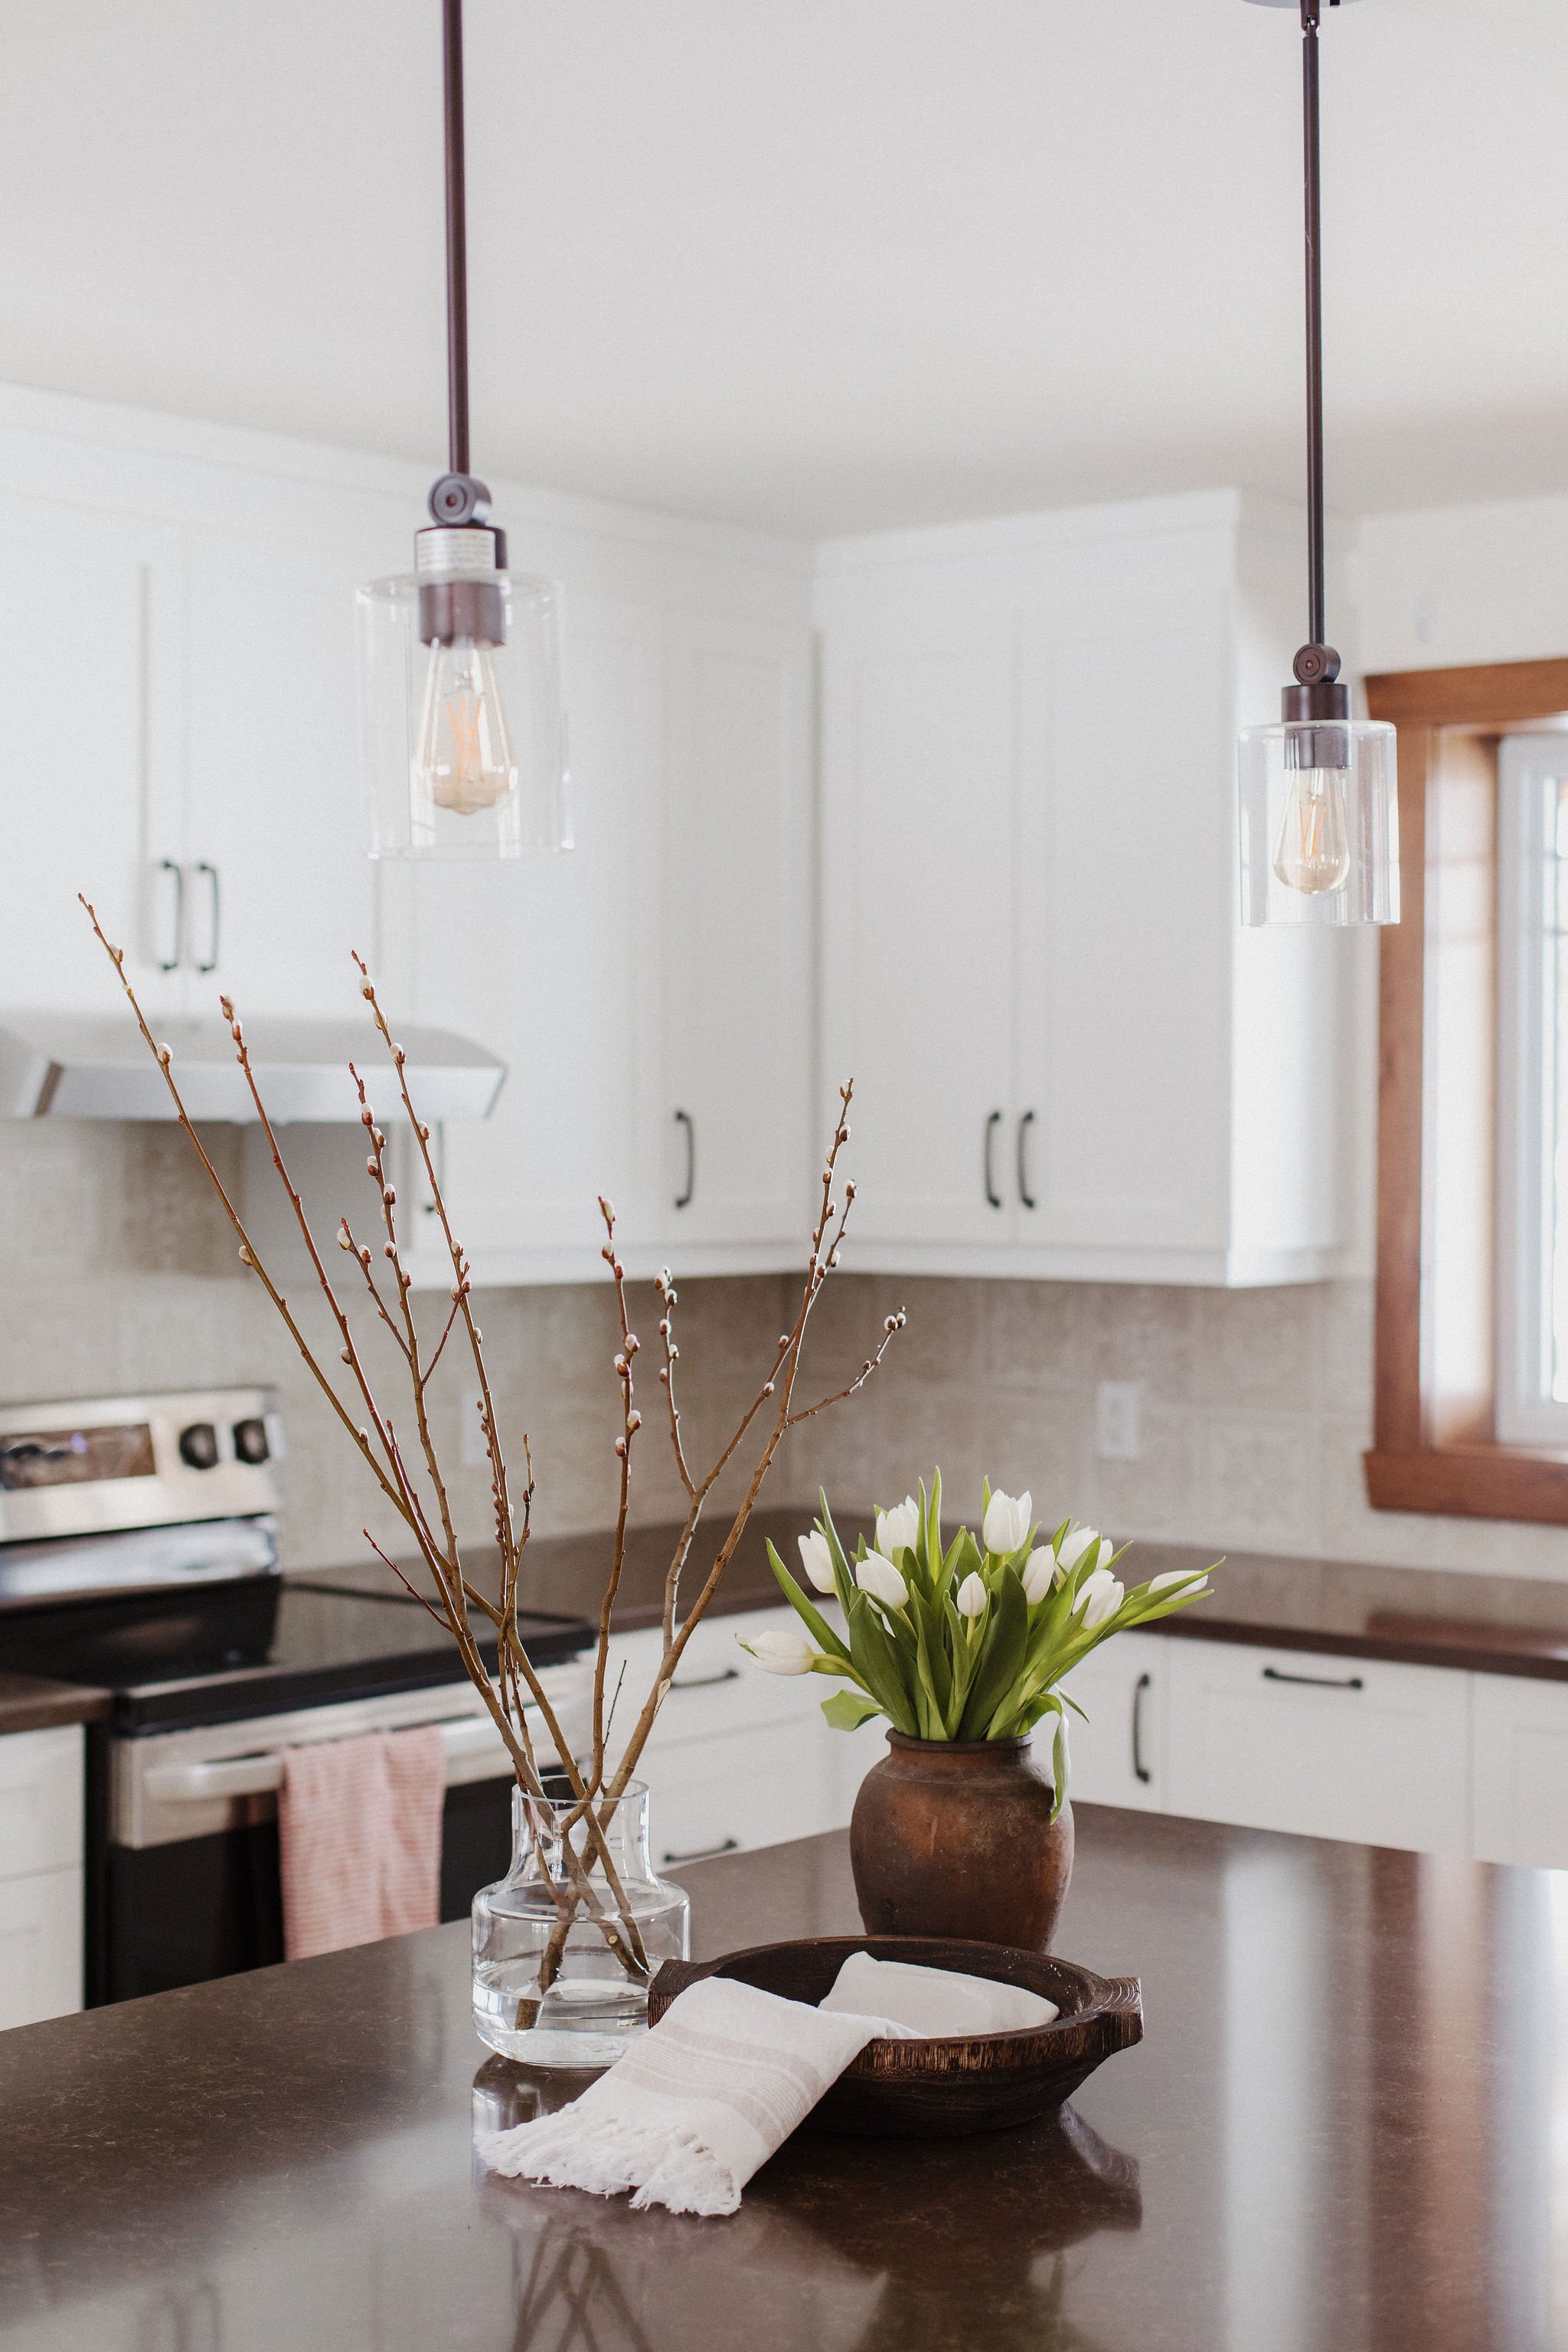
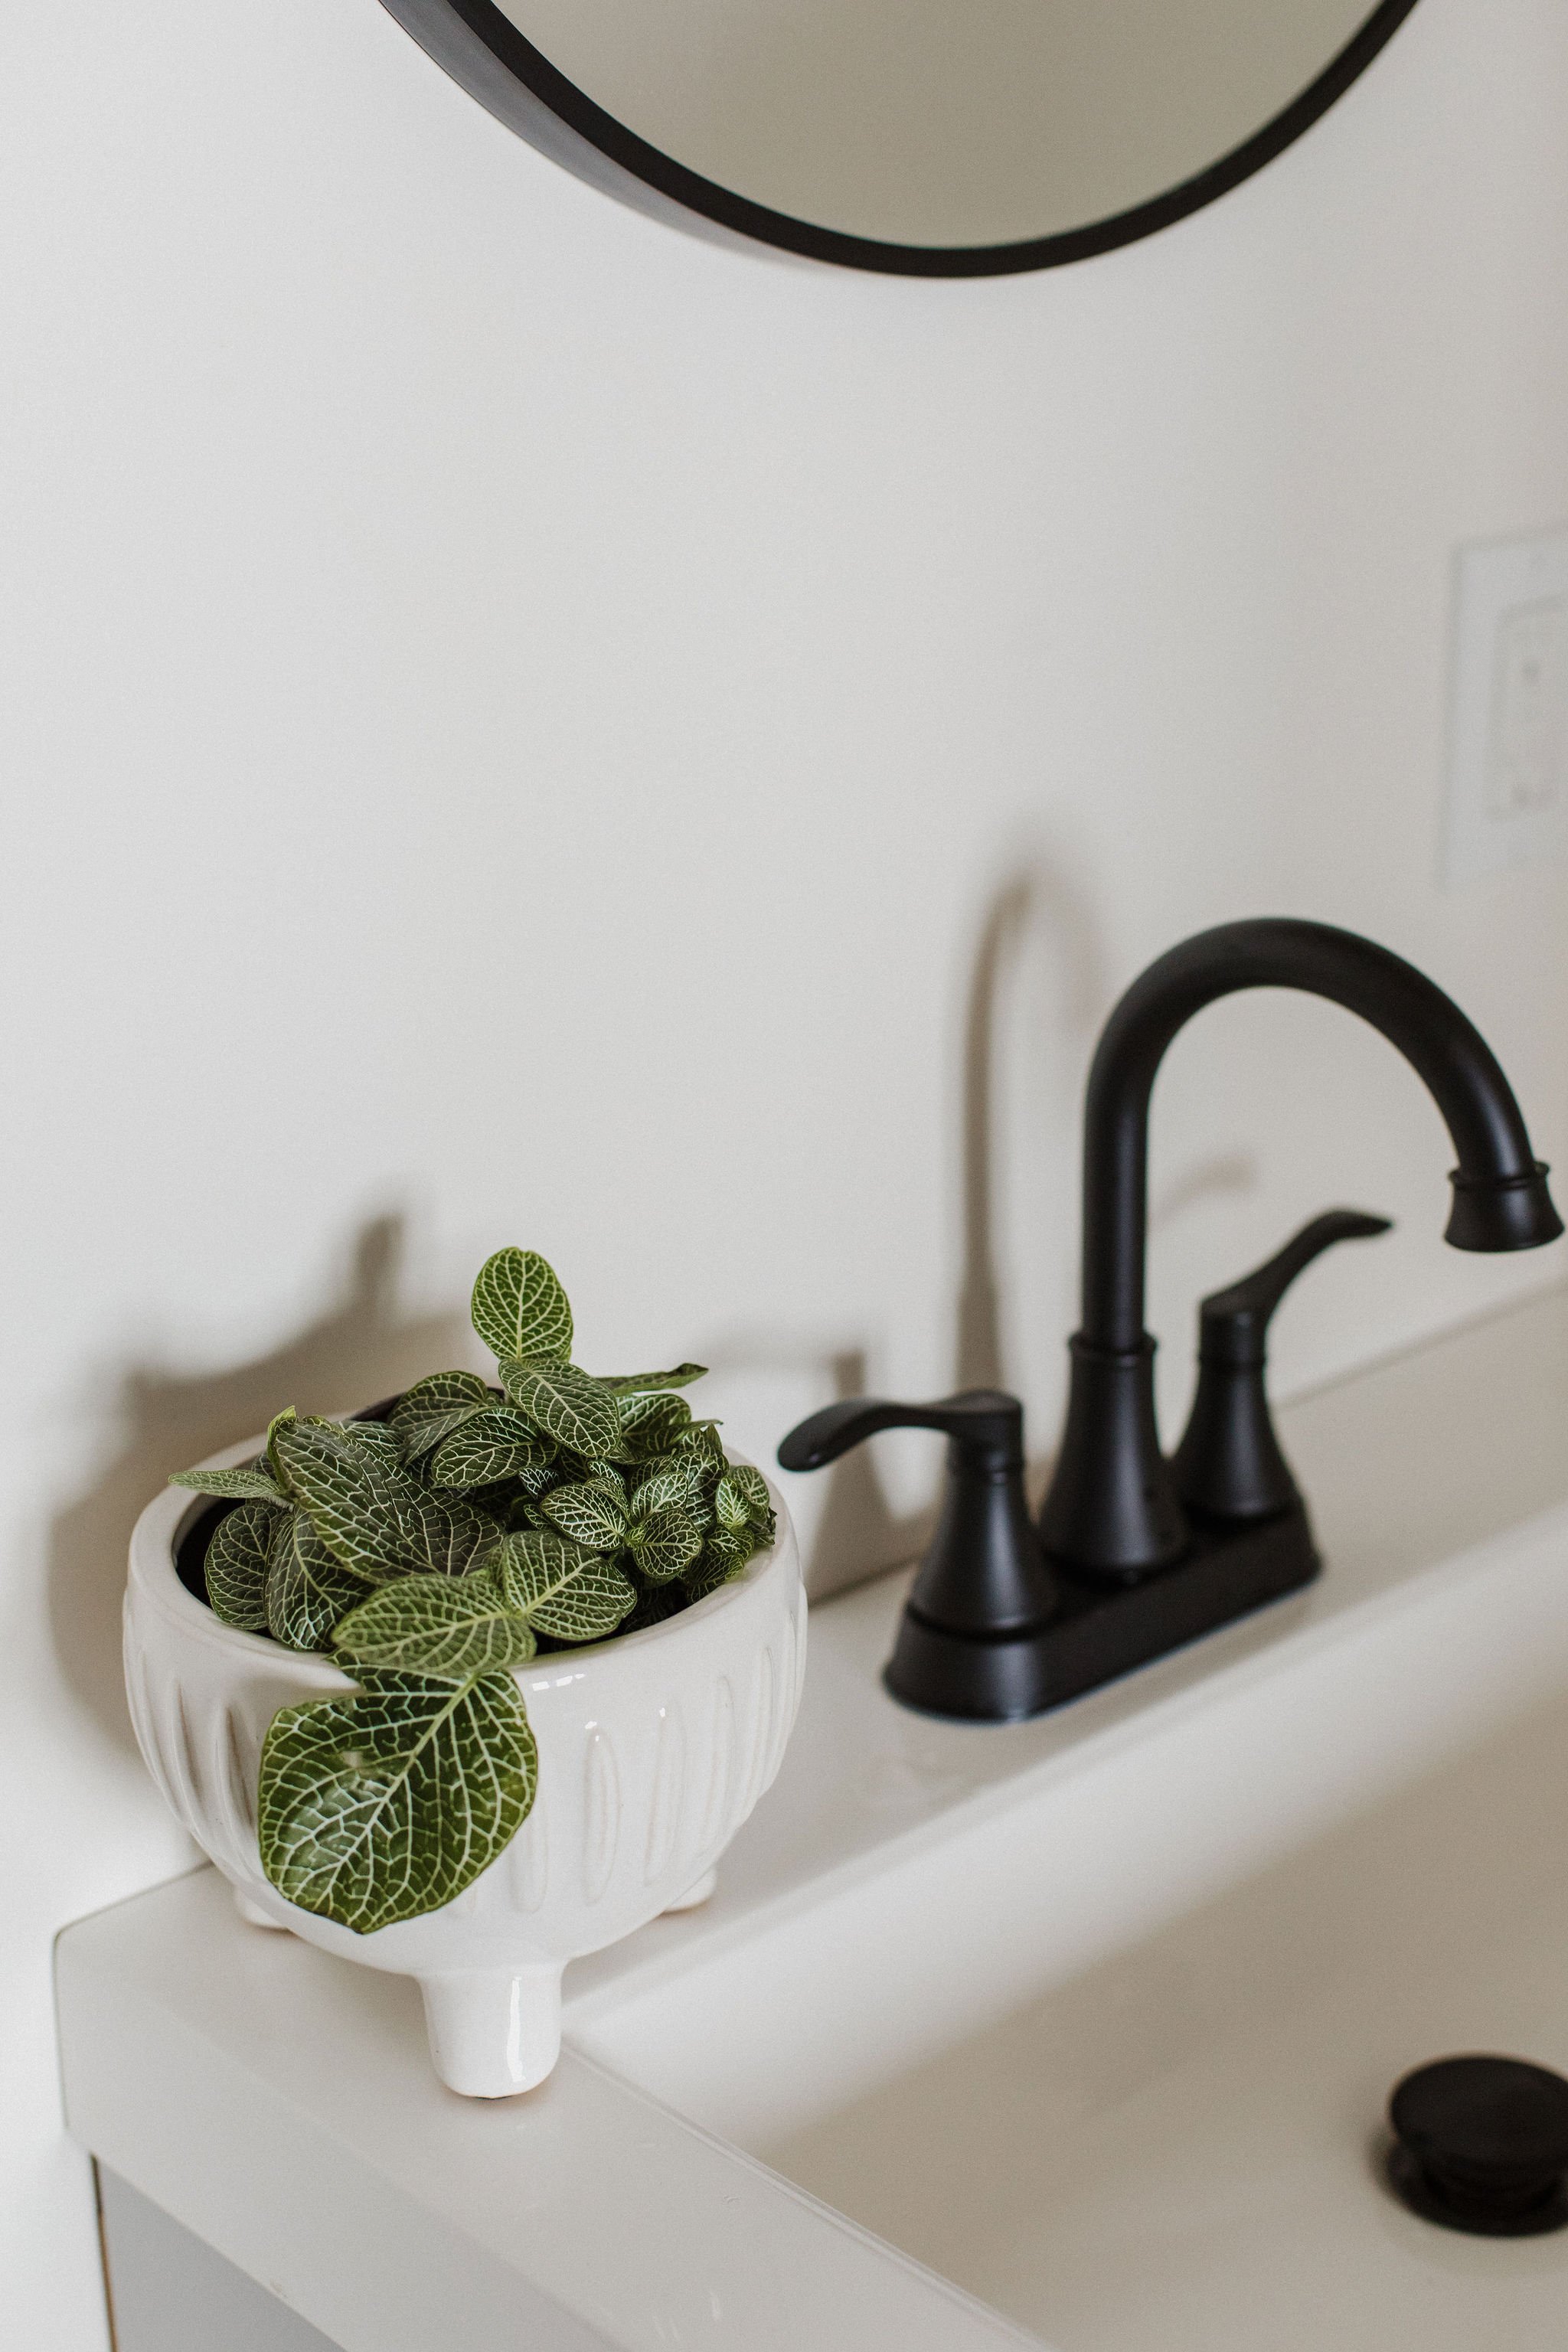
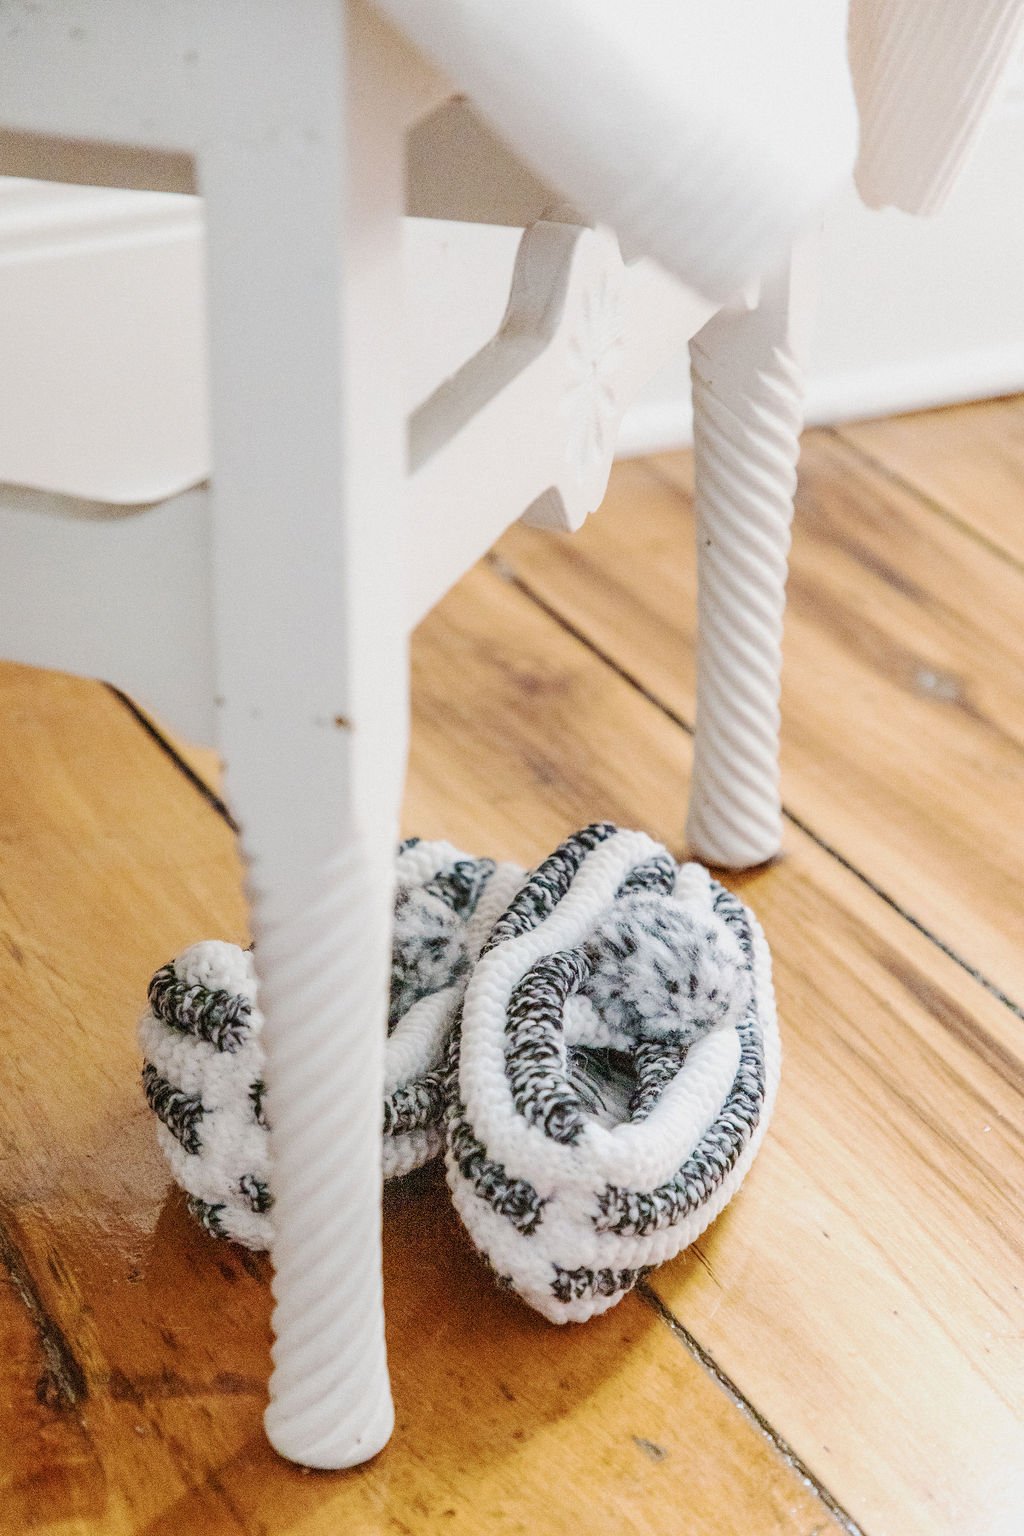
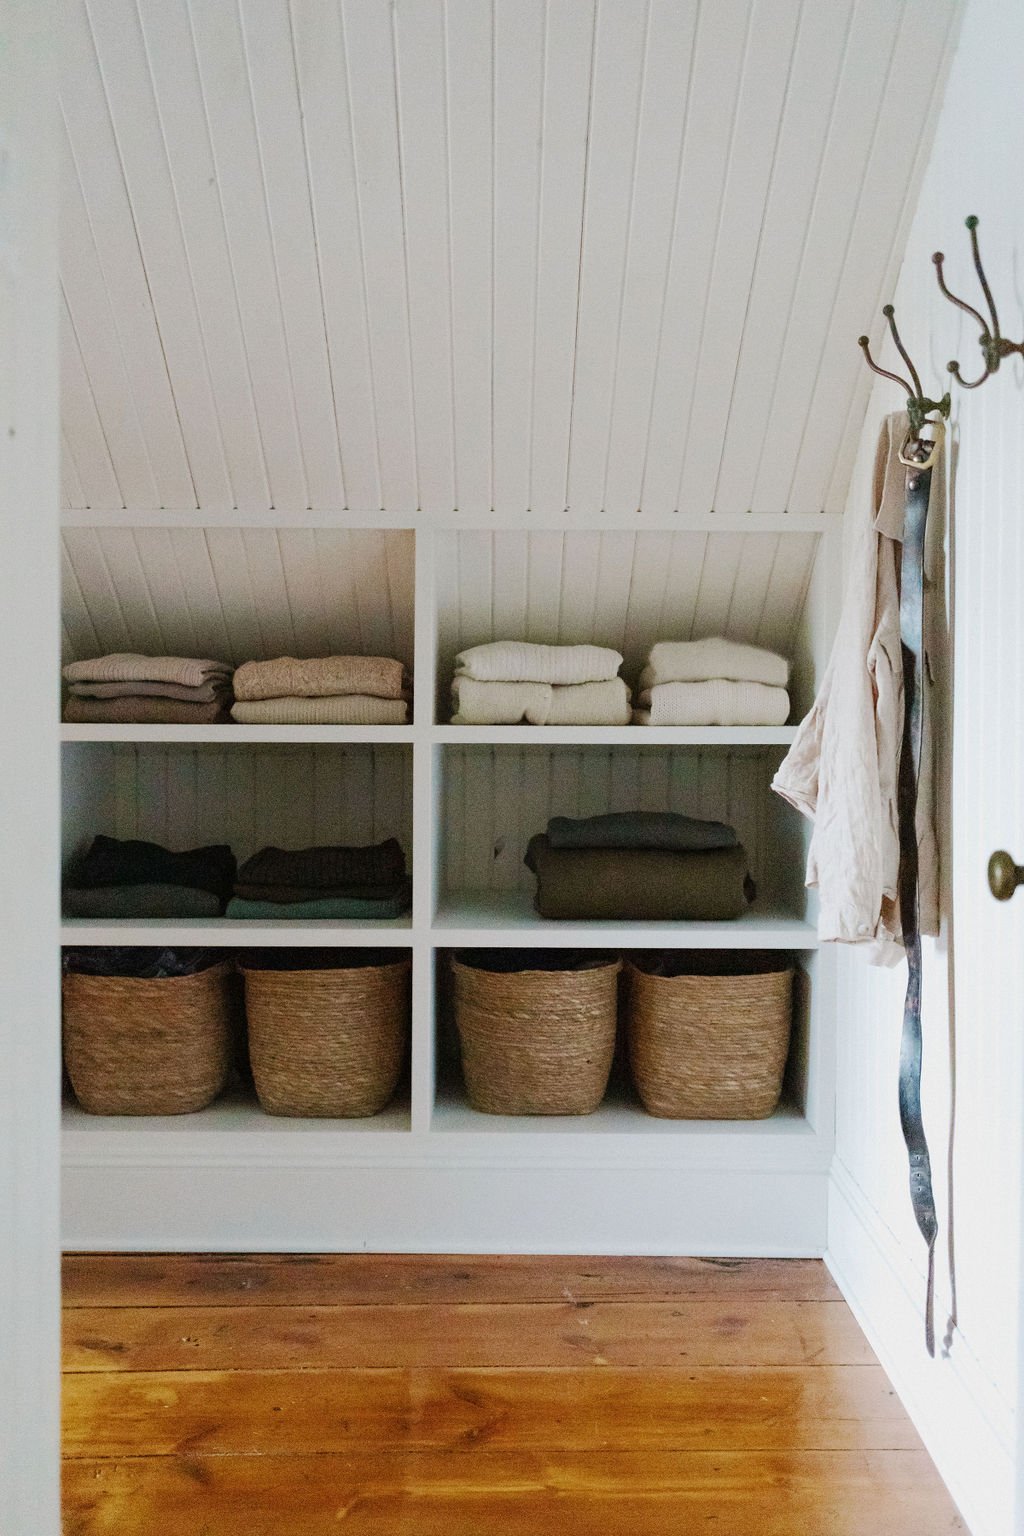
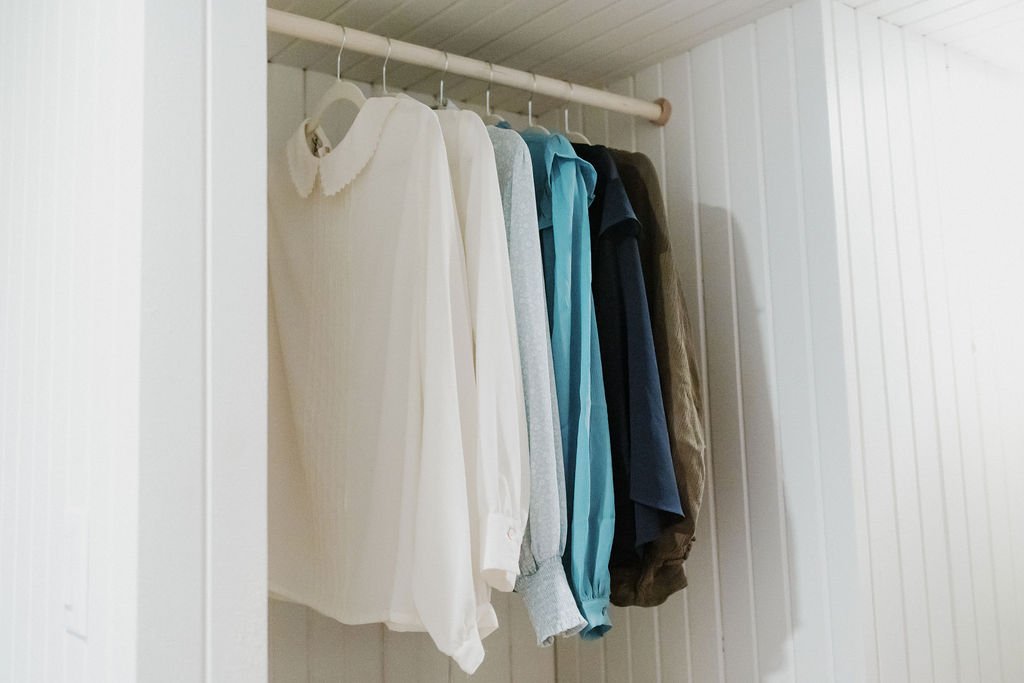
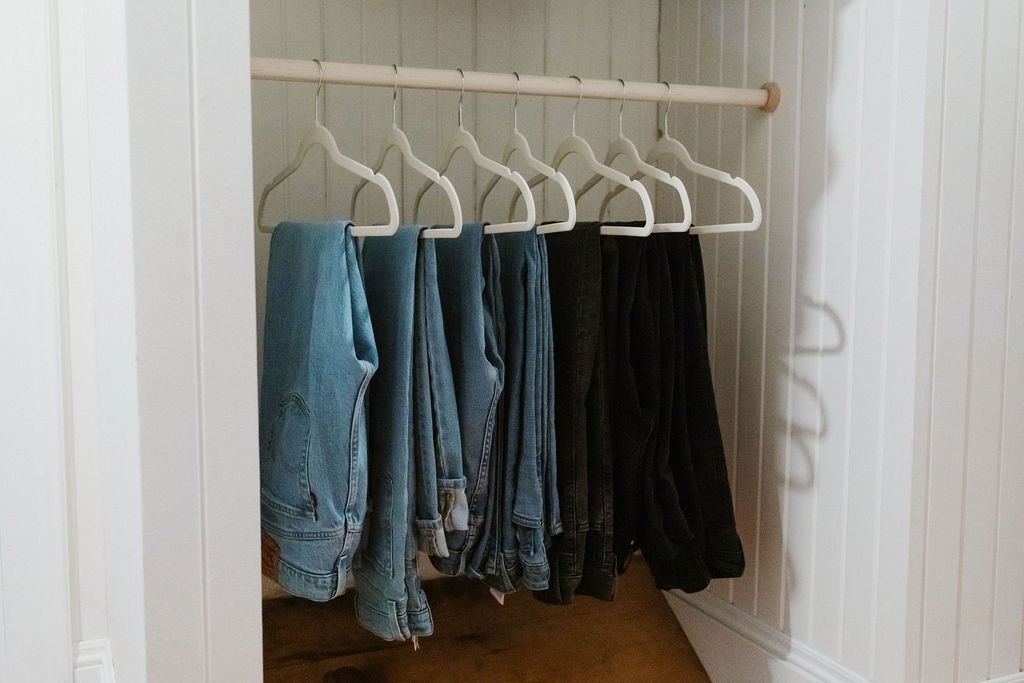
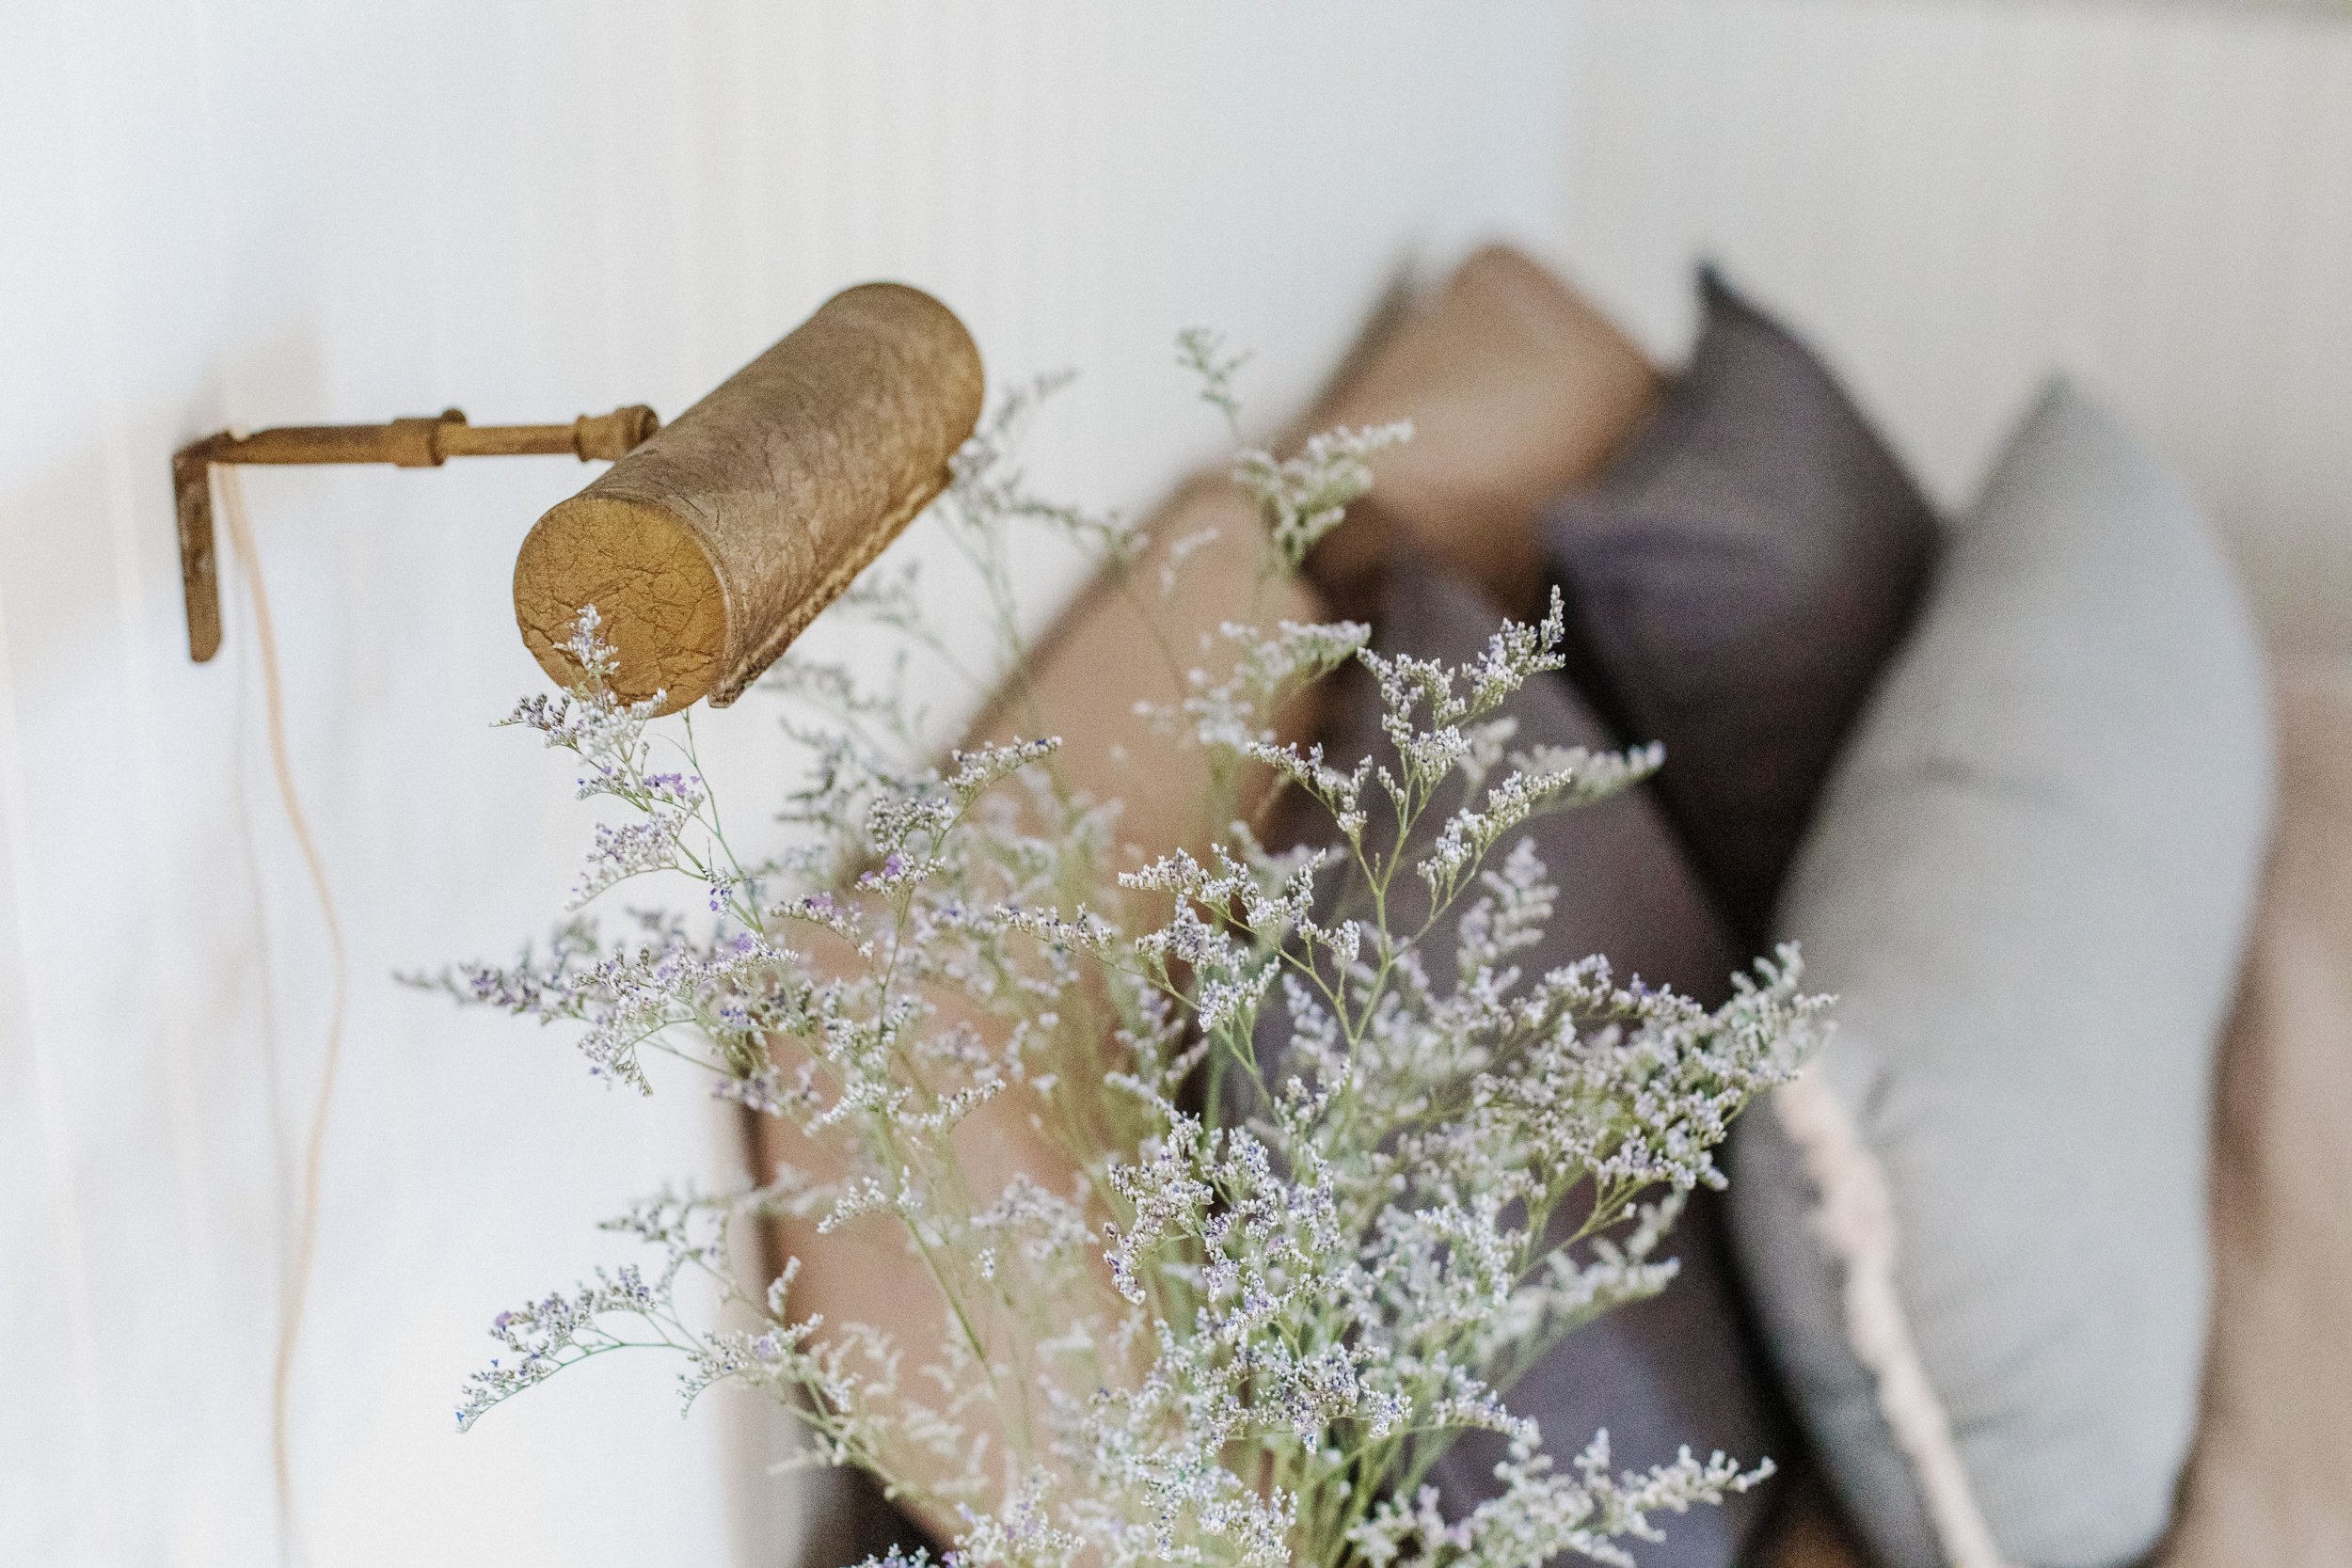
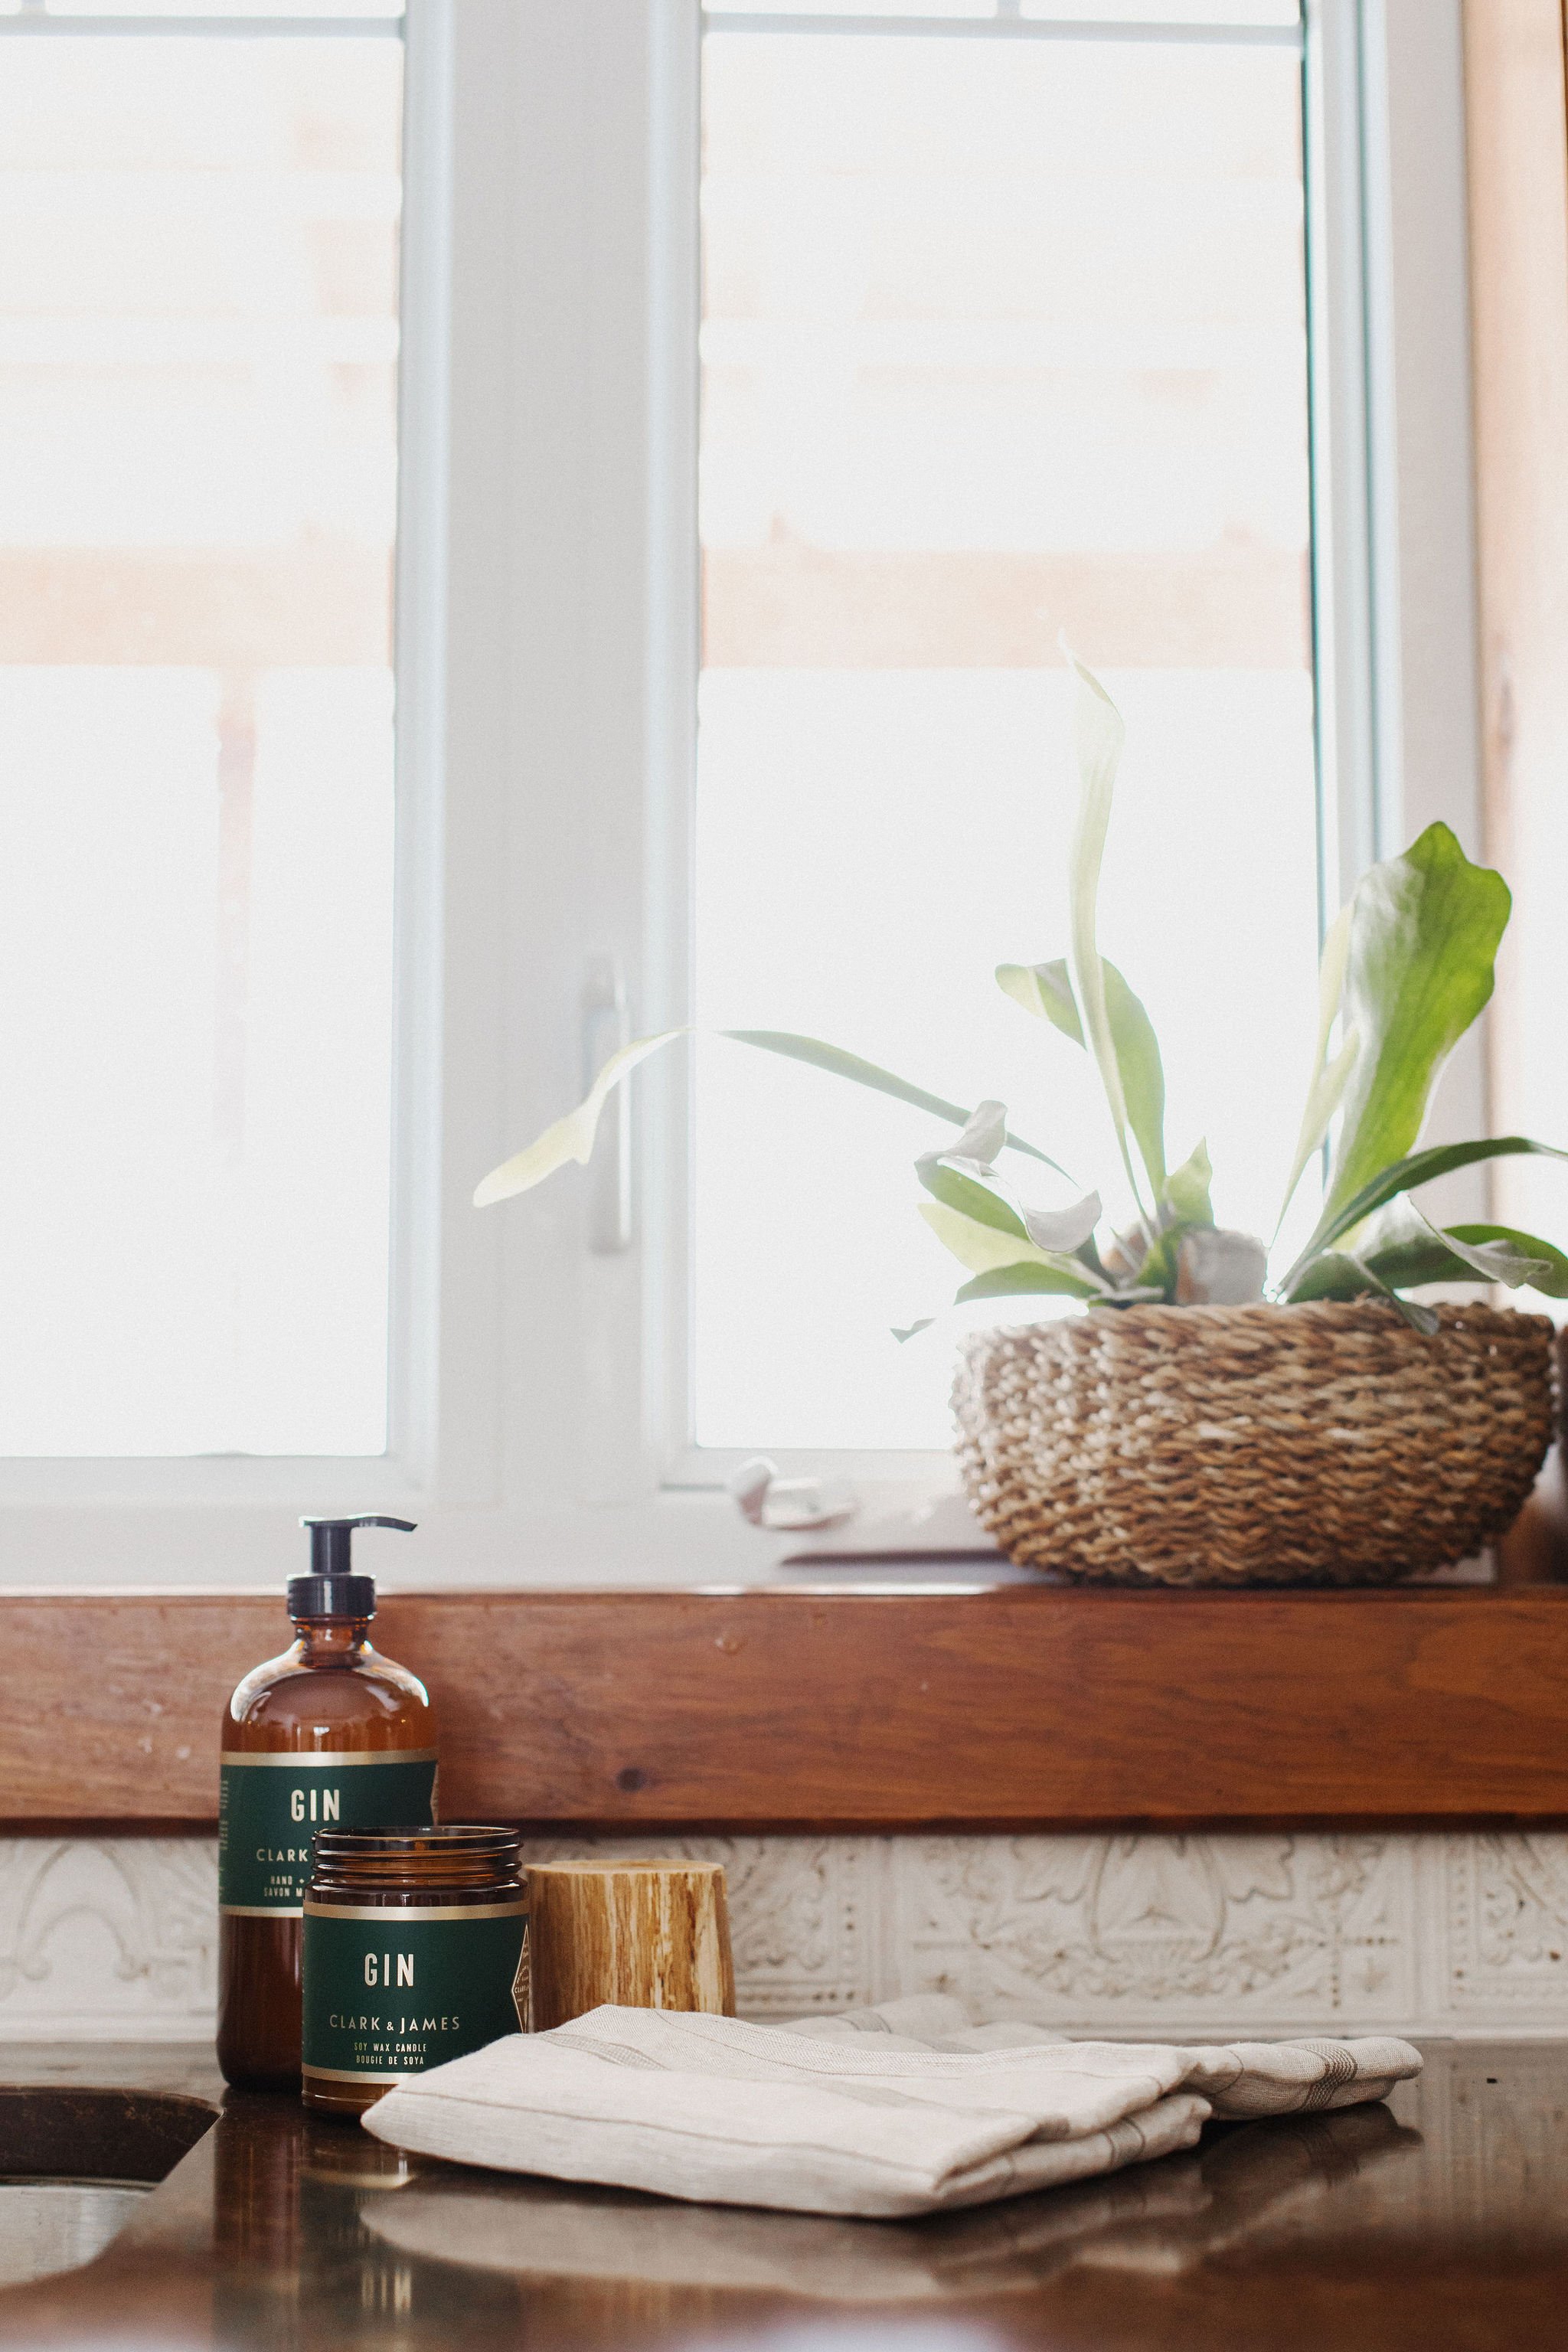
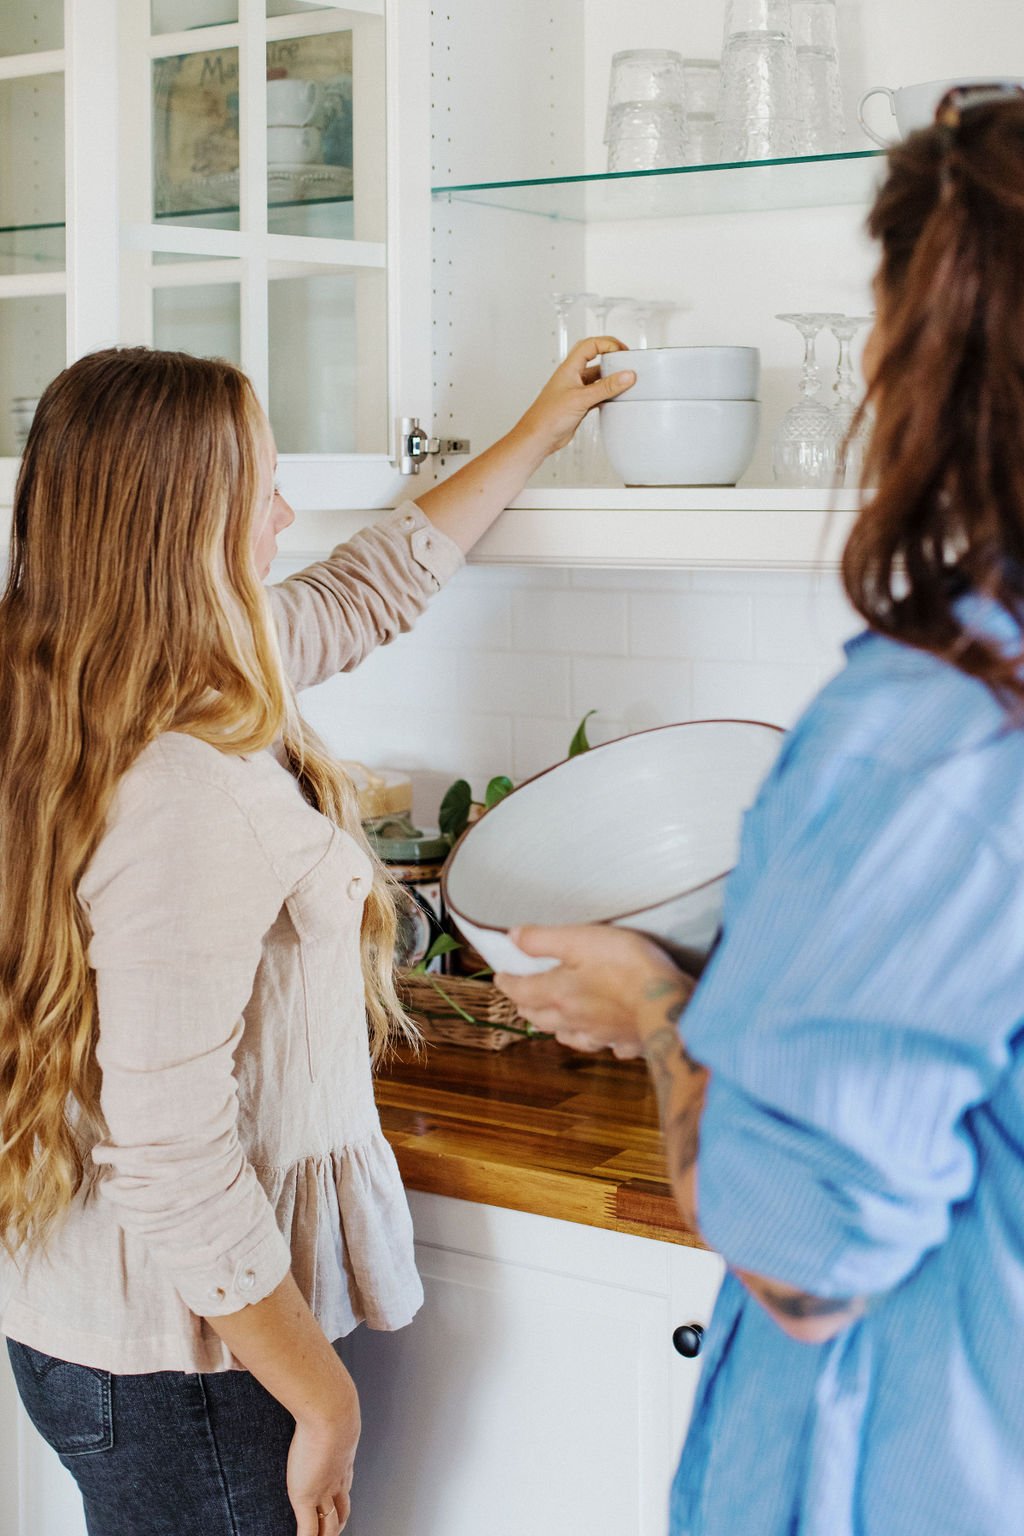
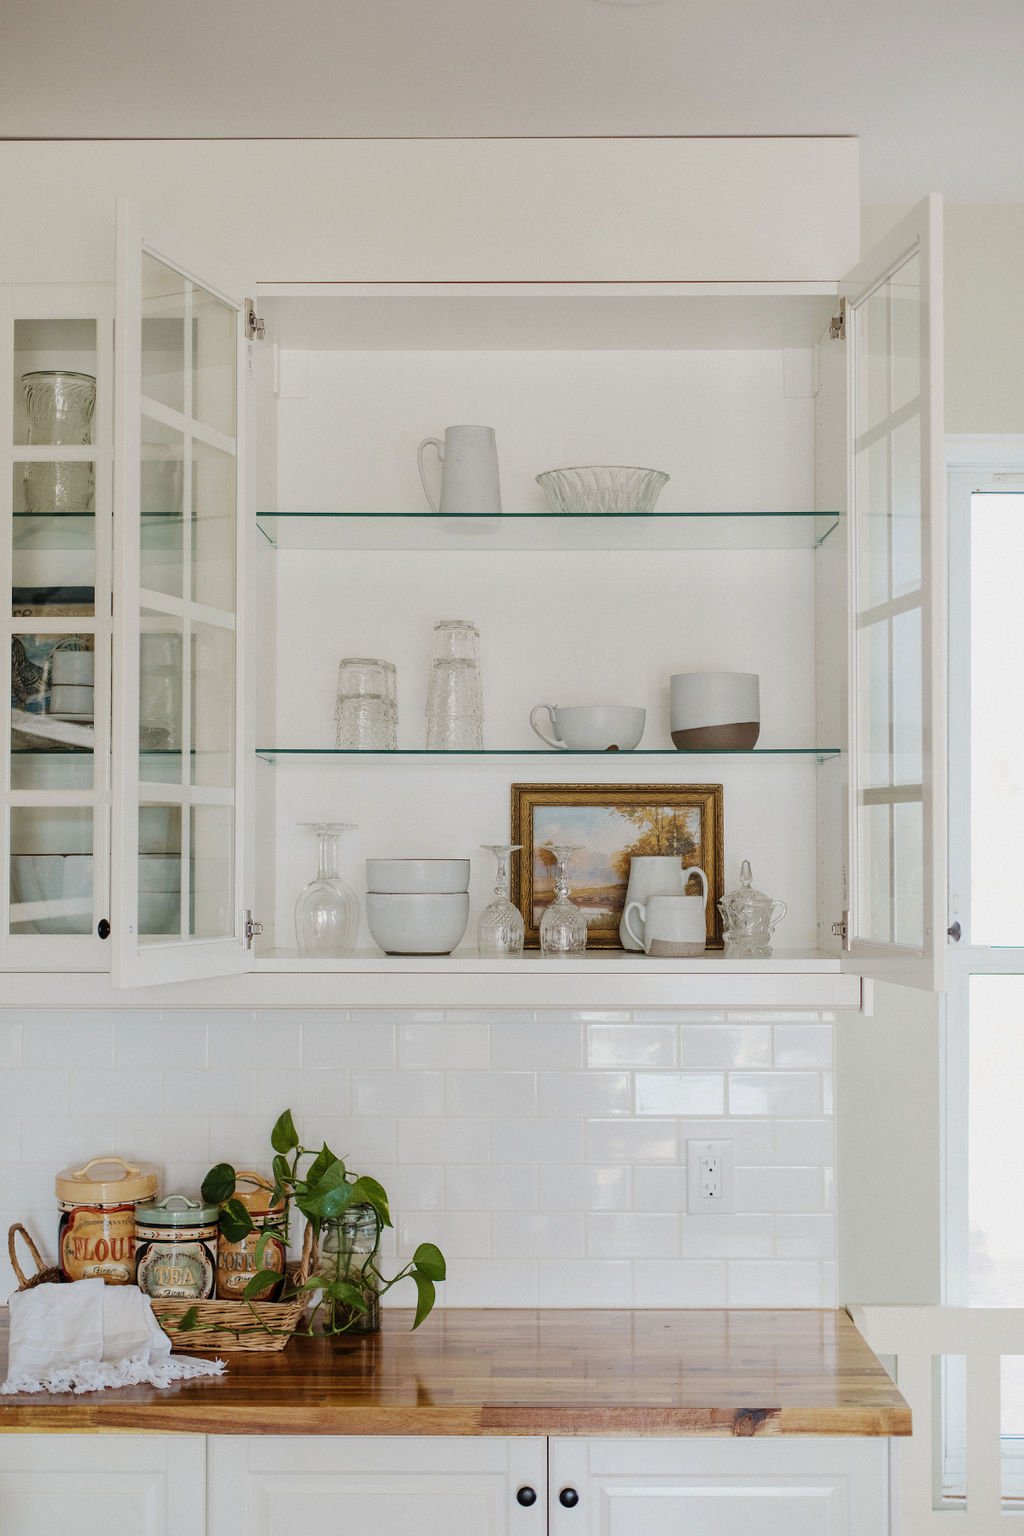
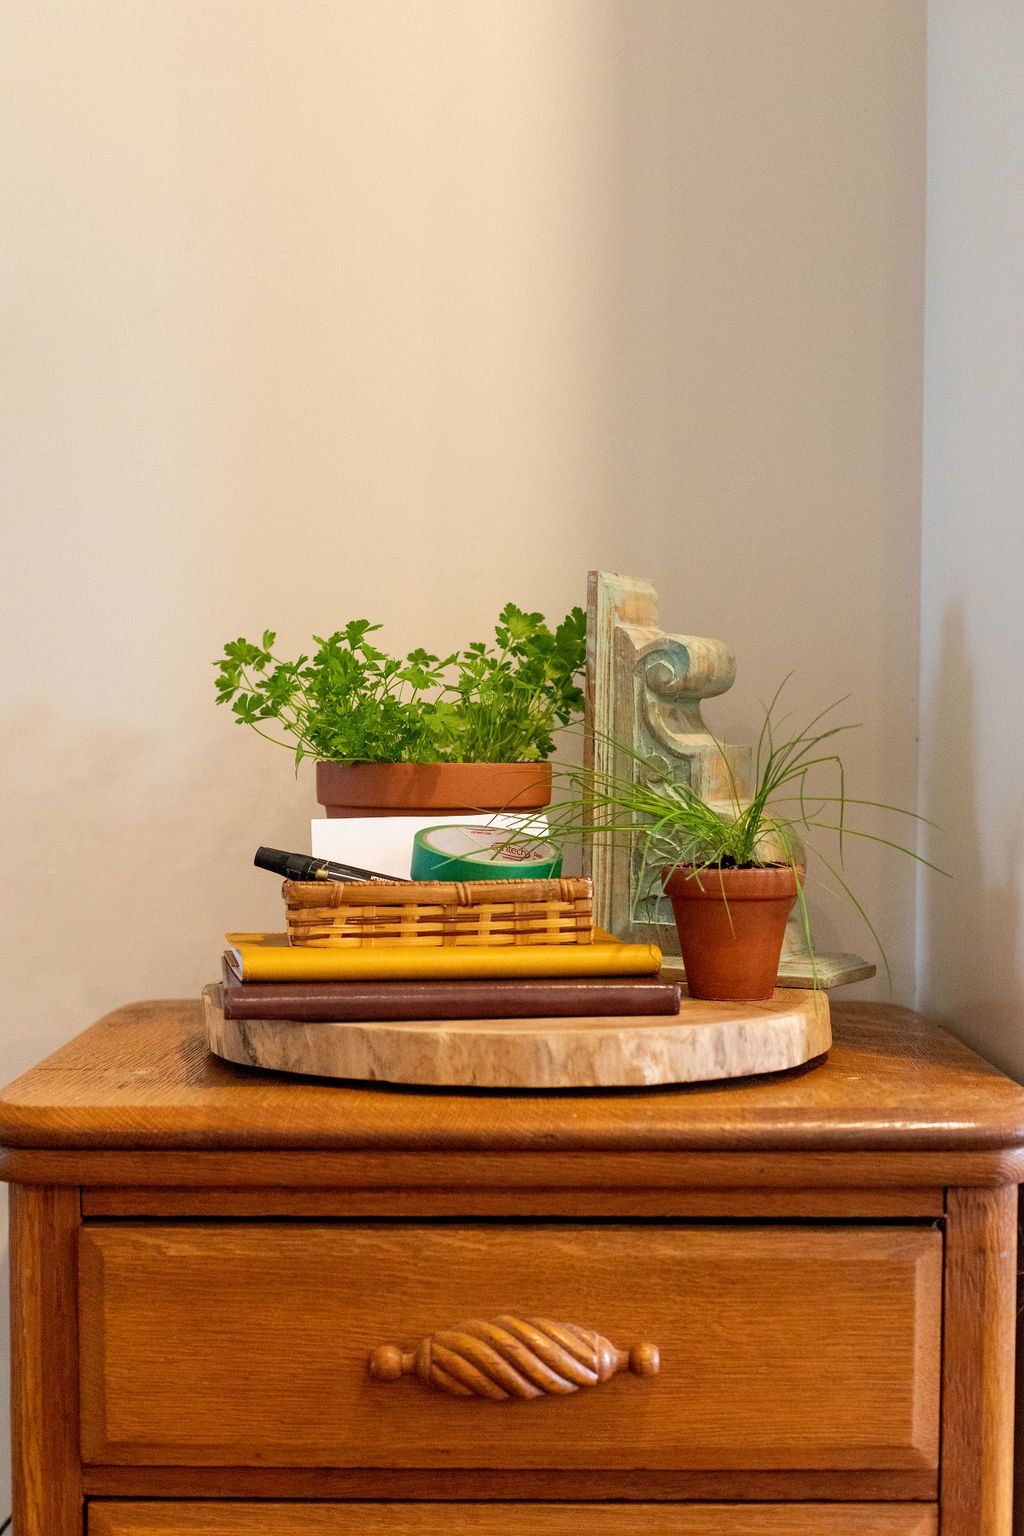
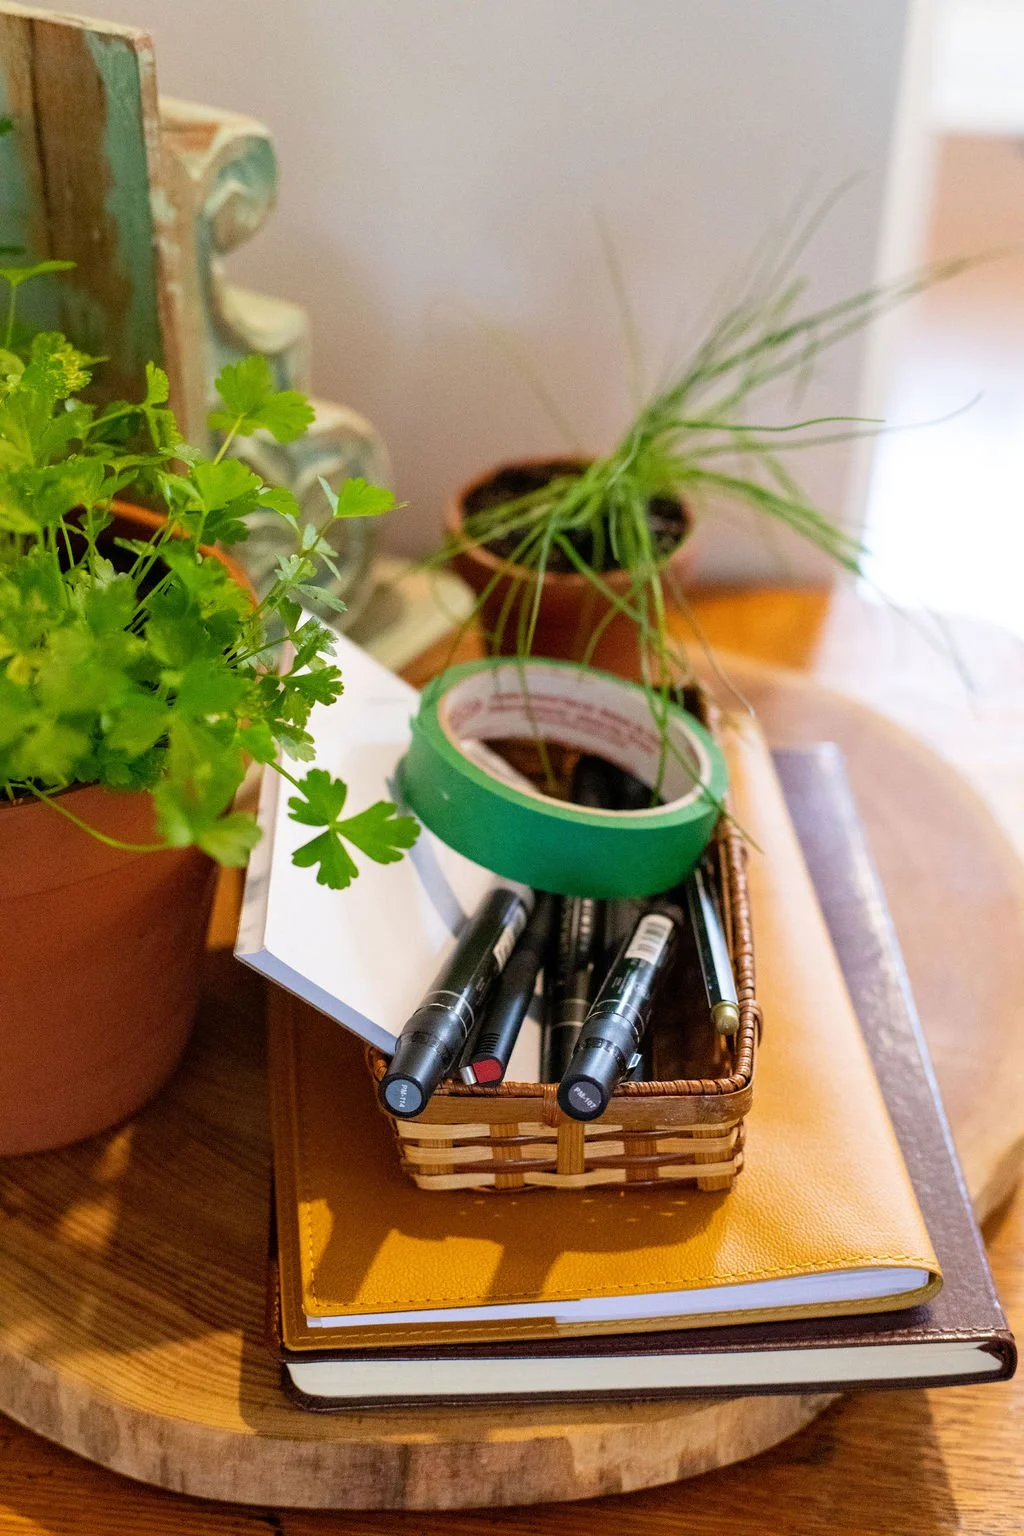
Use what you have. The objects you select and how you arrange them are key to creating a space that is engaging and enticing.

Reconnect with what you already own, and rediscover long-forgotten treasures that were stored away in a closet, basement or back of a cabinet.

"Have nothing in your houses that you do not know to be useful or believe to be beautiful" was once said by the famous textile designer William Morris.

Focus on using what you have to create displays that are visually pleasing.
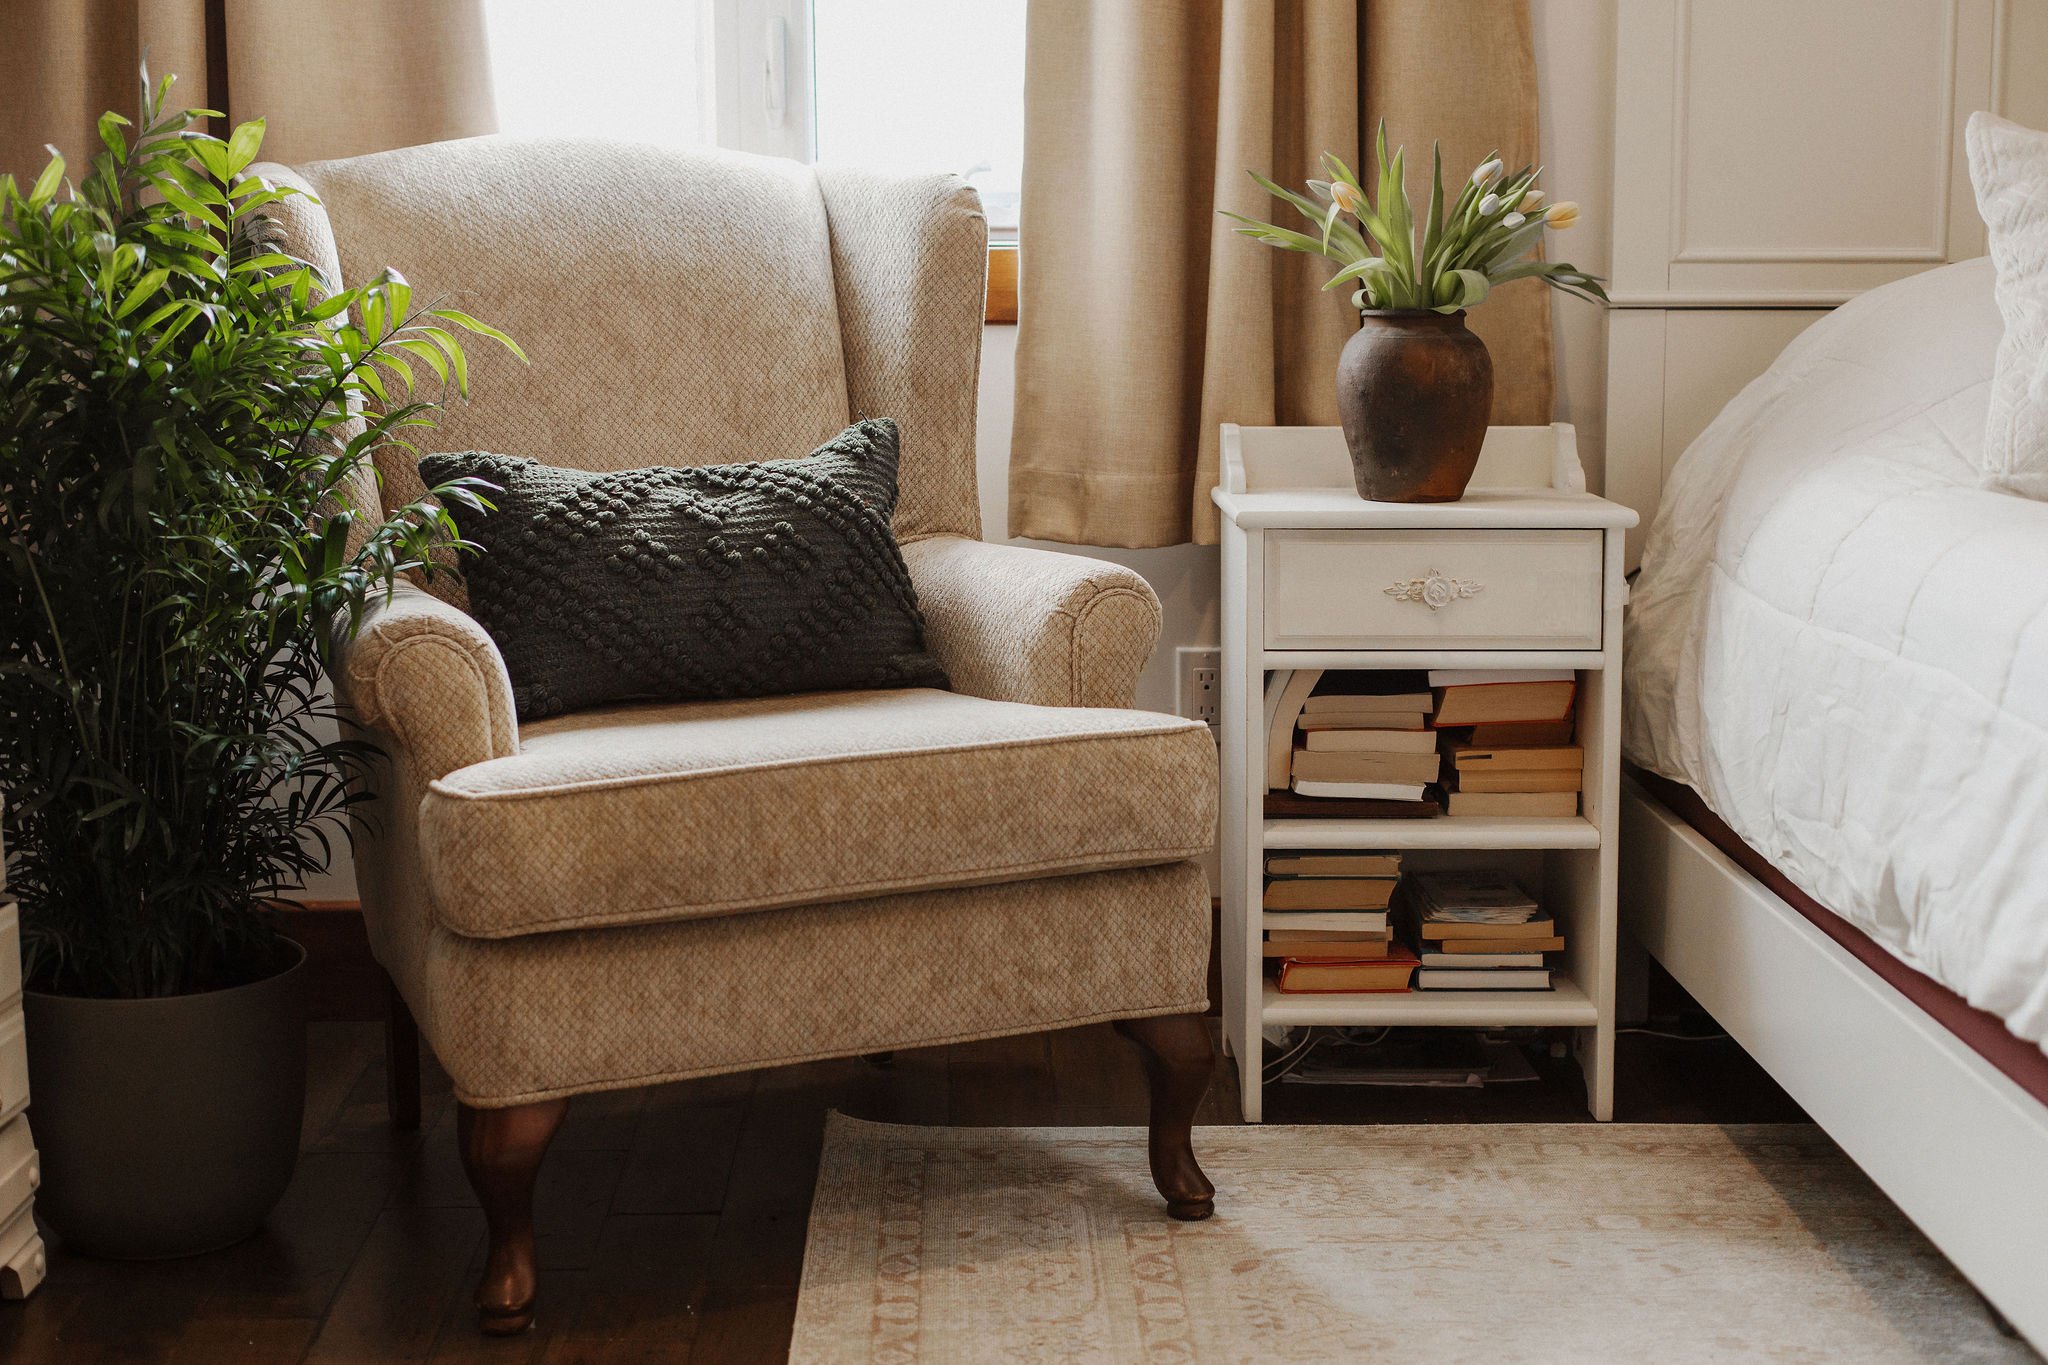
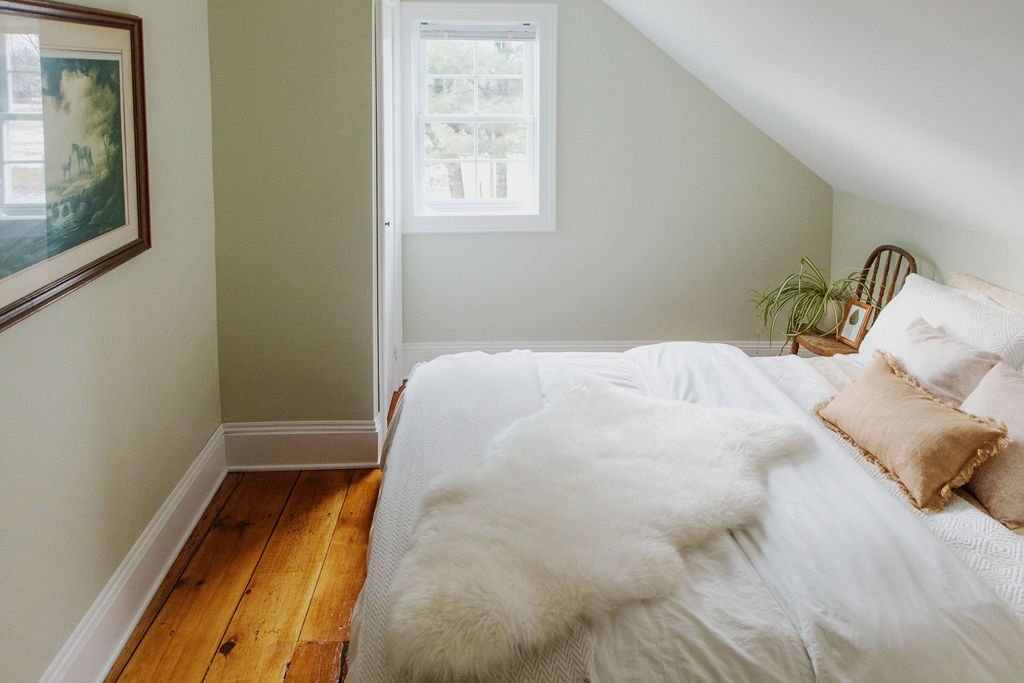


03 Make edits

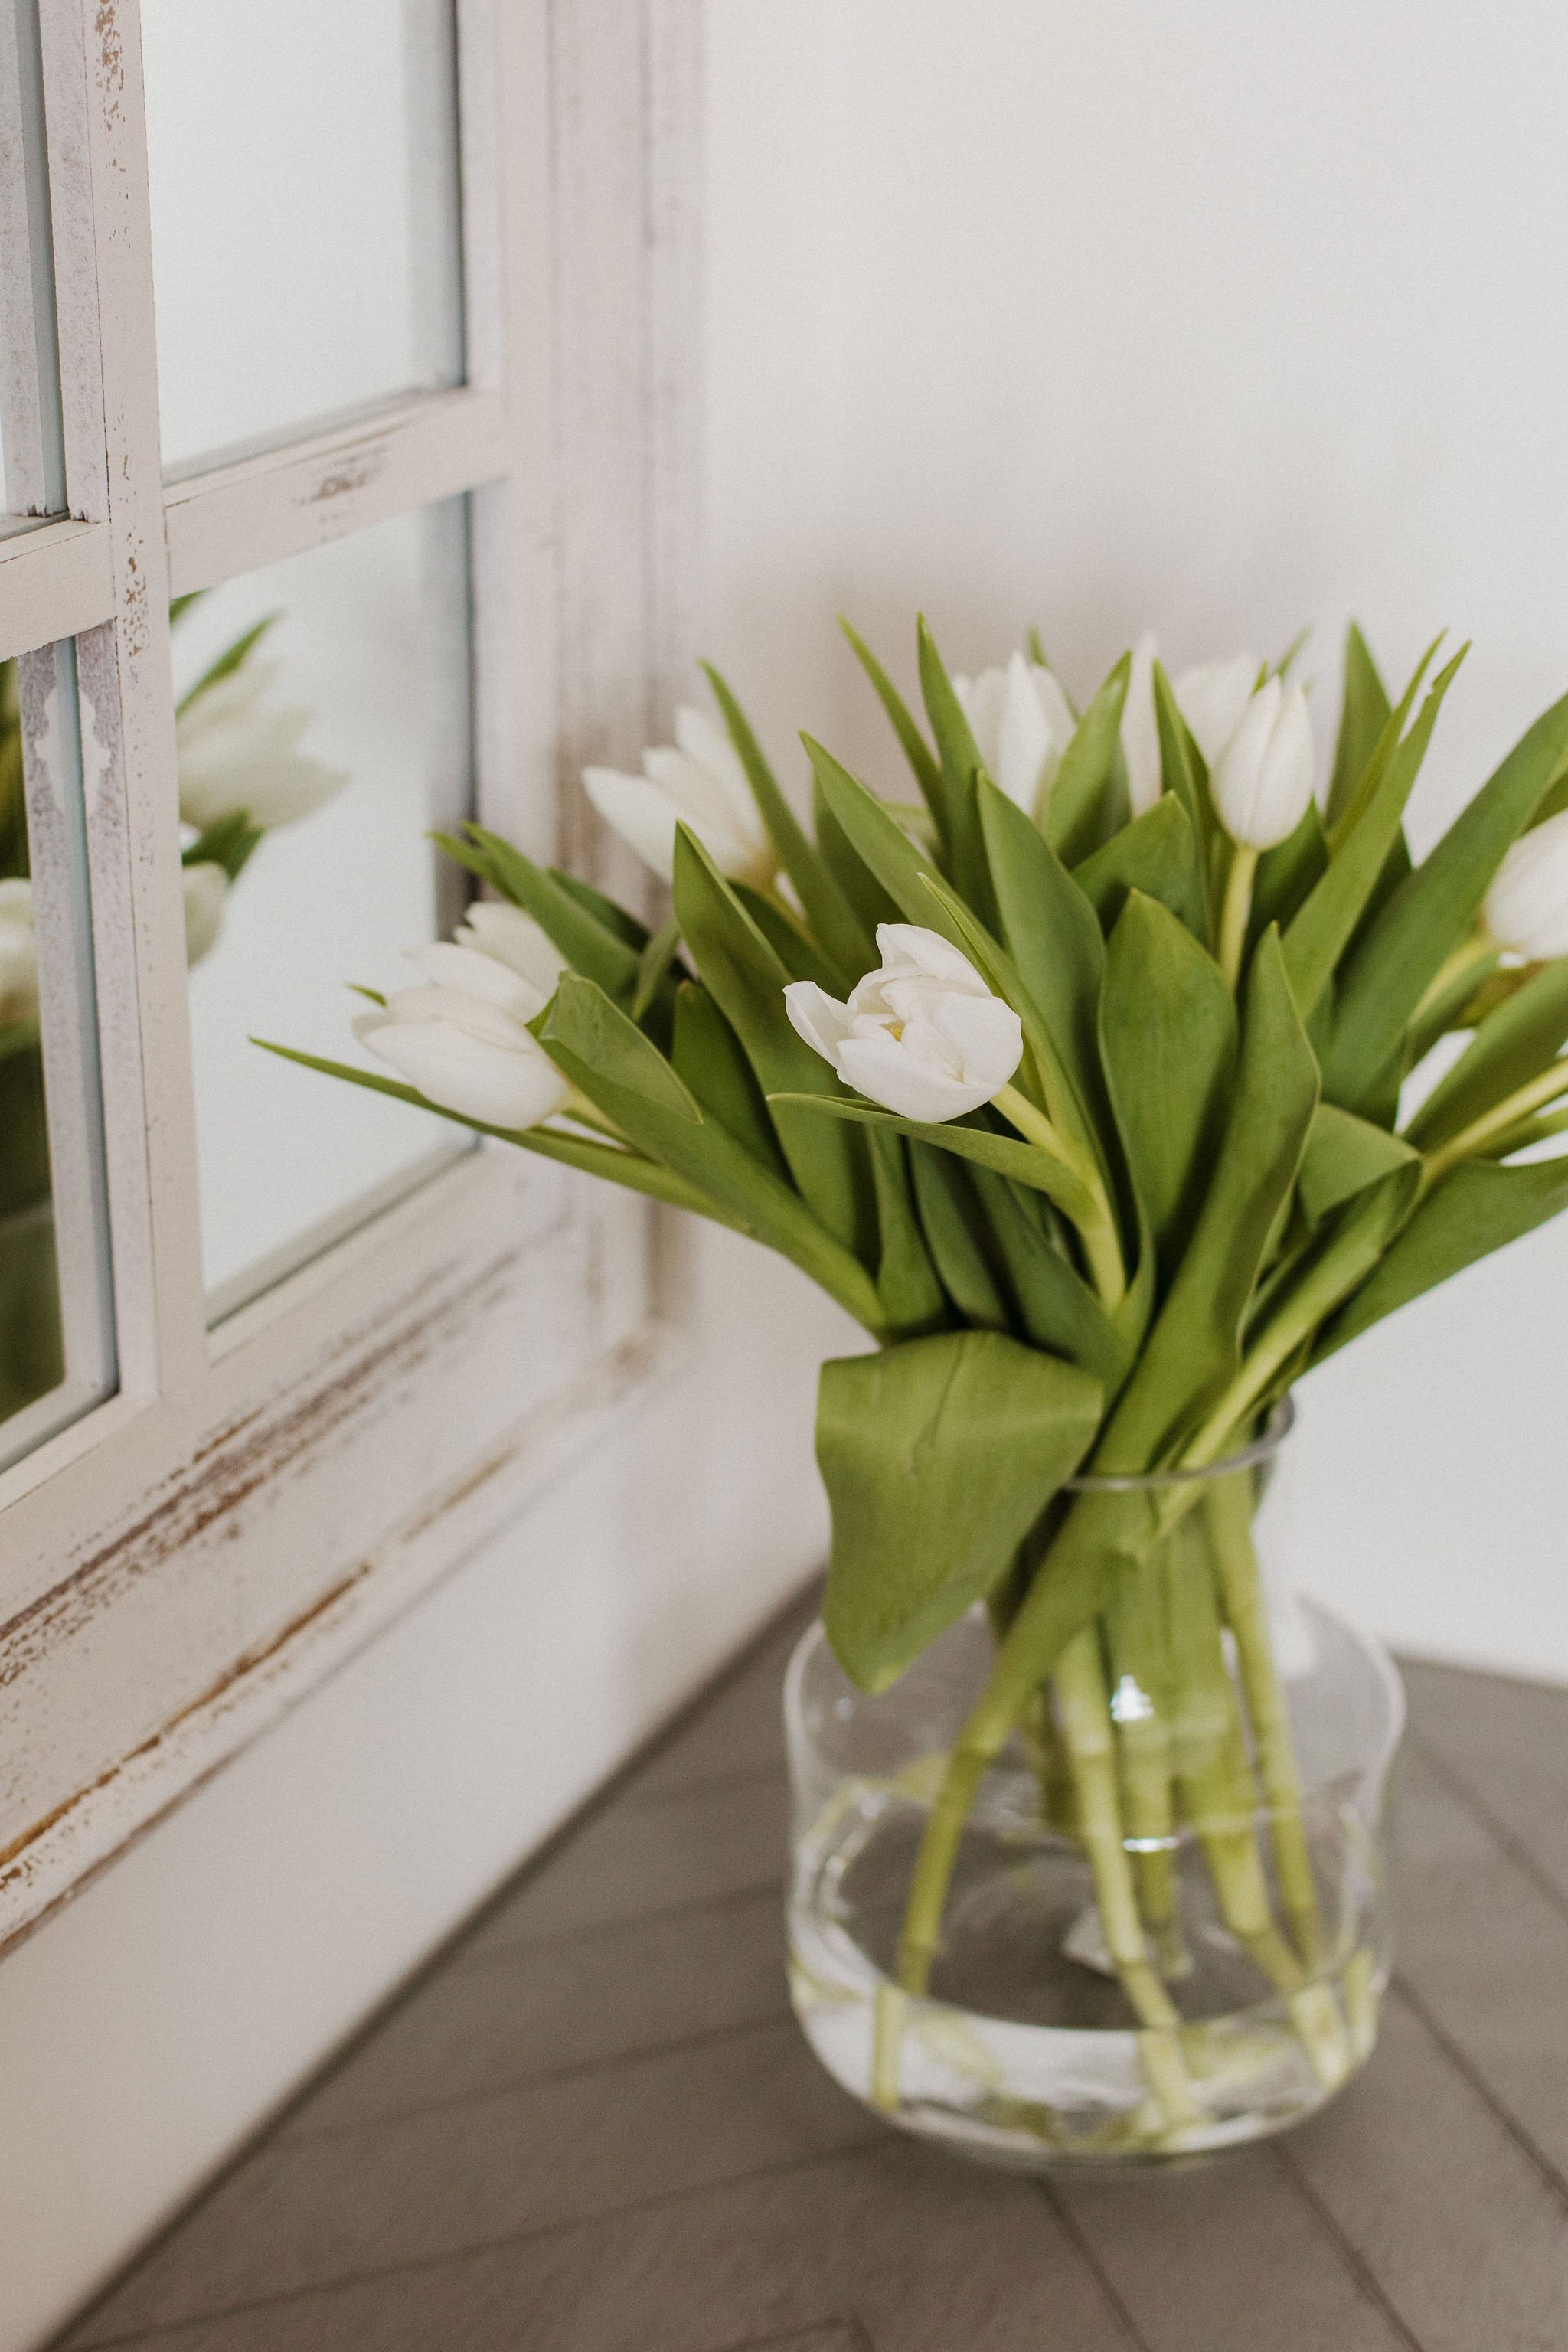
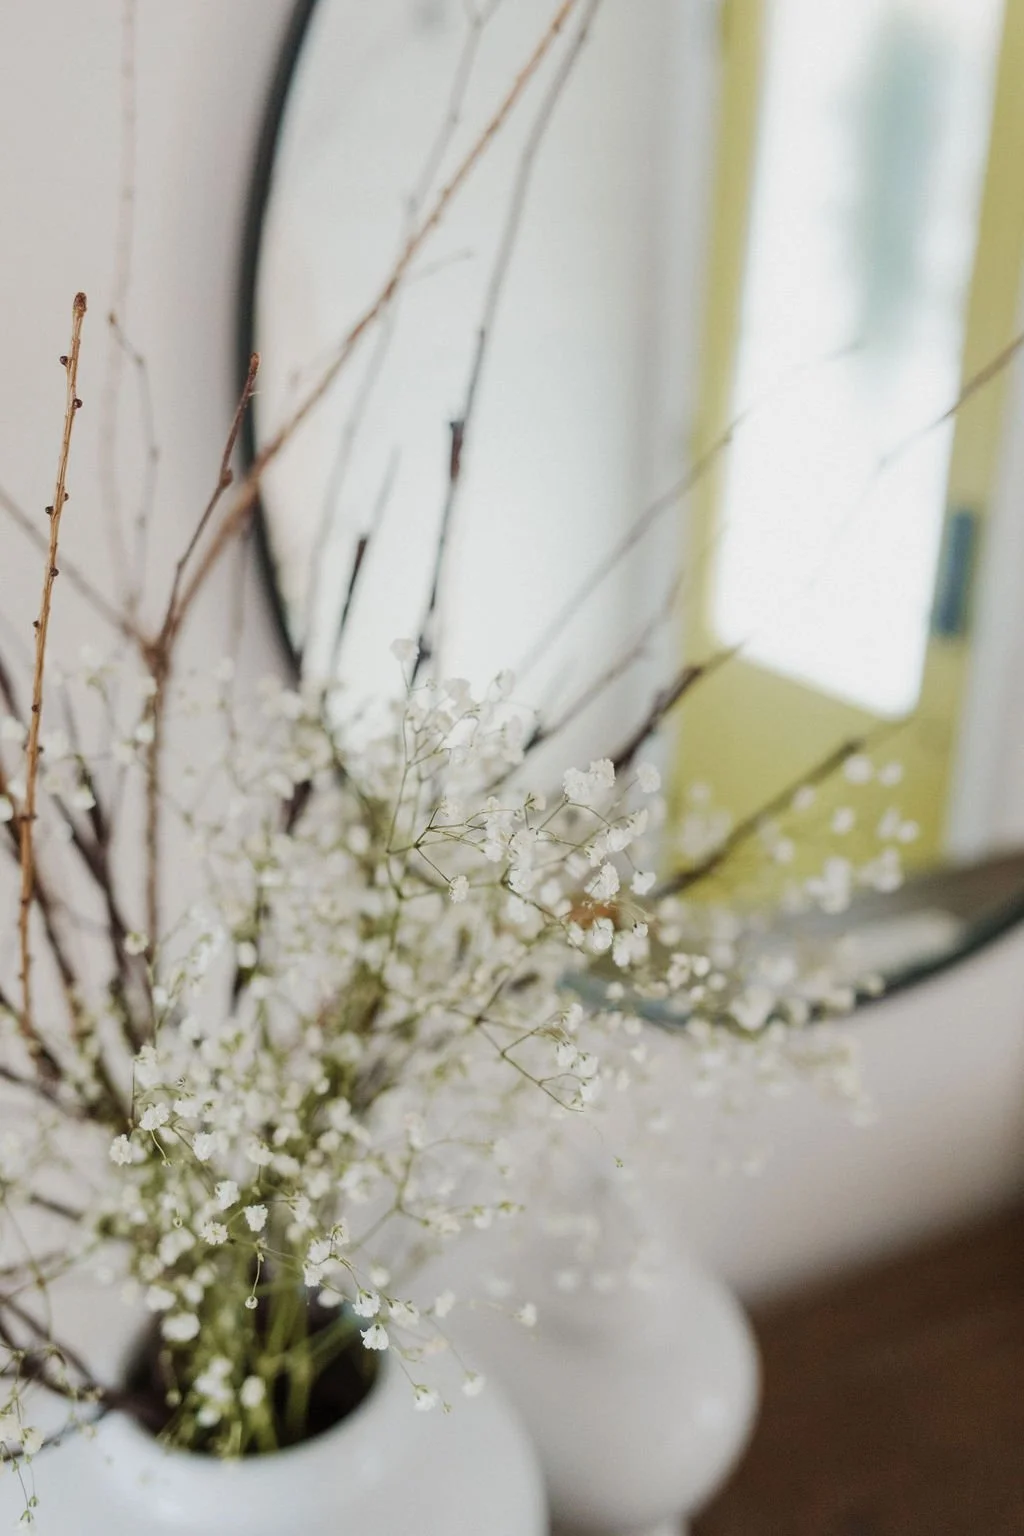
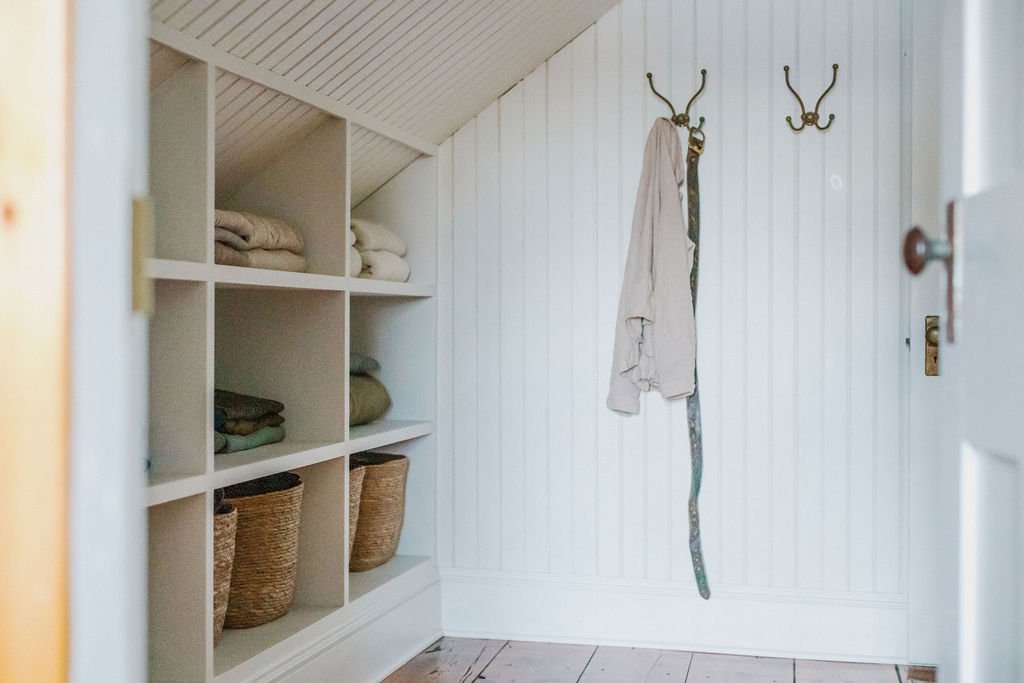
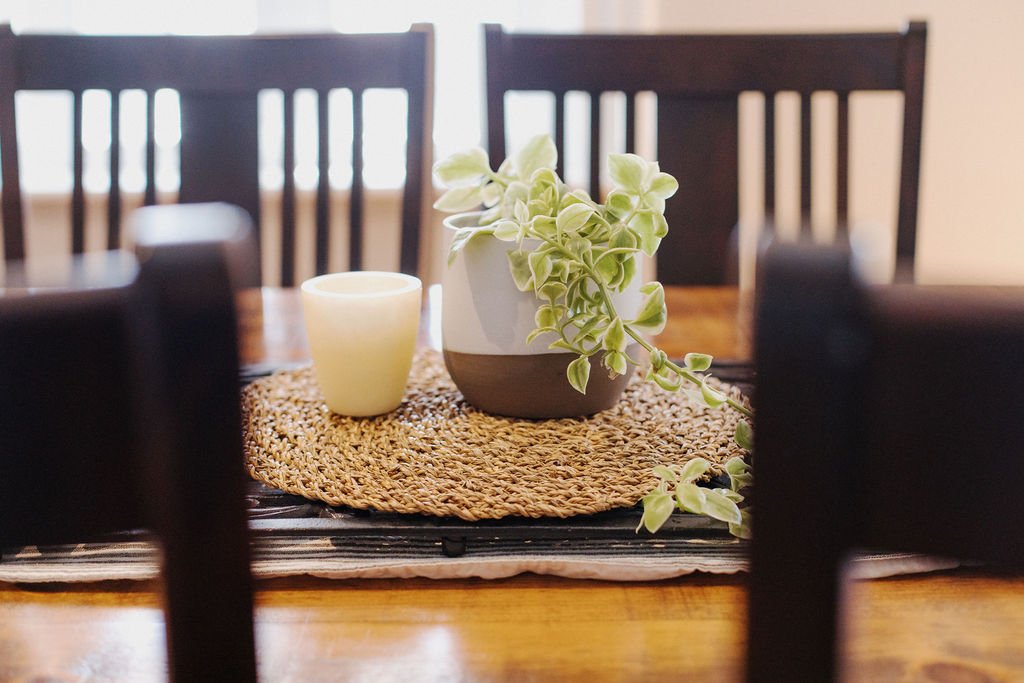
Empty space is good. Intentionally leave “blank” space with your decor. Moments of “pause” allow us to appreciate the beauty of the items displayed.

We often have a tendency to add too much. Our eyes need a visual break, if there’s too much going on visually we start to feel overwhelmed. Create a sense of ease and remember that less is usually better.

Take a second look. Step back to look at your space from a bigger perspective. How do you feel? Is every inch of the surface you’re styling filled with items or have you left a portion of the surface empty? Always try to edit out items.

Styling requires trial and error. Test, adjust and keep going. Nothing is permanent, move things around and try new arrangements.

Click HERE for the free edit & organize guide. It’s a simple 3 step process to create more calm at home.

Project Tour- Ridgevue Retreat

A feeling starts to unfold, driving down the lane, gradually heading towards the 1820’s stone farmhouse rich with original details and surrounded by farmland and maple bush. 

Styling is a big part of creating a space that feels good to be in. I recently styled this local Airbnb, adding some final touches that will help guests unwind, relax and enjoy their stay in this authentic stone farmhouse.

If you’re interested in booking your stay here, head to the bottom of this post for the Airbnb link.

Ridgevue Retreat is steeped in history and character with a warm welcoming that starts outside.

The space was carefully restored, highlighting original pine floors and exposed stone walls with a final layer of decorative pieces to complete the authentic and natural space.

A peaceful country Airbnb located in Godmanchester, Quebec.

Continue to view the styled space, curated for a relaxing getaway.

Let’s continue inside


Come in, relax for a while

Rest, relax and restore. Ridgeview Retreat will leave you feeling calm and at ease. 

No matter the season, this space remains warm and cozy within.


To create an inviting and comfortable living room, a soft textured rug was placed underneath the sofa to add a depth of color, which along with the upholstered ottoman, throw blankets and pillows, adds to the warm, casual look. 

Because this property sits on a farm, I wanted to layer in subtle nods to its surroundings. All of the art displayed on the walls reflects pieces of the farm and its past.


Quiet and Tranquil 

The exposed stone immediately adds a dose of warmth to this bedroom. Soft layered bedding creates a balance of textures with the stone accent wall. 


Neutral tones with touches of green and blue found in the art print, greenery and bedding help define this space. 


It’s important to create a bedroom that feels restful, not chaotic. 

Get started styling

The top 10 decor staples you need to create your best spaces.

get guide now

Styling is the finishing touch that takes a space to the next level. Use these simple, timeless and versatile items to create arrangements throughout your home.


Extending the refuge

During the renovation another stone wall was also exposed in the bathroom, directly behind the large tub, creating a relaxing atmosphere.


Candles, a wooden bath tray and delicate greenery were some of the small, intentional touches included to set the tone. 


Over all, the space was styled with simple pieces because I wanted to emphasize the natural charm of this house.


Bright and warm 

The kitchen look is simple and inviting. The look was elevated by styling with different glass jugs and glasses, pottery and fresh produce to add depth and texture to the countertop.


Textiles and accessories add hints of color to help liven things up the natural toned kitchen.


For added interest, a small canvas was placed above the shelf. These small details pull the space together, making it feel cozy and complete.


Slowly ease into the morning at this peaceful extension of the kitchen with a cup of coffee in hand, looking out and appreciating the natural views. Savor the quiet moment.


In all simplicity

Since the dining space is positioned between the living room and kitchen I wanted to be intentional about the decor to give the space a little bit of significance in this open concept layout. 


Fresh foliage clippings are displayed in a vintage vase and paired with a few candles which prompt guests to slow down, set a soothing atmosphere and enjoy a shared meal.

Colors and textures here complement the rest of the open concept space so that there’s a consistent flow from one area to the next. 


It’s all in these little details that pull a space together. Throw blankets and pillows, decorative vessels and jugs to display florals and plants and unique and meaningful decorations. HERE is a list of timeless and versatile styling items to make spaces feel complete.  


Book your stay

For details and to book your stay at Ridgevue Retreat click HERE

Project Tour- The Design Studio

A peek into my personal creative space!

Follow along as we tour the newly renovated design studio and the why behind selecting this unfinished space to be my place of work.

Step inside

An immediate feeling of peace sets in. The space is defined by the combination of light colors and materials, with a few personal touches layered in. It’s cozy and inviting in a fresh way.

We fell in love with an 1830’s farmhouse on a small acreage in Hinchinbrooke, Qc.  The original house was enlarged with a modern style open concept living room and an unfinished sunroom that intrigued me from the very beginning. But we struggled to decide what the best use of this extra space could be.

This west facing sunroom is filled with natural lighting and overlooks the horse pasture and fields in the distance.

Maybe this could be my design studio…

A place where no artificial lights are needed throughout the work days.

A place where I can glance up at horses peacefully grazing away.

A place that is quiet and inspiring, where I can explore creatively.

This was it.

Planning & Renovations

After claiming the space, the design planning started. It was important to create a design studio that felt like an escape from the rest of our home. I envisioned the look and atmosphere with calmness and tranquility.


The look was achieved with simple materials, first by starting with a foundation of wrapping the walls in pine, painted in a warm white to create a subtle texture. Ceramic tile with a soft beige veining was then installed in a brick-lay pattern, completing the neutral and natural feeling.

Neutral colors, natural materials and quality over quantity are go-to choices for creating a serene space that is visually appealing and stands the test of time.


Main desk

The modern sit to stand desk serves as a daily workspace. This is where brainstorming and focused work takes place. It’s paired with a beige herringbone patterned cowhide rug for added comfort and completed with a dark wood antique office chair passed down from my grandparents.


Additional seating area

The round fiberglass table and chair set was also passed down and serves as a collaborative space. A large surface for laying out samples, designs, and to host meetings.

Since much of the design process stems from inspiration, this designated table is where everything can be viewed at once. Design books propped as inspiration for a particular project, paint swatches, fabrics, stone and wood samples, etc.

It’s where all the testing and decisions come together.


The Built-in

A custom cabinet was purposefully designed to look like an old armoire and tie in seamlessly with the surrounding paneled walls. 


Open a world of inspiration! This is a library of materials where I can pull ideas from, explore materials options and begin piecing together design concepts. 


A big dream for this room was to have it feel inspirational, creative, and functional. The space is cozy and inviting with intentional decorative pieces that hold meaning.


Grounded in timeless design, while embracing a simplicity that is calming and uncluttered.

Create a meaningful home, true to your personal style.

Learn more

Carpenter’s Renovation Planning Tips

Make upgrades within your home to suit your evolving needs and lifestyle.

By renovating, you can create the home you’ve always wanted. You can create a place that makes life better, easier and more enjoyable. 

I’ve joined up with local carpenter Renovations Alexander Ostrofsky to provide you with helpful tips to plan a successful project. 


Here’s how to make better decisions from the start of your renovation journey.

Read our tips below…


TIP 1: Define what this project is for you

The reason you are renovating will guide all of the decisions that you need to make along the way. Get clear on what this project is for you and the reason why you would like to renovate.

Is this your first home, stepping stone home, forever home, Airbnb, or perhaps a weekend home/country retreat?


TIP 2: Get clear on your core concept before hiring 

Your home style, what you value (Canadian/ Quebec made, support local, affordable solutions etc. How you want to live, how you want your home to feel and your available budget.


TIP 3: Communicate with your team 

Have those tough conversations early…

Don’t waste your contractor’s time or yours, speak up!

Know when to check in and how regularly, stick with the facts and keep emotions out of these conversations.

Know when to be flexible and when to be decisive/insistent.


TIP 4: Find your why

Purpose and clarity… If you don’t know your why you’ll struggle to make decisions.

So, what are your goals?

How your goals will serve you will help you to determine your motive and enable you to make decisions. Envision your life in the finished space with the features you want or need. This will guide you towards your goal.


Tip 5: Constraints can be good

Without establishing clear boundaries your home could look like a mish-mash of different looks and styles.

For a cohesive home you must have constraints. With colors for example, there are choices to make from fixtures and fittings to paint colors and flooring material and soft furnishings. 

Is your style traditional or contemporary? Was your home built in this century or the last?


TIP 6: Getting work done quickly isn’t always better

So often we’re in a hurry to make decisions in our renovation project in the hope that we can bring it to life as quickly as possible, but don’t hurry. If you rush some decisions in the beginning stages of a project they can cost you during the build process, and limit your options.


TIP 7: Understand and gather info early

It’s very easy to get overwhelmed during any stage of the renovation process. There are many people involved and lots of moving parts happening. Educate yourself about what you need to know. Find experts who can guide you through the decisions that you need to make.


Keep in mind there are always restrictions and a limit to what can be done. Renovations, after all, mean working around an existing structure, so be open minded as new ideas and suggestions may be brought to the table.


Renovate with less overwhelm & more ease

What to expect and how to plan for a successful project.

The 7 renovation stages to know

download guide

Project Tour: The Modern Cottage Kitchen

Small scale extension, huge impact on the new kitchen layout.

A little extra space can go a long way towards achieving a functional, easy to use family kitchen. 

It’s a harmonious blend of craftsmanship, functionality and modern design.

Here’s how the new space came together...

An extension is the solution

The understated extension links to the existing space in an effortless way.

A little extra square footage went a long way. What was once a compact kitchen is now an open-concept, light-filled, inspiring space to cook and hang out.

Custom cabinetry

It’s a fresh modern look with the combination of the classic shaker style cabinets, finished in a warm gray color creating a soft contrast with the accent mossy green island. Light-veined quartz countertops and large subway tiles complete the design.


Easy Cooking

Part of designing a new kitchen is making it as functional as possible, which means it’s important to think through how your current kitchen works and doesn’t work well for you. 

What would make daily cooking easier? 

How could the space be set up to inspire you to create your best meals? 

What are ways to improve the way the kitchen functions? 

Upgrading to a large gas range and pot-filler faucet allow preparing meals in a practical, easy way. These are features that add convenience and style too.

Wood accents

Touches of natural wood throughout the space tie in with the rest of the home’s design. It’s a smooth transition into the newly renovated kitchen, evoking a sense of calm and balance


A little inspiration

Small sections in the cabinets can be used to create a little personalization. An integrated opening in the cabinetry was designed to display cookbooks for easy access meal inspiration. It’s tucked on the side with plenty of counter space below to flip through recipes.

The way functional and decorative pieces are arranged can make a difference in the way we feel about our kitchen. Create a place of inspiration and make it yours!  


There’s room for all the things that matter to you. When thoughtfully planned, a truly personal space emerges, one that make it feel like home.

begin your custom kitchen design

Decorators 5 Rules

You must first know the rules before you can break them.

My design assistant Tia, specializes in decorating and below she's sharing her 5 decorating rules. Tia is focused on all the details that bring a room together and she’s committed to creating functional and beautiful spaces that feels easy to live in.

Continue reading to learn the rules worth following.


Decorate home

Rule 1: Get lighting right

Secondary/accent lighting are the lights in your home that aren’t used for the purpose of lighting the entire space. They are the more soft, subtle lights, such as lamps and more decorative wall sconces for example. 


This will set a nice evening atmosphere, especially when using warm lighting. The benefits of this can also be related to a space lit by candle light. It will not only create ambiance but also relieve stress and aid in a good night's sleep.


Decorate home

Rule 2: Create visual interest

Visual interest adds depth and character, which brings your space to life. It personalizes your home by showing exactly how you want the space to feel and how you make it your own.


The main way to achieve this is by using things you are drawn to. Such as decor, textures in your space, different fabrics, materials and interesting artwork.


Though, the key element to making everything look coherent is by keeping the same style and feel you want to go for when making your selections, which can be challenging but that’s why we’re here to help you!


Rule 3: Include greenery

Plants add beauty and a touch of nature to your living space, making it more visually appealing. They can complement your style and create a more inviting and cozy feel to your space. Other benefits can also be boosting creativity, creating focus, releasing stress and improving your mood.


Though potted plants can sometimes be a challenge to maintain, there are other great options as well. Such as, floral or other natural clippings, branches or preserved plants.


Whether you have a ton or just a few, no matter how you bring nature indoors, it can positively impact your overall well-being. Create a more pleasant living environment by following this simple rule.


Rule 4: When in doubt, Stick to one color palette & style

Sticking to one design style and color palette can help create a consistent and coherent look throughout your home. This can make your space feel more unified and organized, making it easier for the eyes to navigate through each room. While also, a single color palette can create a clean and elegant look. Reducing visual clutter and creating a sense of simplicity, which can be perfect for modern or minimalist styles.


By focusing your choices on specific colors, patterns, furniture, and decor elements that fit within your style. It will make each piece have a complementary element between one another and also help you with decision-making once you have a clear vision of the design you want to achieve.


Rule 5: Create different levels of interest

Drawing the eyes up in a space is a way to improve the visual focus of a room, making it appear taller and more spacious. It directs attention to the upper parts of the space, typically the walls or the ceiling. 


Some of the best ways to do this is by having artwork that can be placed high on a wall, such as a gallery wall. Using tall pieces of furniture, having unique or statement light fixtures and having decor at different levels in your space.


Incorporating these elements will have a huge impact, making your space appear grand and giving so much more to the feel of your home.


Decorating Home

Realize your home goals. Apply the decorator rules to your next home renovation for a high-impact update you’re sure to enjoy.

decoration services

Project Tour- The Farmhouse Boutique

Welcome to The Farmhouse Boutique!


The early 1900’s building was used for various purposes over the years with remnants of its past uses but with a strong vision and experienced professionals to complete the electrical work, carpentry and millwork, plumbing and painting the space took shape.


Preserving the building’s integrity and beautiful original detail while incorporating fresh, new accents for the perfect balance of past and present.


Let’s head inside…


step in

During the first walk-through with the boutique owner, we observed the beautiful details of the building. The space had a good feeling and potential to be something special.

With a goal to enhance what already existed and to create a warm and functional space, it was time to move into the designing phase. 

Reviving a historic building means thoughtful design decisions that showcase and preserve the integrity of the space, while blending in new elements.

Blending old & new

Old church pews along the side wall are paired with new, locally made tables for a perfect balance of old and new. This dining section is completed with a large gallery wall featuring charming sheep and landscape artwork. 

Along the other side wall, a large custom made live edge table is positioned and paired with sleek modern Windsor chairs and oversized rattan pendants setting a warm atmosphere. 

A lounge area was designed around the existing storefront window platform. It’s now a cozy resting point with natural light flooding in.

revamped & Ready

The built-in shelving wall now serves as a practical dishware storage and prep space. 

A series of counters and displays sits in front, finished with custom shaker panels and a sealed barn wood countertop. Uniting original and new millwork in a way that feels seamless.

Teal vintage-inspired pendants hang above the length of the counters to set a soft glow and add a touch of color.

In the details

For a fresh look, the paneled walls were painted a two-tone soft white and light grey beige, harmonizing with the hardwood floors. 

The detailed tin ceiling was repaired in a glossy finish to contrast with the walls. This draws your eye up to highlight the detailing. 


Dimensions, planning, drawings, research, meetings, careful considerations for the color palette to work with the architecture and selected textures, materials, patterns, lighting and furniture all went into creating the space.

In collaboration with the boutique owners and all of the trade professionals involved, this building has been carefully and thoughtfully revamped and ready for its new chapter to unfold. 

Share your thoughts. Leave a comment below!


Styling With Vintage Decor: 3 Tips To Get The Look

Vintage pieces bring expression to a space. When you display unique and interesting vintage decor you begin to tell a story throughout your home. Your home becomes more meaningful, personalized and one-of-a-kind.


Let’s look at including vintage to your home in a fresh way.

Keep reading for my 3 tips…


3 Tips to Styling Vintage Decor

Tip 1 Create Balance

When it comes to bringing in new pieces of vintage decor, or displaying pieces you already own, the key is to create a sense of balance. Balance between new and old decor, and also positive and negative space. 

Negative space refers to leaving room to breathe. Especially with vintage pieces, our homes can quickly look cramped and cluttered if we don’t step back to see if our space looks balanced.

It might take a few attempts to find the right spot for your vintage piece and this is normal. Styling is about experimenting and testing. You may need to test out different vintage pieces or move the piece around in a room to see where it looks best and feels balanced in the space. 

3 Tips to Styling Vintage Decor

Tip 2 Mix Material 

Mix materials, old and new. The juxtaposition of mixing vintage decor in a newly renovated modern space works wonderfully. A clean and crisp new space needs character and dimension with small touches of vintage pieces to create a mix of materials. 


Create a cohesive look by bringing in vintage pieces that either match or have similar tones, so that they work together nicely. With vintage pieces, often you will need to create a cohesive look by grouping different pieces together or by separating the items, letting them stand on their own in a bookshelf, console table, etc. 


Test out different configurations in your home to see what works best with the vintage pieces you own and bring into your space.


Tip 3 Add Textiles

Unique area rugs or runners are a great way to bring vintage into your home. Textured and patterned rugs bring depth, character and instant warmth to space, especially in new or recently renovated spaces. Textiles are a way to introduce vintage in a subtle way without distracting the eye too much from the rest of the room’s decor.

Vintage rugs work well in an entryway, living room, bedroom, and a hallway. Low traffic spaces in a home are best suited for delicate textiles. 

Other interesting ways to include textiles in your home are on your walls. Framed pieces or hanging a textile are different ways that you could bring in pattern and texture to your space. 


Working with vintage pieces is one of my signature interior design looks. What I love about vintage is their rarity and that clients' homes can never be replicated because of these special items. I love sourcing pieces for clients and using vintage pieces that clients already have to create new and interesting displays in their homes. 


Personalizing a home is what matters most and with vintage pieces it can be easy to make it happen for you too. 

Project Tour- The Franklin Farmhouse Kitchen

A before-and-after kitchen remodel to inspire your next home update.


The existing wood cabinets were structurally sound and functional. For an efficient upgrade the cabinets were painted white and reused.

Keep reading for all the updates

Materials

New quartz countertops were installed for a fresh and clean new look, paired with small beveled subway tiles adding character and texture to the all-white kitchen.


Hardware

Aged brass cup-pulls were installed on the bank of drawers, pairing with the original ceramic knobs on the doors.


Wood accents

An existing opening in the wall turns into a practical shelf for plants. This design keeps a sense of openness to the kitchen while bringing greenery into the space in a non-intrusive way.


Personal touches

Use available space when it makes sense to do so. Under the curved wood countertop and additional cabinet was built to store dog food, with a convenient water bowl built-in beside.


Consider your needs and daily routines before renovating.

  1. What is most important to you?

  2. How do you want to use this space and for what functions? 

  3. How can this space make life easier for you?


Interior design can make life at home easier and more enjoyable.

Begin here:

What to expect and how to plan for a successful project.

The 7 renovation stages to know

free guide

Greenery at Home: A Florist’s Guide

Greenery, the decorative element your home shouldn’t go without!

Florals, potted plants and branches bring a room together and make spaces feel complete. The organic shapes, beautiful textures and colors bring a natural atmosphere to any room in your home.


I’ve joined up a local and passionate florist, Isabelle, the owner of Fleuriste De Fleur En Fille to share our favorite ways to add greenery throughout the home.

Keep reading for our inspiring room-by-room greenery ideas.


The Entry

Set the tone in your entry. A simple season arrangement of cut tulips creates a warm welcome on a relatively small console table. Below sits a natural woven basket filled with faux ivy to add volume and interest.

Update your greenery as the seasons change to keep your home alive and evolving.


The Living Room

No matter the size or shape of your living room, adding greenery will enhance the space and the way you feel within the room.

On a coffee table or side table layer pieces to create depth. Mix plant styles and textures, like you see here with green thlaspi and a white phaleonopsis orchid. A stack of books and candles placed on top units the entire display.


To balance the greenery within the room, a large Schefflora in an old croc was placed along the opposite wall.

The Dining room

A soft textured table runner layered with a bead trough and variety of air plants (big xerographica and small ionatha) works well for any season.

A versatile centerpiece like his one allows for easy updates anytime you would like to create a new arrangement.

The Kitchen

Create a place of inspiration. The kitchen is where we often spend a lot of of time and it should be reflected. Select a few of your favorite plants, florals and branches to create an intentional and beautiful display. 

Corral cooking essentials and add a small plant, such as an olive plant to soften the display. 

On the island tall pussy willow branches are placed in a glass vase to add height. To create a sense of balance on the island a simple arrangement of cut tulips in a vintage urn grounds the scene and pairs well with the contrasting branches. 

Experiment with your space and test our different arrangements to see what looks best on your counters and island.


The Bedroom

Styling your bedroom can be done in a thoughtful way to create a space that feels restful and calm.

If space permits, a large plant such as a Neantha Bella palm tree can be an easy way to make an impact in a neutral room without overwhelming the space.

Keep your nightstand minimal, but this doesn’t mean bland or boring. Select florals or a small potted plant to brighten your day.


The BAthroom

Place a small potted plant on your vanity and bring in personality by selecting an interesting or unique shaped pot. 

In a powder room where space is limited select a small Fittonia plant or small vase with a cut flower.

Lastly, add a fragrant, mood-boosting bundle of eucalyptus in your shower!


Even just a simple display signals to guests that you care and you’re proud of your home. The little details do matter and they impact the way you feel in your home too. Visit Fleuriste De Fleur En Fille to begin sourcing the right greenery for your home.


Greenery & More!

Boost your styling skills with this checklist of 10 decor staples.

Simple, timeless & versatile items to create your best spaces.

Display decor that brings you joy and makes it feel like home. Get started today!

Decor checklist

Project Tour- The Moonlight Lake Entry

With intention and effort, a relatively small entry can feel like a warm welcome…

Front door

The walk up to the front entrance starts to set a tone. A feeling starts to unfold leading into the entry with a welcoming sage green door as the focal point. The feeling of a thoughtful and intentional home transitions from outside into the new bright and welcoming entry that has been created.


Hidden storage

Functionality was not sacrificed. The console was a way to incorporate storage into the entry space. When space permits, it’s best to go for a large piece of furniture. Designated storage in the entry serves the homeowner’s lifestyle both in function and personal style.


The top of the console was left for more decorative items. A collection of textured white boxes, vases and urns have been displayed on each side of a large round mirror along with a large lamp offering a nice evening atmosphere, setting the tone for the rest of the home.


 The mirror helps create a brighter and larger space by reflecting light, as well as a convenient last hair and make-up check on the way out the door.


Open storage

On the opposite wall white shiplap was installed to add another textured element to the space. The crisp white is refreshing and works in harmony with the pine wood floors.

Simple wall hooks keep the entry practical and organized. To bridge these two sides, a strong patterned rug was selected, also tying into the black accents.

As you step inside and the door shuts behind you, a feeling of both calm and ease take over. The new entry makes it feel like home.


Ready to get started?

Improve your home by first simplifying. Reclaim the space you have and create a home you truly love.

Easy & effective 3 step process to create more calm at home

Free guide

Project Tour- The 1830's Farmhouse

We renovated our 1830’s farmhouse!

Just over a year ago we purchased an 1830’s farmhouse in Hinchinbrooke, Québec.

The original house dates all the way back to the 1830’s and in recent years an extension was built, connecting the original house to a large, vaulted ceiling living room.

The original upstairs landing, which you will see photos of below, connects on to a mezzanine, overlooking the new living room below.

the unfinished space

We moved into the unfinished space and looked forward to soon renovating and completing the entire upstairs.

Updating was needed on the original house and after giving ourselves the time and space to live and use our home we discovered what works best for us and the space itself.

I then creating plans and elevation drawings of the space for our carpenter while starting to gather ideas for all of the materials, finishes, colors and lighting.

Demo day

A few changes to the layout were made to efficiently use the space and to better serve us, all while preserving the charm of the small and cozy one-and-a-half-story home.

We wanted to bring this space back to an original style, the past where only a few simple materials were used.


1830's Home Renovation Hinchinbrooke Quebec
1830's House Renovation

Materials

V-grooved pine covers the walls and ceilings in the walk-in closet and main bedroom which add texture to the space while keeping it bright with a warm off-white paint.


Floors

Layers of plywood, carpet, linoleum and paint were removed, revealing the original wide planked hardwood floor.


Main Bedroom


The main bedroom is simple. It includes a small yet practical built-in closet, a queen size bed and a dresser. An antique chair is angled in the corner, placed with a trailing plant and artwork hung on the wall beside.


Spare Bedroom

A queen sized bed and nightstand fit well in the smaller bedroom with a built-in closet offering more storage space.

Walk-in closet

The walk-in closet is accessible just off of the main bedroom and also directly from the bathroom. Custom built-in cubbies were installed along the entire slanted wall, maximizing storage space. 

On the opposite side a section of wall was built to create a cavity to hold two hanging rods. 

Simple brass hooks were installed on the wall to hang belts, etc.


Landing

Low walls were built as guardrails for the staircase with a feature wall in the pine planks.

The existing landing closet was extended to incorporate a built-in shelving unit, a space to showcase books and mementos. 


Doors & Hardware

We salvaged the original 4-panel and 6-panel shaker doors! Replacing new builder grade hollow doors for the original solid wood doors helps bring back an authentic look to space.

The remaining doors for the narrow closets were made out of v-grooved pine. All of the doors and trim were painted in a soft white pearl finish.

Hardware for the door knobs and cupboard latches are brass and brass plated.


Lighting

The acorn pendant hangs above the staircase with additional brass flush mount lights in the landing and walk-in closet. 


Instead of overhead lights for the bedrooms, an antique picture light was mounted above one nightstand and a lamp set on the other nightstand.


I've never worked with an interior designer... 

What to expect + 3 myths to know before hiring a designer

get guide

Interior Design vs. Interior Styling

The interior design approach is much different than the interior styling approach.

What’s interior design?

Interior design focuses on big picture elements and details that are fixed in place.

When designing a space for a client I may suggest removing walls to open up a floor and make adjustments to the layout plan. I will work closely with the clients over many months.

What’s interior styling?

Interior styling is the art of arranging items to bring a room to life and it pairs itself nicely with interior design.

 Styling your home is the final step, however it’s a step that never truly is completed. Once you've renovated and you have your main furniture pieces in place, the fun and less stressful part of the process can begin.


Unlike interior design, styling requires no set plan. It’s about using what you already have to create rooms that feel lived-in. Usually styling doesn’t require much money since you don't necessarily need to go out shopping for completely new décor.


Styling with ease

10 items to get started creating your best spaces

Use these simple, timeless and versatile items to arrangements throughout your home. Create a welcoming entry console display, inspiring kitchen counters, relaxing bed side table and so much more!

get list


When to start

Designing a room usually only happens once or twice over a lifetime in a house. The goal is to only renovate your space one time and enjoy it for many years, while styling is an ongoing process. You can rearrange items in a room on a weekly basis if you would like, or perhaps only seasonally. The point is that styling is flexible and you can do what you want with your home whenever you like!


Gather the top 10 best styling items

Here’s a list of timeless and versatile styling items to make spaces feel complete.

You may already have some of these items!

get list

Decorating With The Potter’s Homestead

When considering adding pieces of pottery to your home, you are bringing a world of art, earth and intention into your space. Pottery is typically made of either stoneware, porcelain or earthenware, all excellent and durable materials that require being fired to high temperatures in order for the clay body to mature.

Hanna, a ceramic artist from The Potter’s Homestead, is joining me to share more about her craft from the unique pieces she creates and their versatility to ideas on completing your home all with the beautiful functional pottery she creates. She designs thoughtfully handmade pottery that is both practical and decorative. Through her work she celebrates intentional living, sustainability and finding serenity in everyday moments.

HANDMADE OR MASS PRODUCED?

In the world of agriculture, there are a handful of frequently used phrases that all would recognize: “know your farmer”. “Know where your food comes from”. And yet, we often overlook the vessels we use to carry that same food we refer to. The pieces that display our favourite flowers, the mugs that hold our morning coffee, or the dish in which we store our most cherished jewellery. Do we know where it comes from? Who made it?

Over the past century or so, the production of ceramic wares has become increasingly automated and mass-produced overseas. The development of these procedures have generated products of uniformity down to an exact science. Visible traces of human contact and imperfections are rare, unless they are marketed and intentionally designed to appear as though they were handmade. Despite fast paced manufacturing processes, mass-produced ceramics are typically tied to short lived trends. These items are also sold at an attractive price point that understandably appeal to many.

Most potters, unlike major corporations, take great pride in the quality and sustainability of their work, as well as the enthusiasm their clients express when supporting them. This fact is one of the many pillars differentiating the value of handmade vs. mass-produced ceramics. Investing in pottery in this way is a wonderful approach to embody high quality, environmentally sound and distinct home design.

POTTERY IS VERSATILE

Shapes, textures, and decorative options are endless when it comes to pottery. When discovering various artist’s work, it is fascinating to observe the ways they work with the clay body alone through tools and decorative techniques. You may also notice fingerprints and traces of an artist hard at work to conclude their creative process in order for it to make its way to your home.

While an investment such as this can feel daunting, the versatility of a ceramic piece is infinite. With a little bit of vision, a simple bowl can surely be used as dinnerware, but could also be a dish to hold your keys at your entryway, act as a “cache pot” for your new house plant, or even be used for a smaller serving of olives or dip at your next family gathering. Jugs, for instance, can be used as a pitcher for your favourite lemonade, but also display your new bouquet of flowers or replace your watering can. Handmade pottery is the ultimate crossroad between beauty and function!

Decorating with pottery

Key areas of your home can easily be decorated with pottery. Here are a few of our favorite ways to incorporate functional items into the design of your home:

Creative Catch All: ceramic bowl

Staying organized at home can be achieved in a beautiful way. Display any bowl you like in your entry as a “catch-all”. 

Elevate the look by layering a slice of wood or a basket underneath the bowl. You could also drape a piece of linen over the console then set the pasta bowl on top. The mix of textures and materials creates a completed and pleasing look.

Cheerful blooms or simple clippings from outside your home can be placed in a decorative vase and added to your console display.

Showcase Your Collection: Kitchen Displays

Multiple pieces can be displayed as a group either on open shelving in your kitchen, in a glass cabinet or simply on your counter.

Stack bowls and plates and create a dynamic display by displaying taller pieces in the back and shorter in the front. 

If you have a large collection you can consider splitting your pieces by color or by category (mug, bowl, jug, vase, etc) and displaying these separated groups in different areas of your home.

Earthy Dining Displays: Buffet & Table 

The Table

One or two large jugs or vases filled with branches in the center or your rectangular or round dining table create an interesting display. Ceramic pieces contrast against a wood table and the height of the centerpiece elevates your eye up and fills the openness.

The Buffet

Often simplicity is best. A buffet decorated with a larger ceramic bowl of fruit paired with a few taller items, and completed with a large artwork layered on the wall above the buffet ties the entire display together.

Pottery Styles For Your Home

Choosing the right pieces for your home’s style and your personal style. How do you want to use and display pottery in your home?

When it comes to complementing your home with pottery, the choices are nearly endless. Hand-thrown pieces keep your space from feeling sterile or impersonal. Whether you’re a minimalist who prefers a single piece or a maximalist who loves the look of multiples, there’s a piece of pottery for your personal style.

The type of glaze or finish alone can determine if it works with your style and feel of the room and the size of pottery may determine its purpose in the room. And the shape may determine which room you use it in.

Curved pottery pieces, pottery with rough texture and natural or a natural mixing of colors works well in a farmhouse setting. For an earthy look select pieces that are neutral and solid in color. Swirl detailing in pottery can add more texture to your space and the look is best achieved when pieces are grouped together, creating a stronger statement.


The Potter’s Homestead

Thoughtfully handmade pottery for your home. Head over to Hanna’s website to view her available products and services.

 
Learn more

What's a Layout Plan?

Fact: A set of plans used to be called “blueprints” and they’re essentially still the same, only printed on regular paper.

Keep reading to learn more about layout plans and which type of plan you need for your renovation project.

what’s a Layout plan?

A layout plan, also known as a furniture plan, is designed to show the new placement of furniture and the relationship between every room. This type of plan includes all movable and fixed furniture (kitchens, bathrooms, etc.), providing a clear and helpful way to visualize your new space and how you will navigate through it.

The plan is scaled, making it easy to establish proportionate sized furniture that works best for the space. Each room is labeled with its name and dimensions for easy understanding.

what are the Symbols on the plan?

The symbols on the plan represent doors, their swing directions, and window placements, which help understand the circulation and movement through each room. The placement of furniture must be coordinated with these elements.

The placement of windows guides the placement of both fixed and movable furniture and the partition walls that create the new rooms. A lot of information must be considered when configuring new rooms and the plans indicate all of the necessary information. The plans ensure that no information or details have been left out or forgotten. All information is ready on the plans for the construction phase.

what’s the Difference between a layout plan and a construction plan

A construction plan focuses on the necessary building information and dimensions, excluding movable furniture. It describes all walls, doors, openings, and windows, with dimension lines and sizes labeled. See plan below.


what are benefits of a plan?

Both the furniture layout and construction plans offer several benefits:

  • Clarity: They provide a clear picture of how the renovated elements will look, showing the “big picture.”

  • Organization: Plans allow you to organize the entire project before starting and prioritize spaces that need to be completed within a specific timeframe.

  • Flexibility: They enable you to explore possibilities and test different scenarios, especially crucial when adding onto an existing structure.


You’ll benefit from a layout and construction plan if you’re looking to conceptualize your ideas and plan how you want your space. For more information on what’s required for your renovation project:

Learn more

Working With An Interior Designer

I often get asked similar types of questions from new clients and thought it would be helpful to share the questions and my answers with you.

Most of my clients have not previously worked with a designer, not to worry if you’re in the same situation, this will help give you the answers you're looking for.

01— What is the design process?

The design process comes down to three main steps:

ONE: THE MEETING

After I receive the completed questionnaire, I will gather a list of questions we need to discuss. We will meet in-person at your home so that I can see the space, take the necessary measurements, and walk-through the space with you.

After the in-house consultation I will then get back to you by email with the project breakdown, the design fee and timeframe for the design services. 


TWO: THE CONCEPTS

Once a deposit has been paid I will get started creating preliminary layout plans. We will meet in person a few times to discuss the plans and we will be in contact by email/ phone calls throughout your project. It’s important that you are involved in the design process from the very beginning because it can eliminate a lot of questions for your contractor once the renovation work begins. 

THREE: THE WORK

Once you’ve approved the final design, furnishings and materials are ordered, and all work is scheduled there will be a wait time. From now until the construction is complete and/or the furnishings are delivered, you will wait to see the final transformation. 

02— Are you The Right Fit For My Project?

This is a necessary question. It’s important that we are both a good fit for each other.

During the phone call and initial consultation I will get to know more about your project goals and vision. You’ll want to have a firm grasp on your personal style, share inspiration photos and designs/concepts with me at this time because I want to make sure that I am the right designer for you and your project.

Also, I share information, expressing the design approach and style on my website, other blog posts and social media. I would like to invite you to explore these spaces to see if you resonate with my words and photos.


03— How Do I Get Started?

Book a call with me. I’ll be happy to answer specific questions and explain more about the process and the fees. 

We will then schedule a time to meet in your home for the initial consultation. I will send you a questionnaire to fill out beforehand so that I can collect your contact info and more details about your style, ideas and goals for the project. The questionnaire is helpful for me because I can get a good understanding of your project before we meet. 

I will come prepared with questions and information needed. I will also take the necessary measurements and photos of the space when we meet.


Preparing and planning a successful renovation starts with having a good understanding of the overall process, knowing what steps to take to get started and ensuring you’re working with a designer who’s aligned with your vision and goals.

For more information, questions or design fees please contact me:

contact

Project Tour- The Secret Garden

Creating backyard beauty and enjoying it all season long.

BEFORE & AFTER

The Concept

Somewhere nice and calm to chill out. A secret place of our own “somewhere only we know.” These words describe the client's vision and the spirit of this unique landscaping project .

The Plan

The organic shaped concrete pathways lead you through the backyard, creating a natural and casual landscape. The curves and flowing shapes invite you to continue on the path to discover what lies around the bend.

The pathway concept encourages you to explore and walk around. The path is directly connected to the home’s main entrance, then it branches off into different directions allowing you to take a new route.

The best natural gardens look like they've planted themselves but designing this style of garden requires careful planning. It is especially important to coordinate blooms so that there's interest throughout the season in different areas of the gardens and to make sure that this is done in a way that is most natural.


Considering environment and views

A natural looking fence defines the property and creates a sense of privacy. The entire garden is oriented towards the west, overlooking breathtaking sunset views. Lower plants were installed along the west side of the garden so that there’s nothing obstructing the beautiful country views.

Including features

Unique wood and metal structures have been incorporated throughout the garden. All of these pieces were from the homeowner and already on the property. It was important to have them displayed in the new garden. 


The garden also features a large Spanish inspired dining area centered in the space. A few small benches are tucked in the pathway, inviting you to sit, have a rest and enjoy the blooms along the path.

Find out more about my landscape design services and how to get started creating your own backyard sanctuary.

Learn more

Project Tour- The Classic Ensuite

BEFORE & AFTER

A few changes to make life easier. It’s a fresh and timeless new look with a layout that’s functional and more practical. 


Designing bathrooms and kitchen are quite similar. These spaces need to be super functional. Key elements to a bathroom design include a functional layout, good lighting and convenient storage space.

PROJECT GOALS

The room itself is spacious, however the clients needed to make changes. It was a must to have a shower that accommodates a walker/wheelchair for their possible future needs.

A safe and open space to access the shower and the bathroom in general were major points we focused on during the design phase.

DESIGN AND PLANNING

The new bathroom includes a semi freestanding tub, a custom vanity and convenient storage niche above, an open shower with a bench and niche.

It was hard to let go after having a large tub built-in with wall to wall steps but necessary in order to have a new large, open shower. As a compromise, the new freestanding tub was semi built-in along the back wall which allows for space to set a few things down.

Drapes were not needed and not wanted. The bathtub is surrounded by three sides of windows. Viewing out at nothing but forest makes this ensuite feel like such a retreat.

The shower combines a few design elements. The floating bench which is an anti-slip surface allows you to sit and easily access the handheld shower to your right and all of your essentials in the niche to your left. 

The shower is a sloped floor with a linear drain tucked under the bench. A tiled half wall and small piece of curved clear glass keeps the water within the shower, allowing a bright and airy feeling with no obstructions throughout the entire bathroom.

A custom deep blue shaker style vanity was made by a local cabinet maker. The vanity which was designed to have many small drawers is perfect for storing small products. The countertop is a soft veined quartz stone. 

I wanted to incorporate details to make the ensuite feel warm and inviting. The custom made mirror is solid wood and adds a touch of warmth that this new bathroom needed. 

The long niche that divides the vanity and mirror above makes for a convenient spot for those everyday products.

The wood floating shelf was also made by the cabinet maker. Hooks were installed below, making this an efficient space to display and dry towels.

THE MATERIALS AND PERSONAL TOUCHES

All of the fixtures and hardware are chrome, a classic metal finish. For the wall sconces and vanity hardware we went with a traditional style which really adds a sense of elegance to the space. 


Large marble looking tiles cover the shower walls and bench. To balance out the wall tile and give the eye a chance to rest, soft, natural grey tiles were installed on the floor with a mosaic pebble stone detail, uniting the floor and wall tile. 


A soft blue/grey paint covers the remaining walls and ceiling which pairs well with the marble tiles and creates a calming atmosphere.


Find out more about my design services and how to get started with your bathroom renovation.

Learn more

Kitchen Design Tips With Nutrition L'Ecuyer

Often we say that the kitchen is the heart of the home. So much of our daily lives happen right in our kitchens, from family discussions to cooking daily meals, to entertaining friends and family. 

The way we set up, display and arrange functional and decorative pieces can all make a difference in the way we feel about our kitchen.


Kim from Nutrition L'Ecuyer is joining me to share her favorite ways to set up your space in practical and functional ways that will not only keep you organized in the kitchen, but also inspire you to create your best meals. 

Kim is a Registered Holistic Nutrition consultant who's passionate about food, health and prevention. Teaching clients to love the foods that will love them back is her motto and her purpose.  

Keep reading to discover our best tips...

KIM'S TIP: Keep a jar of spoons handy for tasting

Learning to love the foods that will love you back means working at making your healthy food delicious. That means tasting your creations often and tweaking the seasonings until you get it just right. 

I like to keep a jar of spoons on the counter near my cooking area so that I can taste my creations without double dipping.

KIM'S TIP: Jot down those delicious creations

I like to keep a spiral notebook near my cooking area so that I can jot down any inspiration that I get from cooking shows, Instagram or magazines. 


I also like to keep notes on especially great meals and menus that I’ve created so that I can turn to my scribbles when I'm not feeling especially inspired.

KIM'S TIP: Keep good markers and labels handy

Making your own healthy food must be doable and sustainable. For most folks that means batch cooking. 

It’s just as easy to make a double or triple batch of something (in the spirit of squirreling some away for later) as it is to make a single portion. 

Make sure you always have plenty of containers, sticky labels and markers handy to clearly identify your delicious creations that are bound for the deep-freeze. Green painting tape works great and is easy to remove.

ANIKA'S TIP: Create a place of inspiration


Potted herbs displayed in your kitchen add a touch of life to your space and it also can inspire your meals.

Display your favorite cookbooks on your counter, in a open shelf or pick a favorite family recipe and have it framed and displayed on your counter as part of your decoration.

ANIKA'S TIP: Keep counters clean and simple


When decorating your counters it's important to remember less is more. Display everyday staples on your counter in canisters.

Everyday items such as oil, salt and paper and butter can be corralled in a tray. Having all your go-to items together clears up the counters, making your kitchen look clean and inviting.

ANIKA'S TIP: Select Natural & easy to clean materials


A separative hand towel and tea towel should be placed in a convenient spot. I recommend linen, a beautiful natural material that's highly durable, stain resistant and also dries quickly. Cotton is also a great absorbent material that leaves little lint behind.

A small runner centered on the floor can be a great final touch. An easy to clean material is a must! A runner adds a decorative and personal element to your kitchen, completing the space and making it feel yours.


Designing your kitchen is personal. I think that it's important to test and figure out what works best for you, the way you use your space. Always remember to make it feel like home, whatever that means to you.

I hope these tips from Kim and I can help you set up your kitchen in a way that's thoughtful and that can make your life easier, and also most importantly, that can inspire you to create your best meals.


Nutrition L'Ecuyer


Holistic nutrition: Eating for your mind, body and soul. Discover more about Kim’s natural approach to nutrition and her consultation services.

Learn more

Project Tour- The Rustic Plunge Pool Retreat

Combining stone, wood, water & fire to create a relaxing and natural retreat right at home.

Before & After

The concept

Expansive backyard transforms into a defined private retreat. The client’s dream, a plunge pool and waterfall feature. They requested a design with no “sharp edges” for the patio, planting beds and stone wall.

Organic shapes were used to create smooth transitions between the grass and patio. The plunge pool itself is kidney shaped, contoured by paver steps that follow the curve. Planting beds were added on each side of the pool to soften the look of the stone, also adding texture and color to the space.

Considering environment and views

Creating a sense of privacy was key for the large open backyard that overlooks 360 views of pasture. The natural stone waterfall also acts as a privacy wall which helps to set the atmosphere.

Including features

A serene waterfall has relaxing and rejuvenating effects. When stepping out of the house the soothing sound of the streaming water starts to set the tone for the backyard experience that has been created.

The waterfall itself brings life and movement to the pool, creating an inviting atmosphere whether you are relaxing in the pool or lounging beside.

Lighting has also been incorporated into the design. The combination of functional and decorative lighting highlights the space, making it possible to enjoy the pool during the evenings.

This backyard is truly a retreat right at home. Great for relaxing evenings and weekends with family, enjoyed throughout the season.


Find out more about my landscape design services and how to get started with your backyard project

landscape design